Tip Tuesday – Photography at Home: Beautiful Flowers
We have made it through the wettest winter since records began in 1910 and I’m so happy to finally be able to say WELCOME TO SPRING! It’s finally April and every so often we get a day that feels beautifully spring-like and leaves you dreaming of summer. I thought it would be nice to have a break from portrait tips and do a Tip Tuesday on photographing flowers. These are really simple tips that anyone can follow. Even if you are just snapping some daffodils for Instagram, these tips will help you capture the beauty of your flowers. You don’t even need to have a garden to photograph flowers. At this time of year the shops are full of beautiful spring flowers like Tulips, Irises and hyacinths that you can bring into your home and arrange in a style that you like.
As with all the tips so far, you don’t need to have a DSLR to take gorgeous photos of flowers. Most cameras have a macro setting that lets you get in really close. Some even have a setting specifically for photographing flowers. So explore your camera and try out some different settings to find the one that works best for you. For the photos below I used my Canon 5D, Canon 450D and my iphone4. I Set my aperture at 4.0 to blur the background slightly.
Lighting
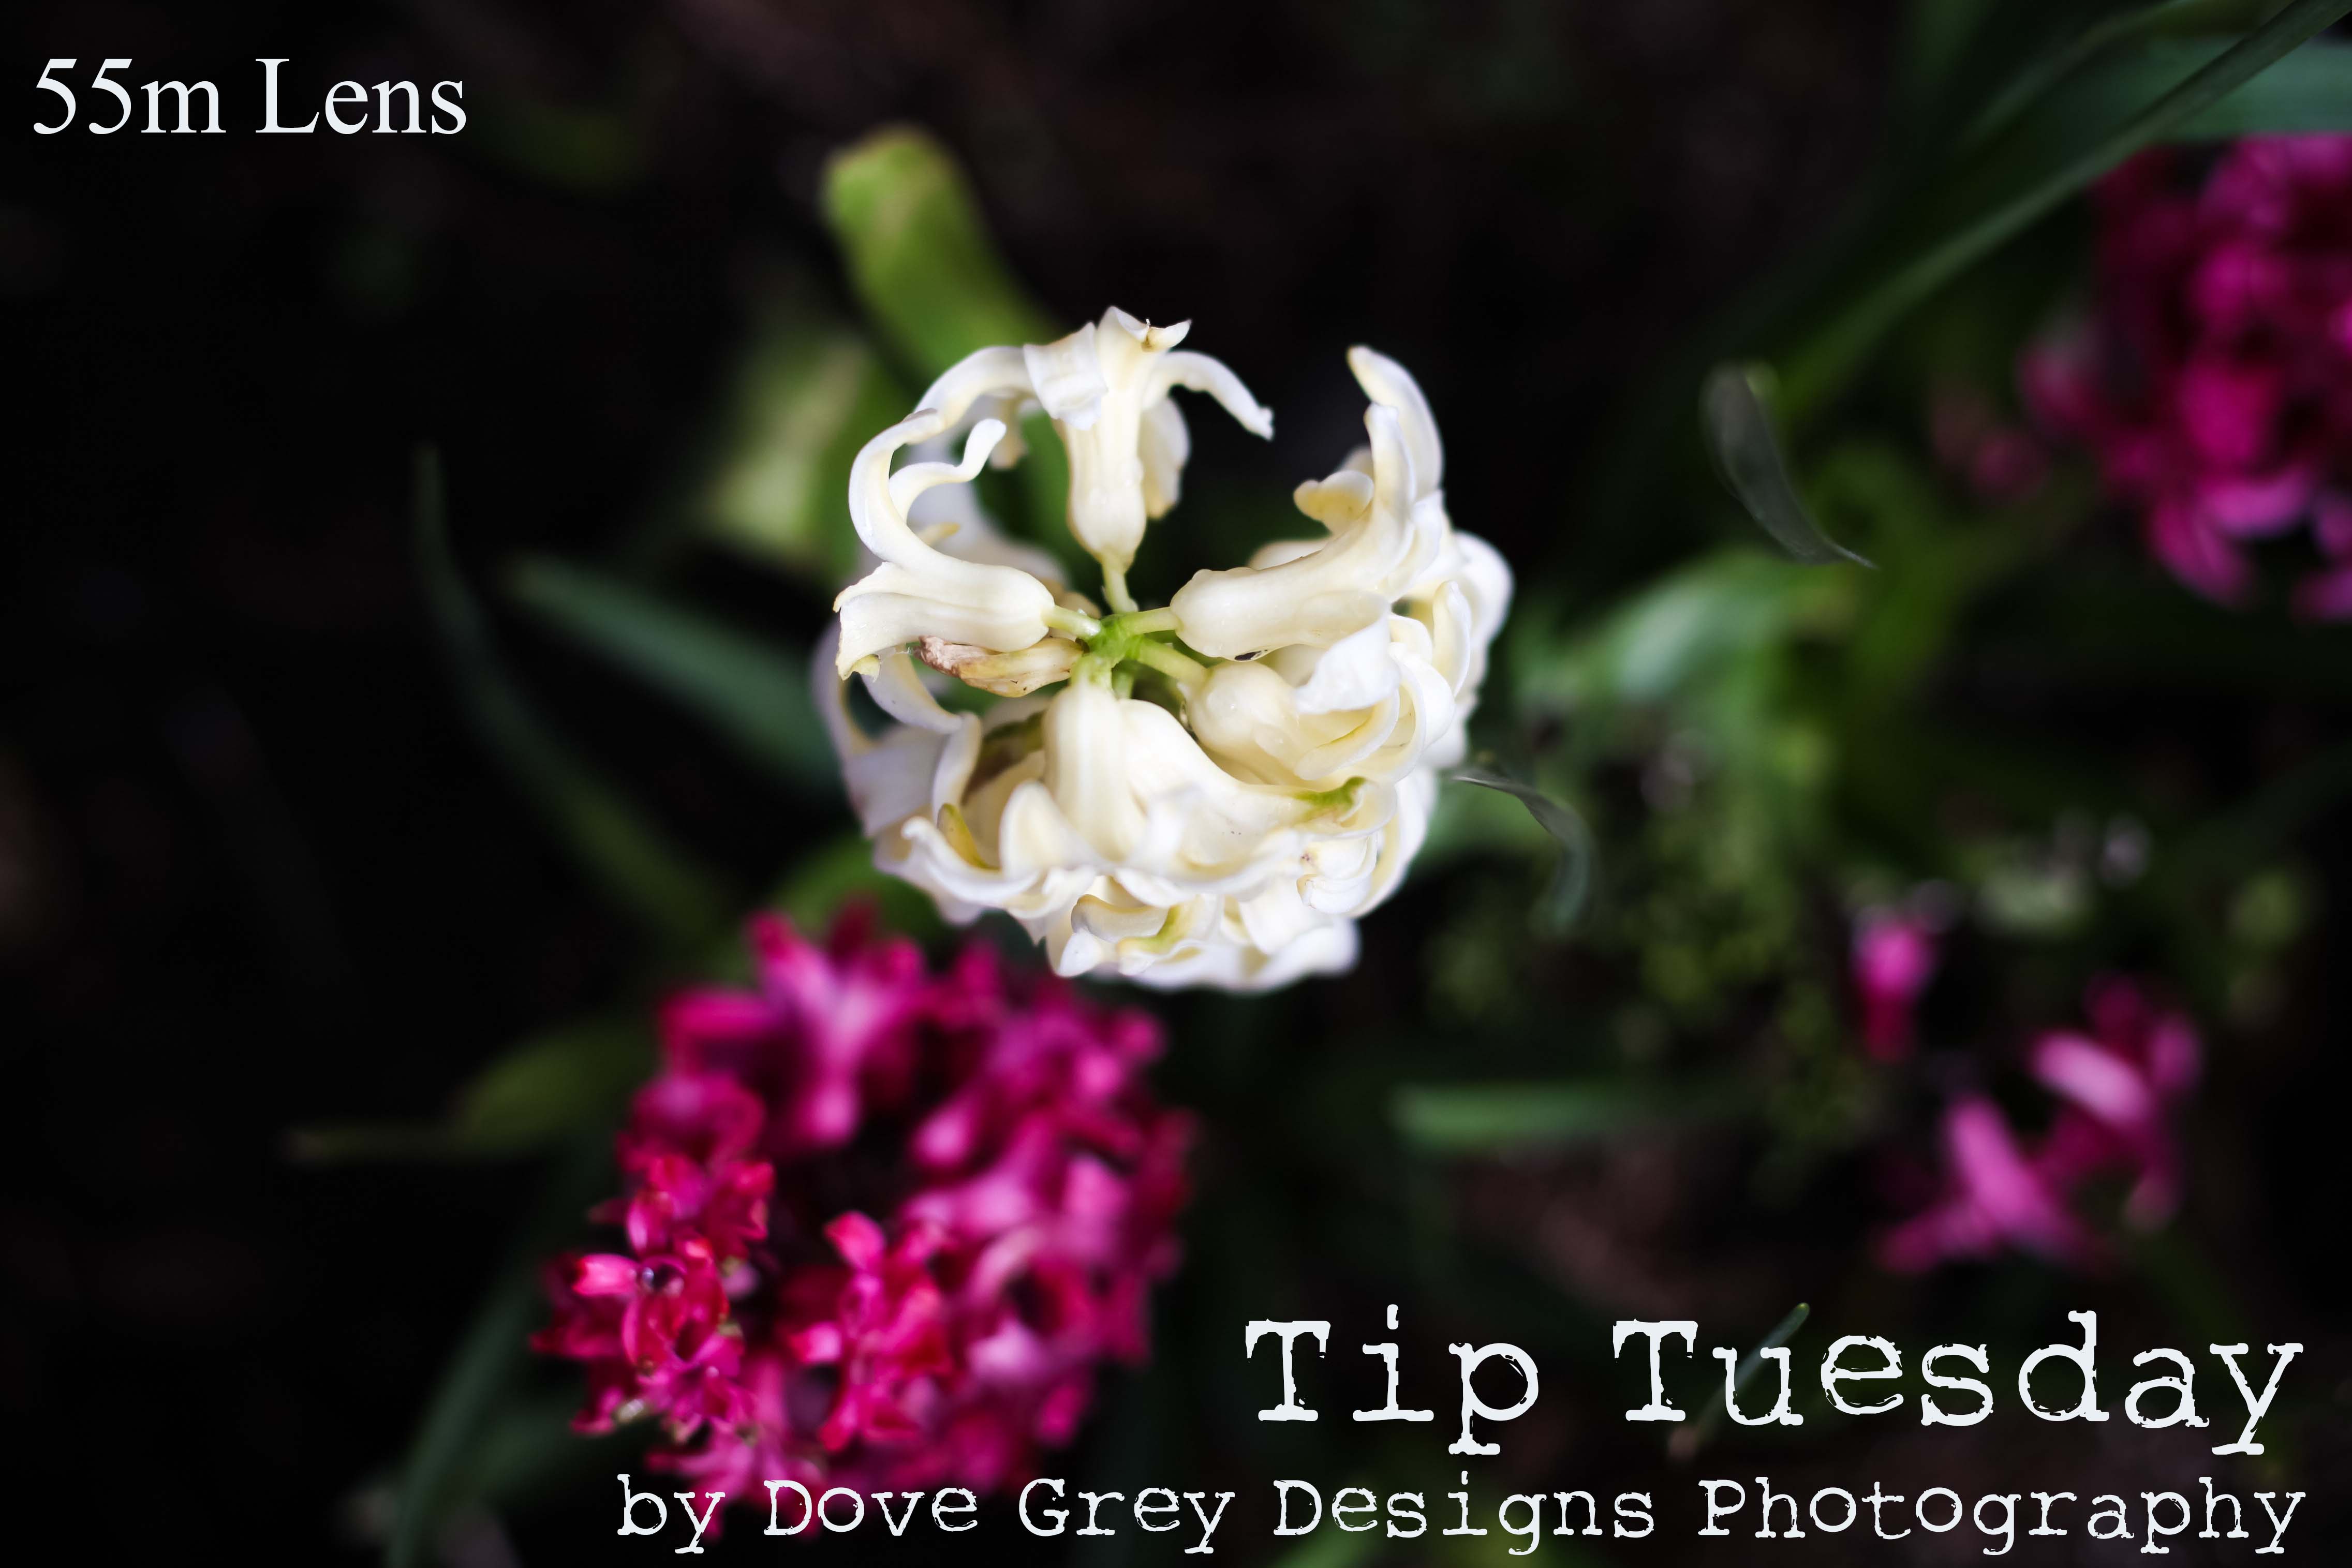
In the first Tip Tuesday I explained how to make the most of natural light to highlight your subject; the lighting technique when photographing flowers is no different. You want to look for your light source and turn your back to it. This is the most simple way of making your flowers stand out from their background.
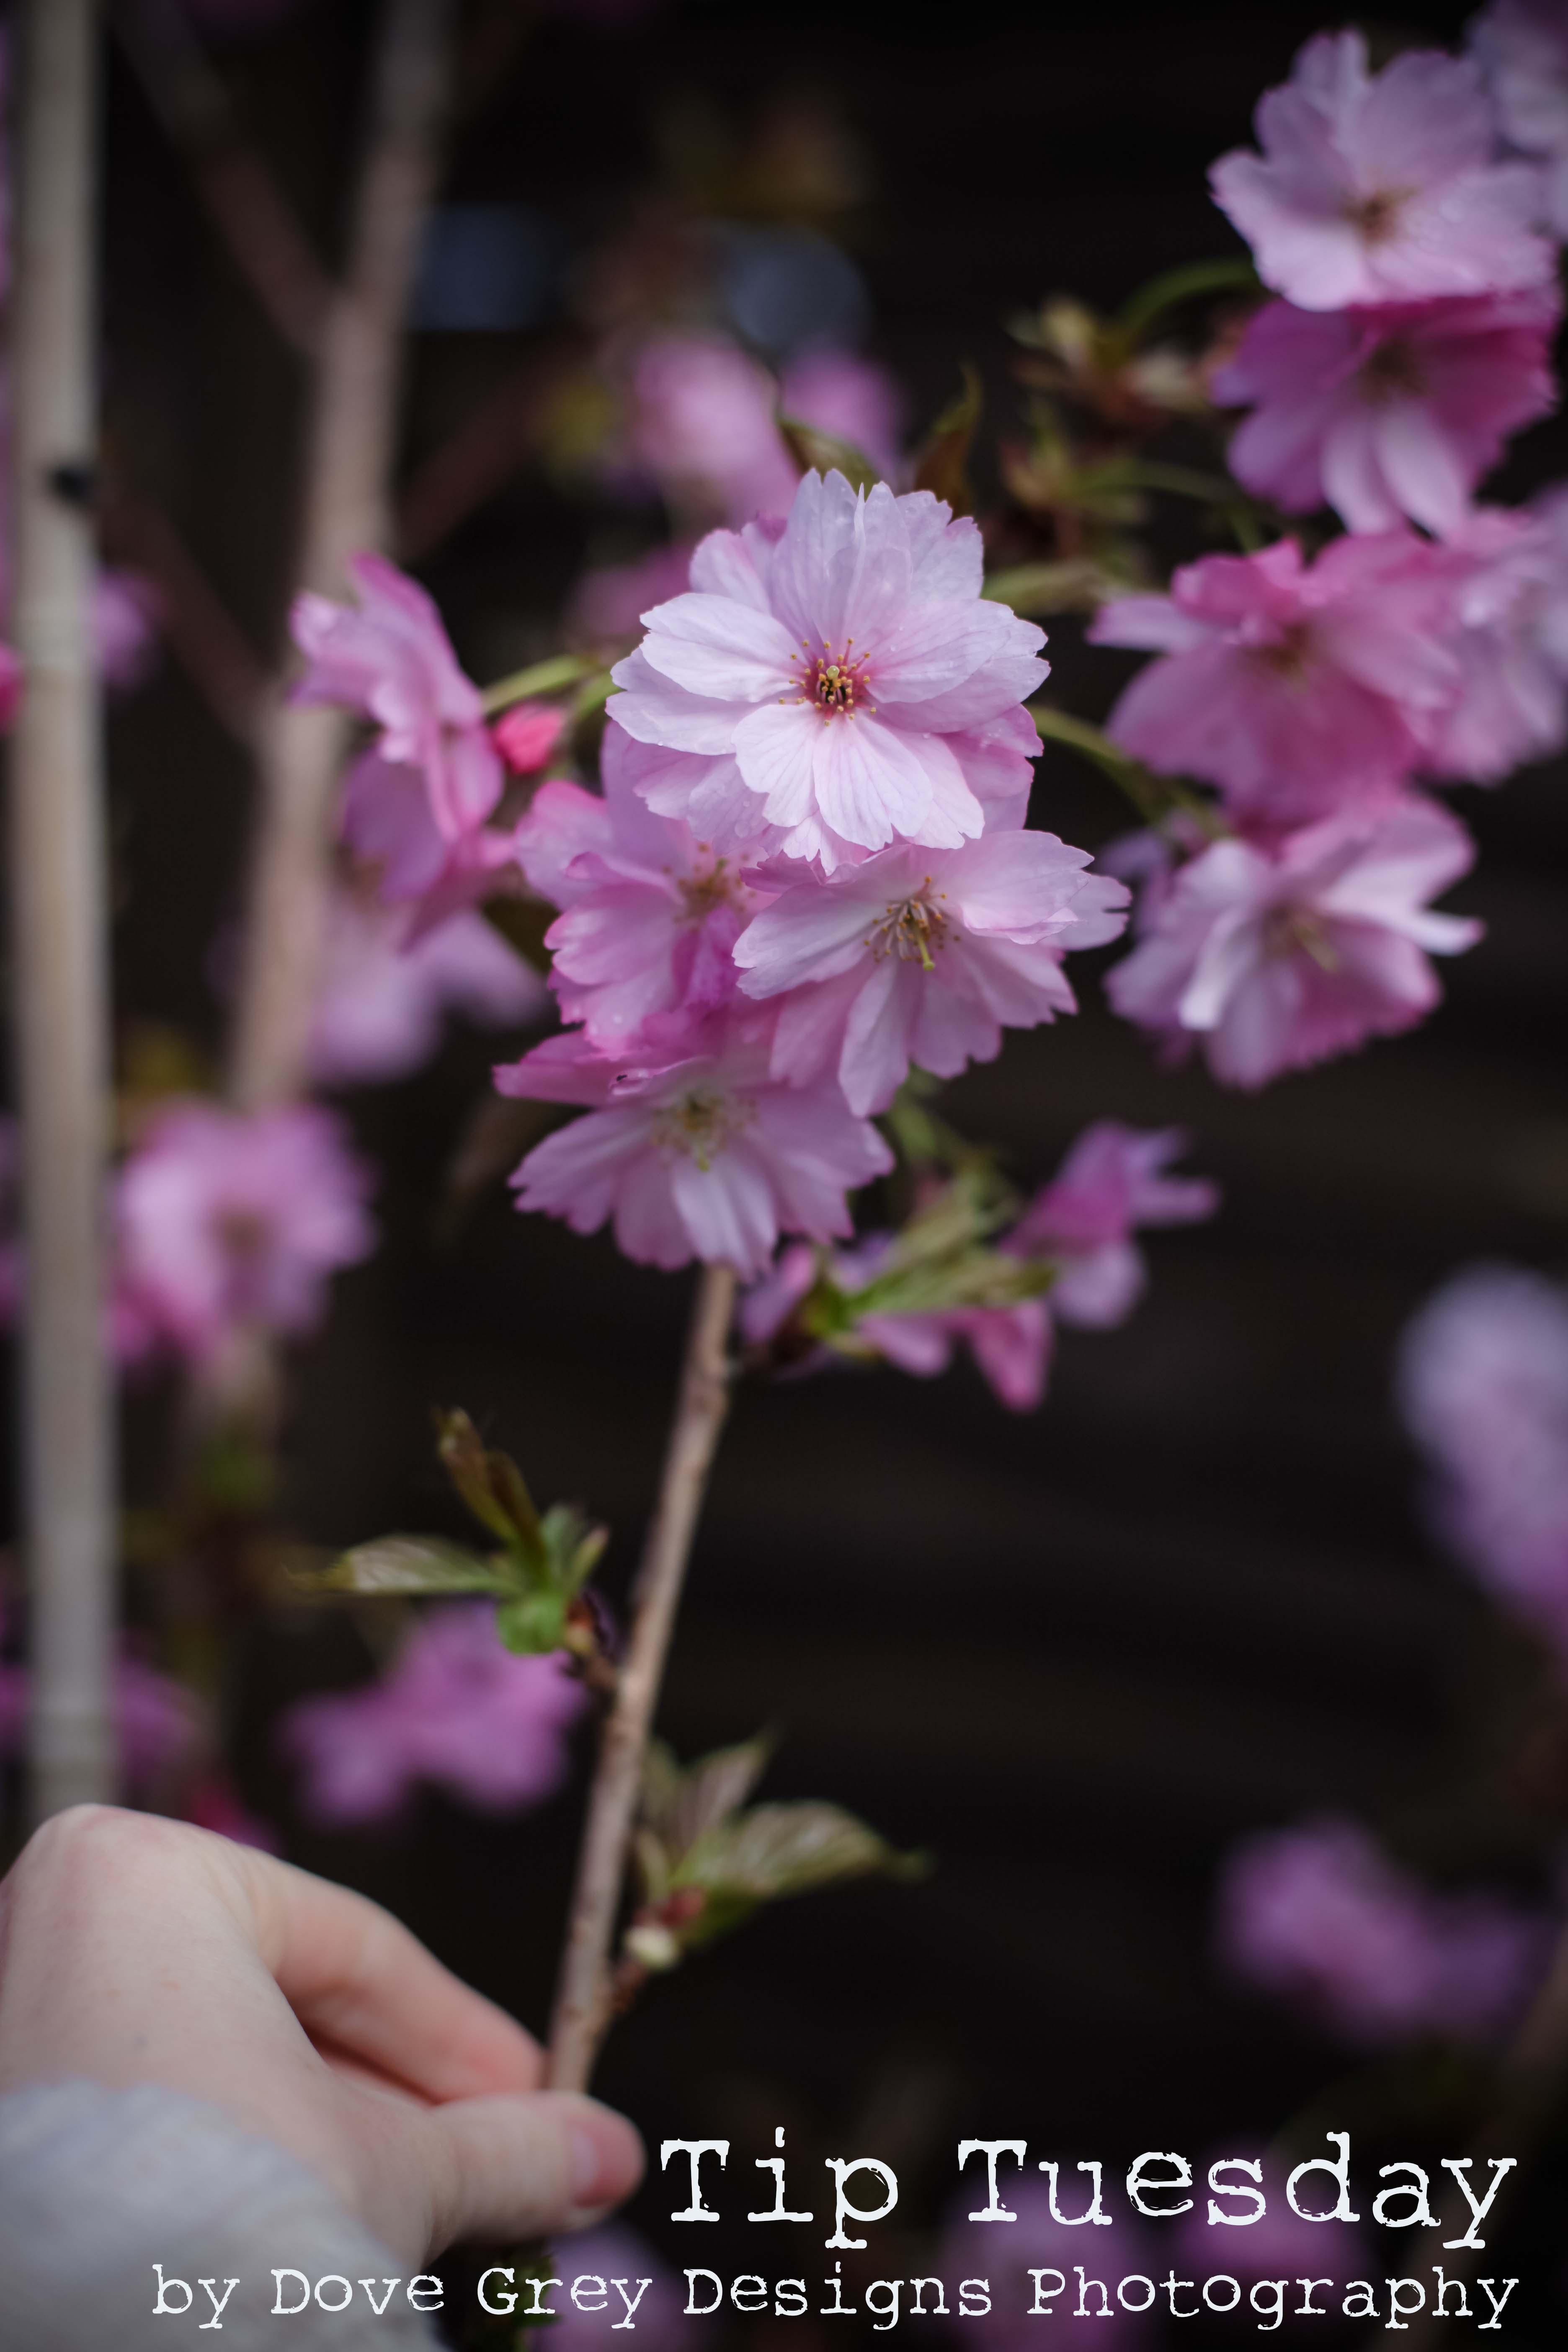
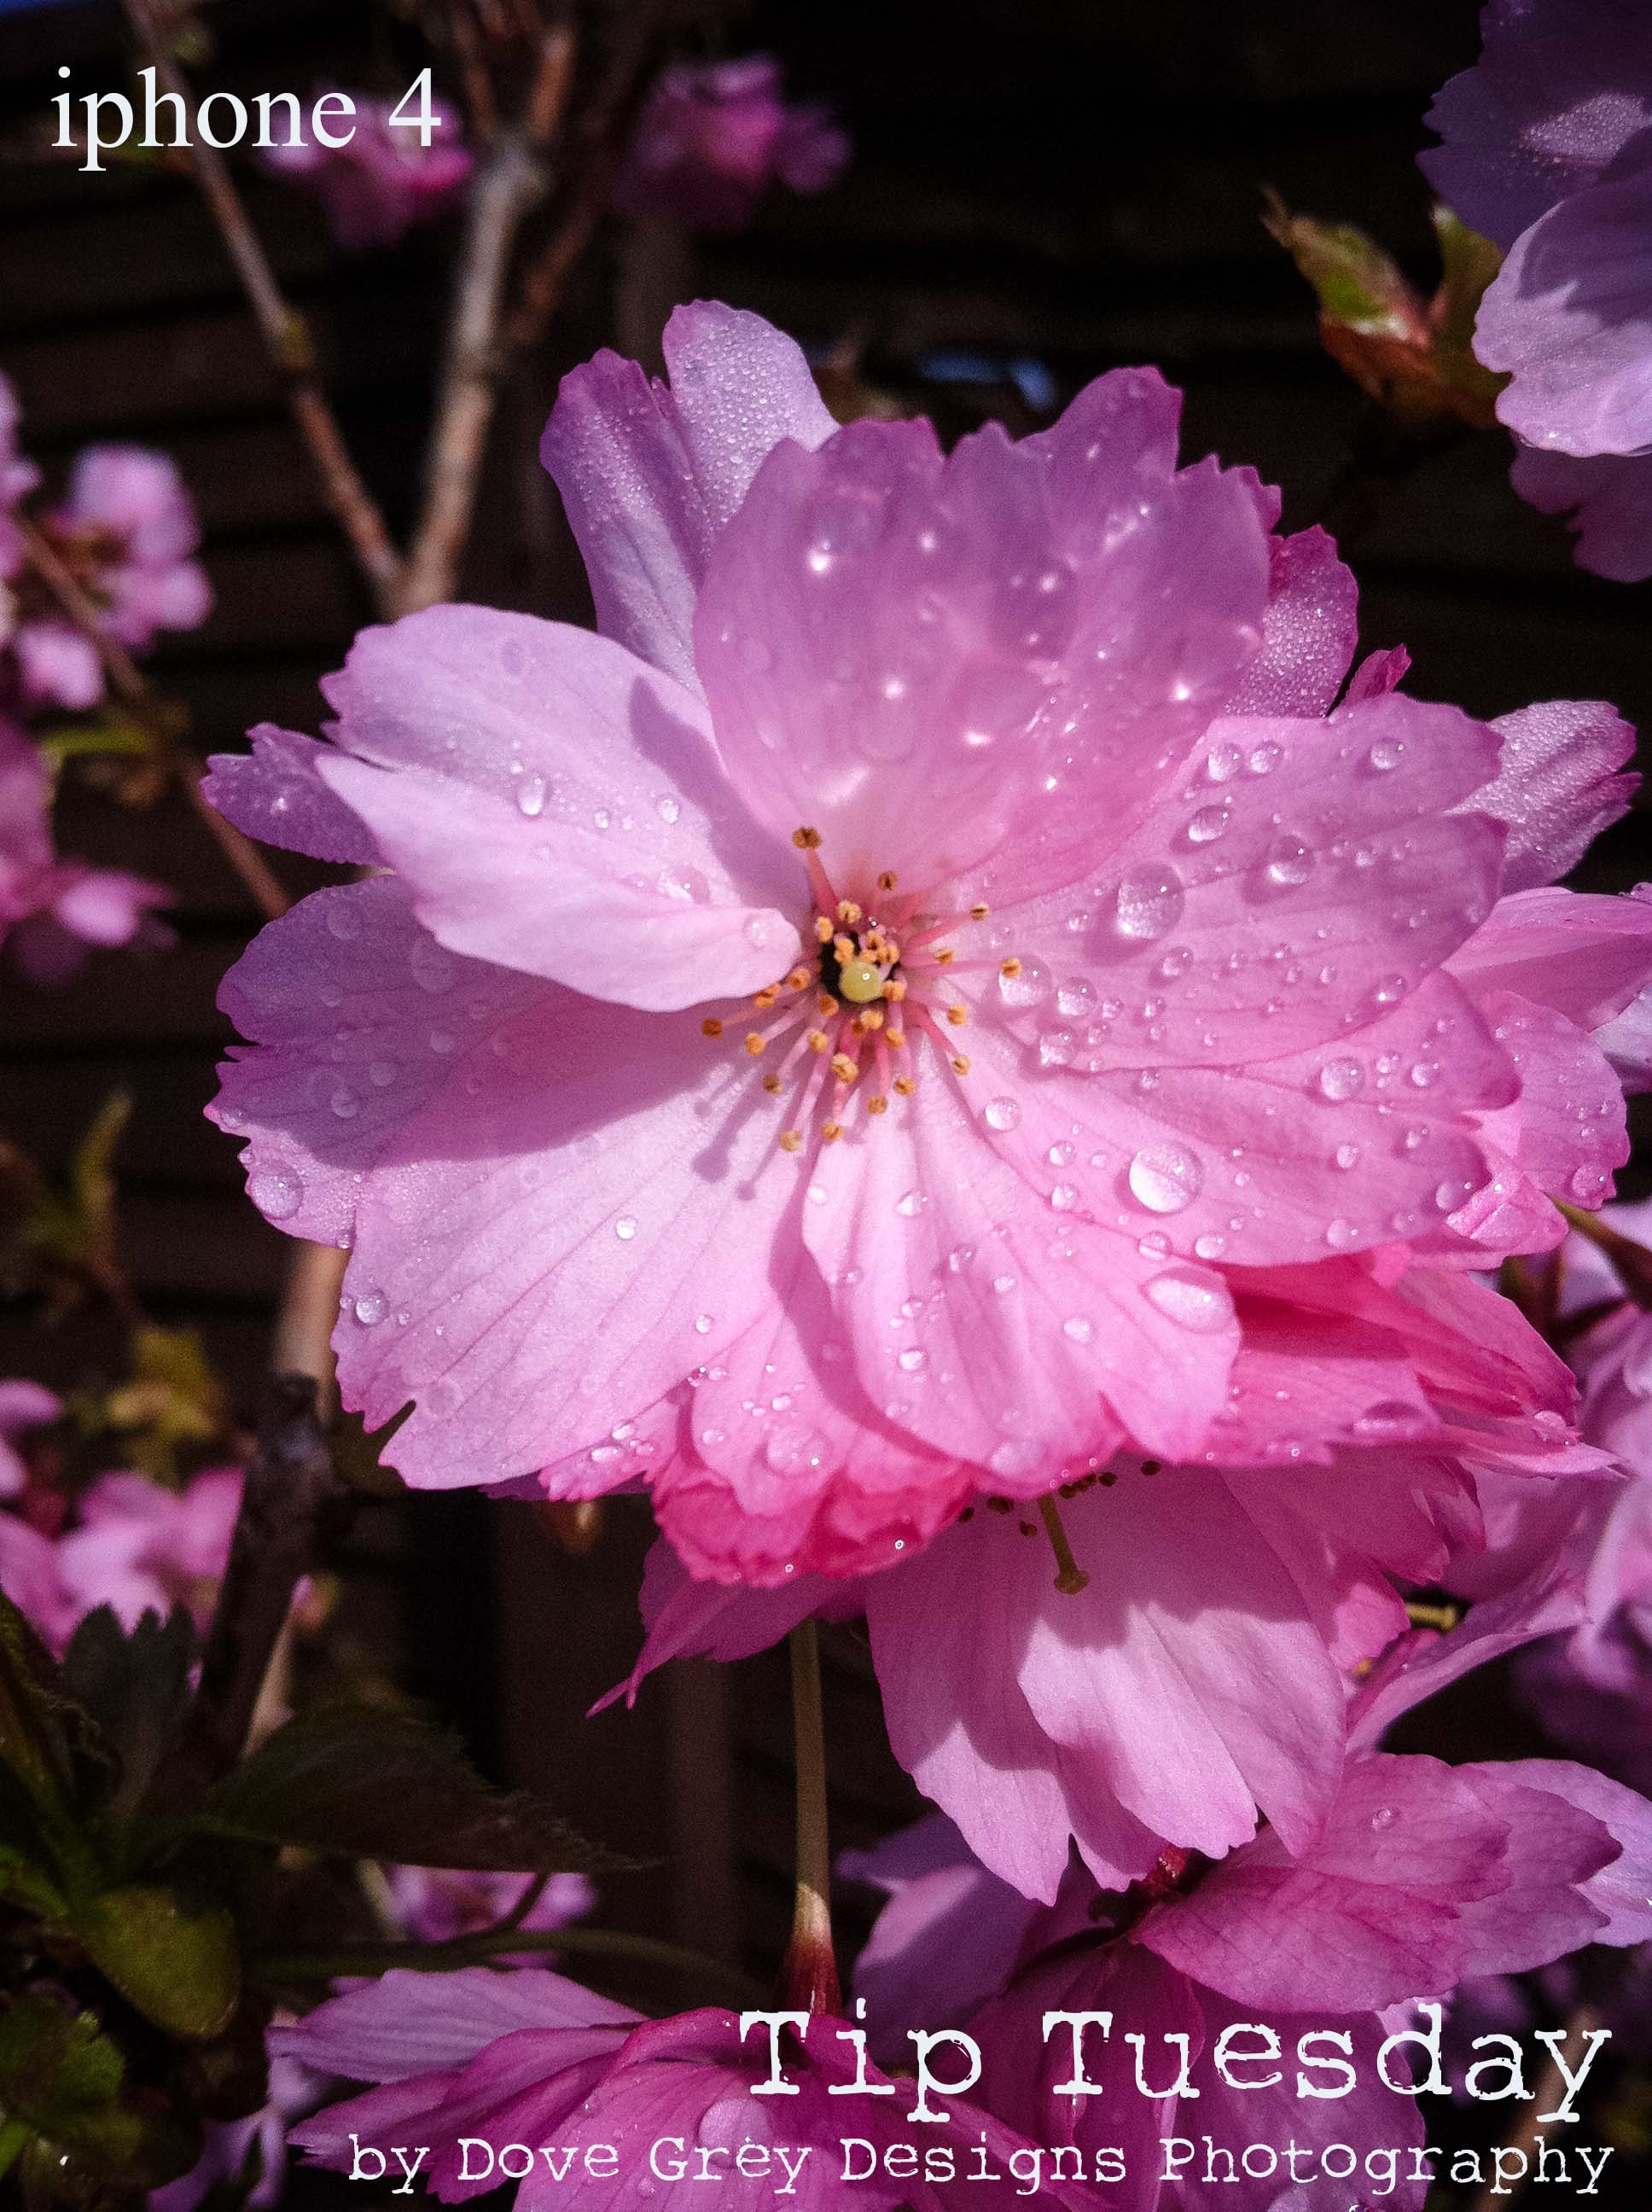
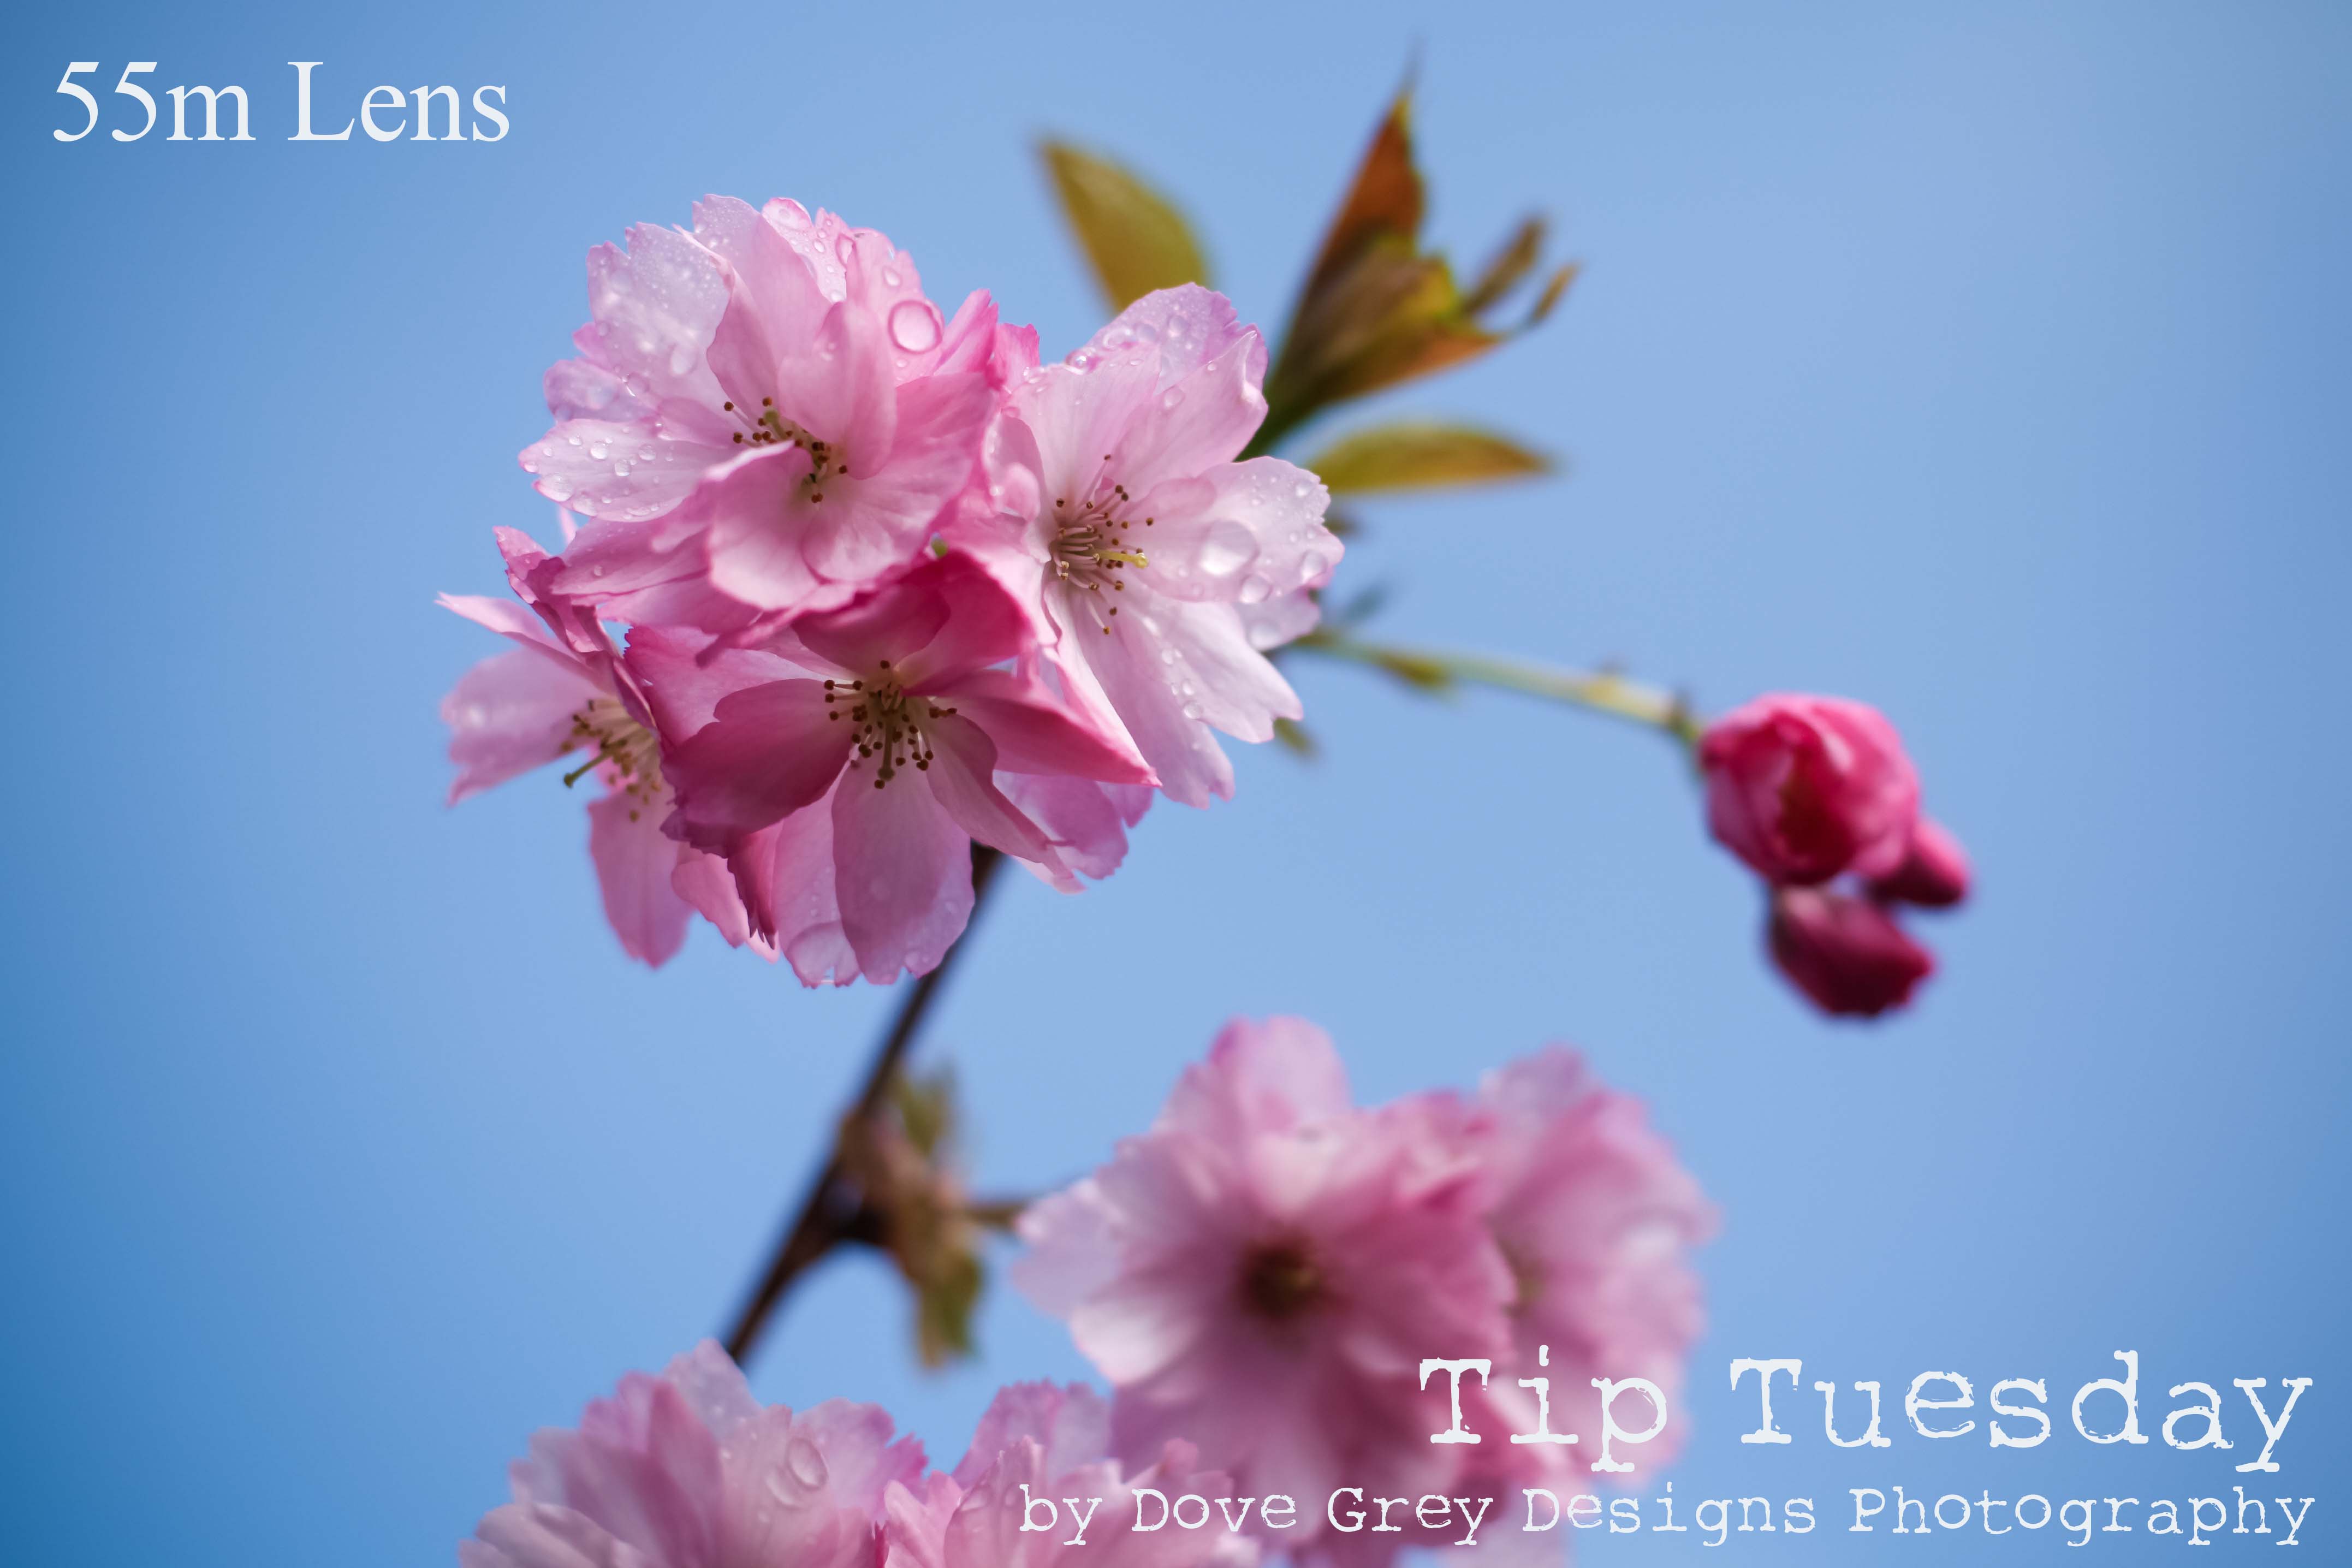
We have a young blossom tree in our garden, you can see from the photo below how I am gently directing the flowers towards the sun so that their faces aren’t in shadow. In the resulting photo you can see how it creates a lovely contrast between the bright petals and the dark background.
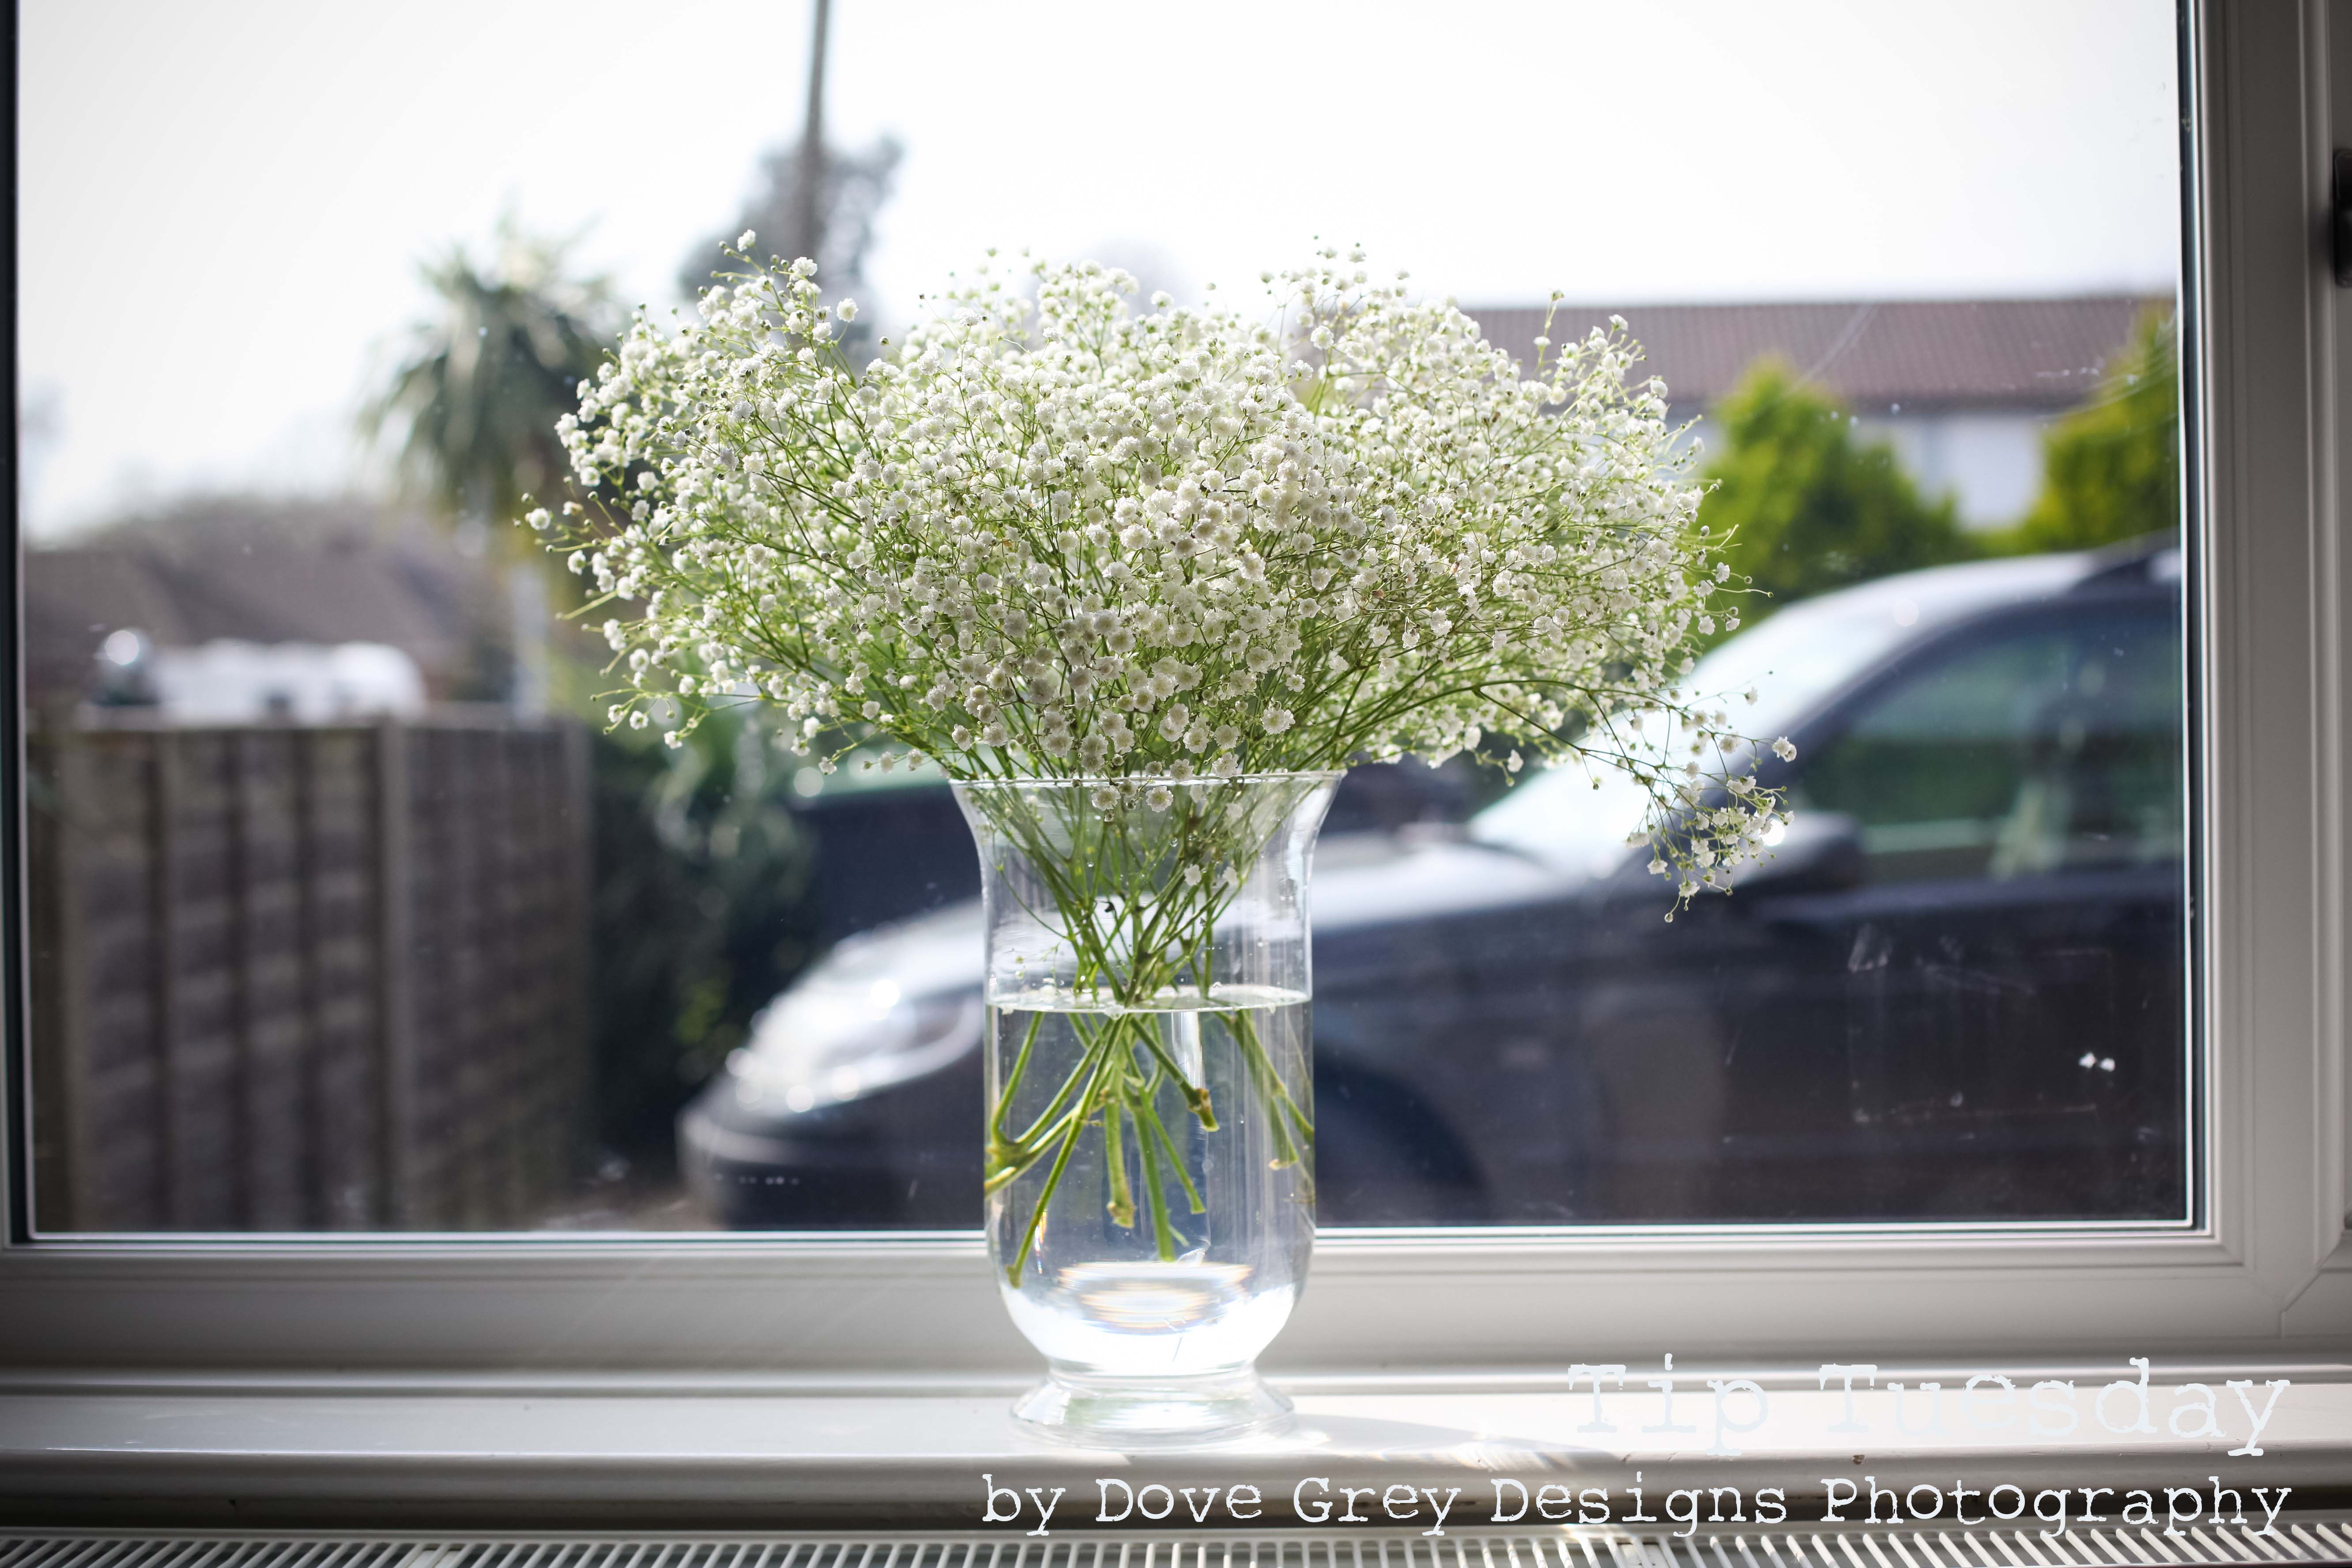
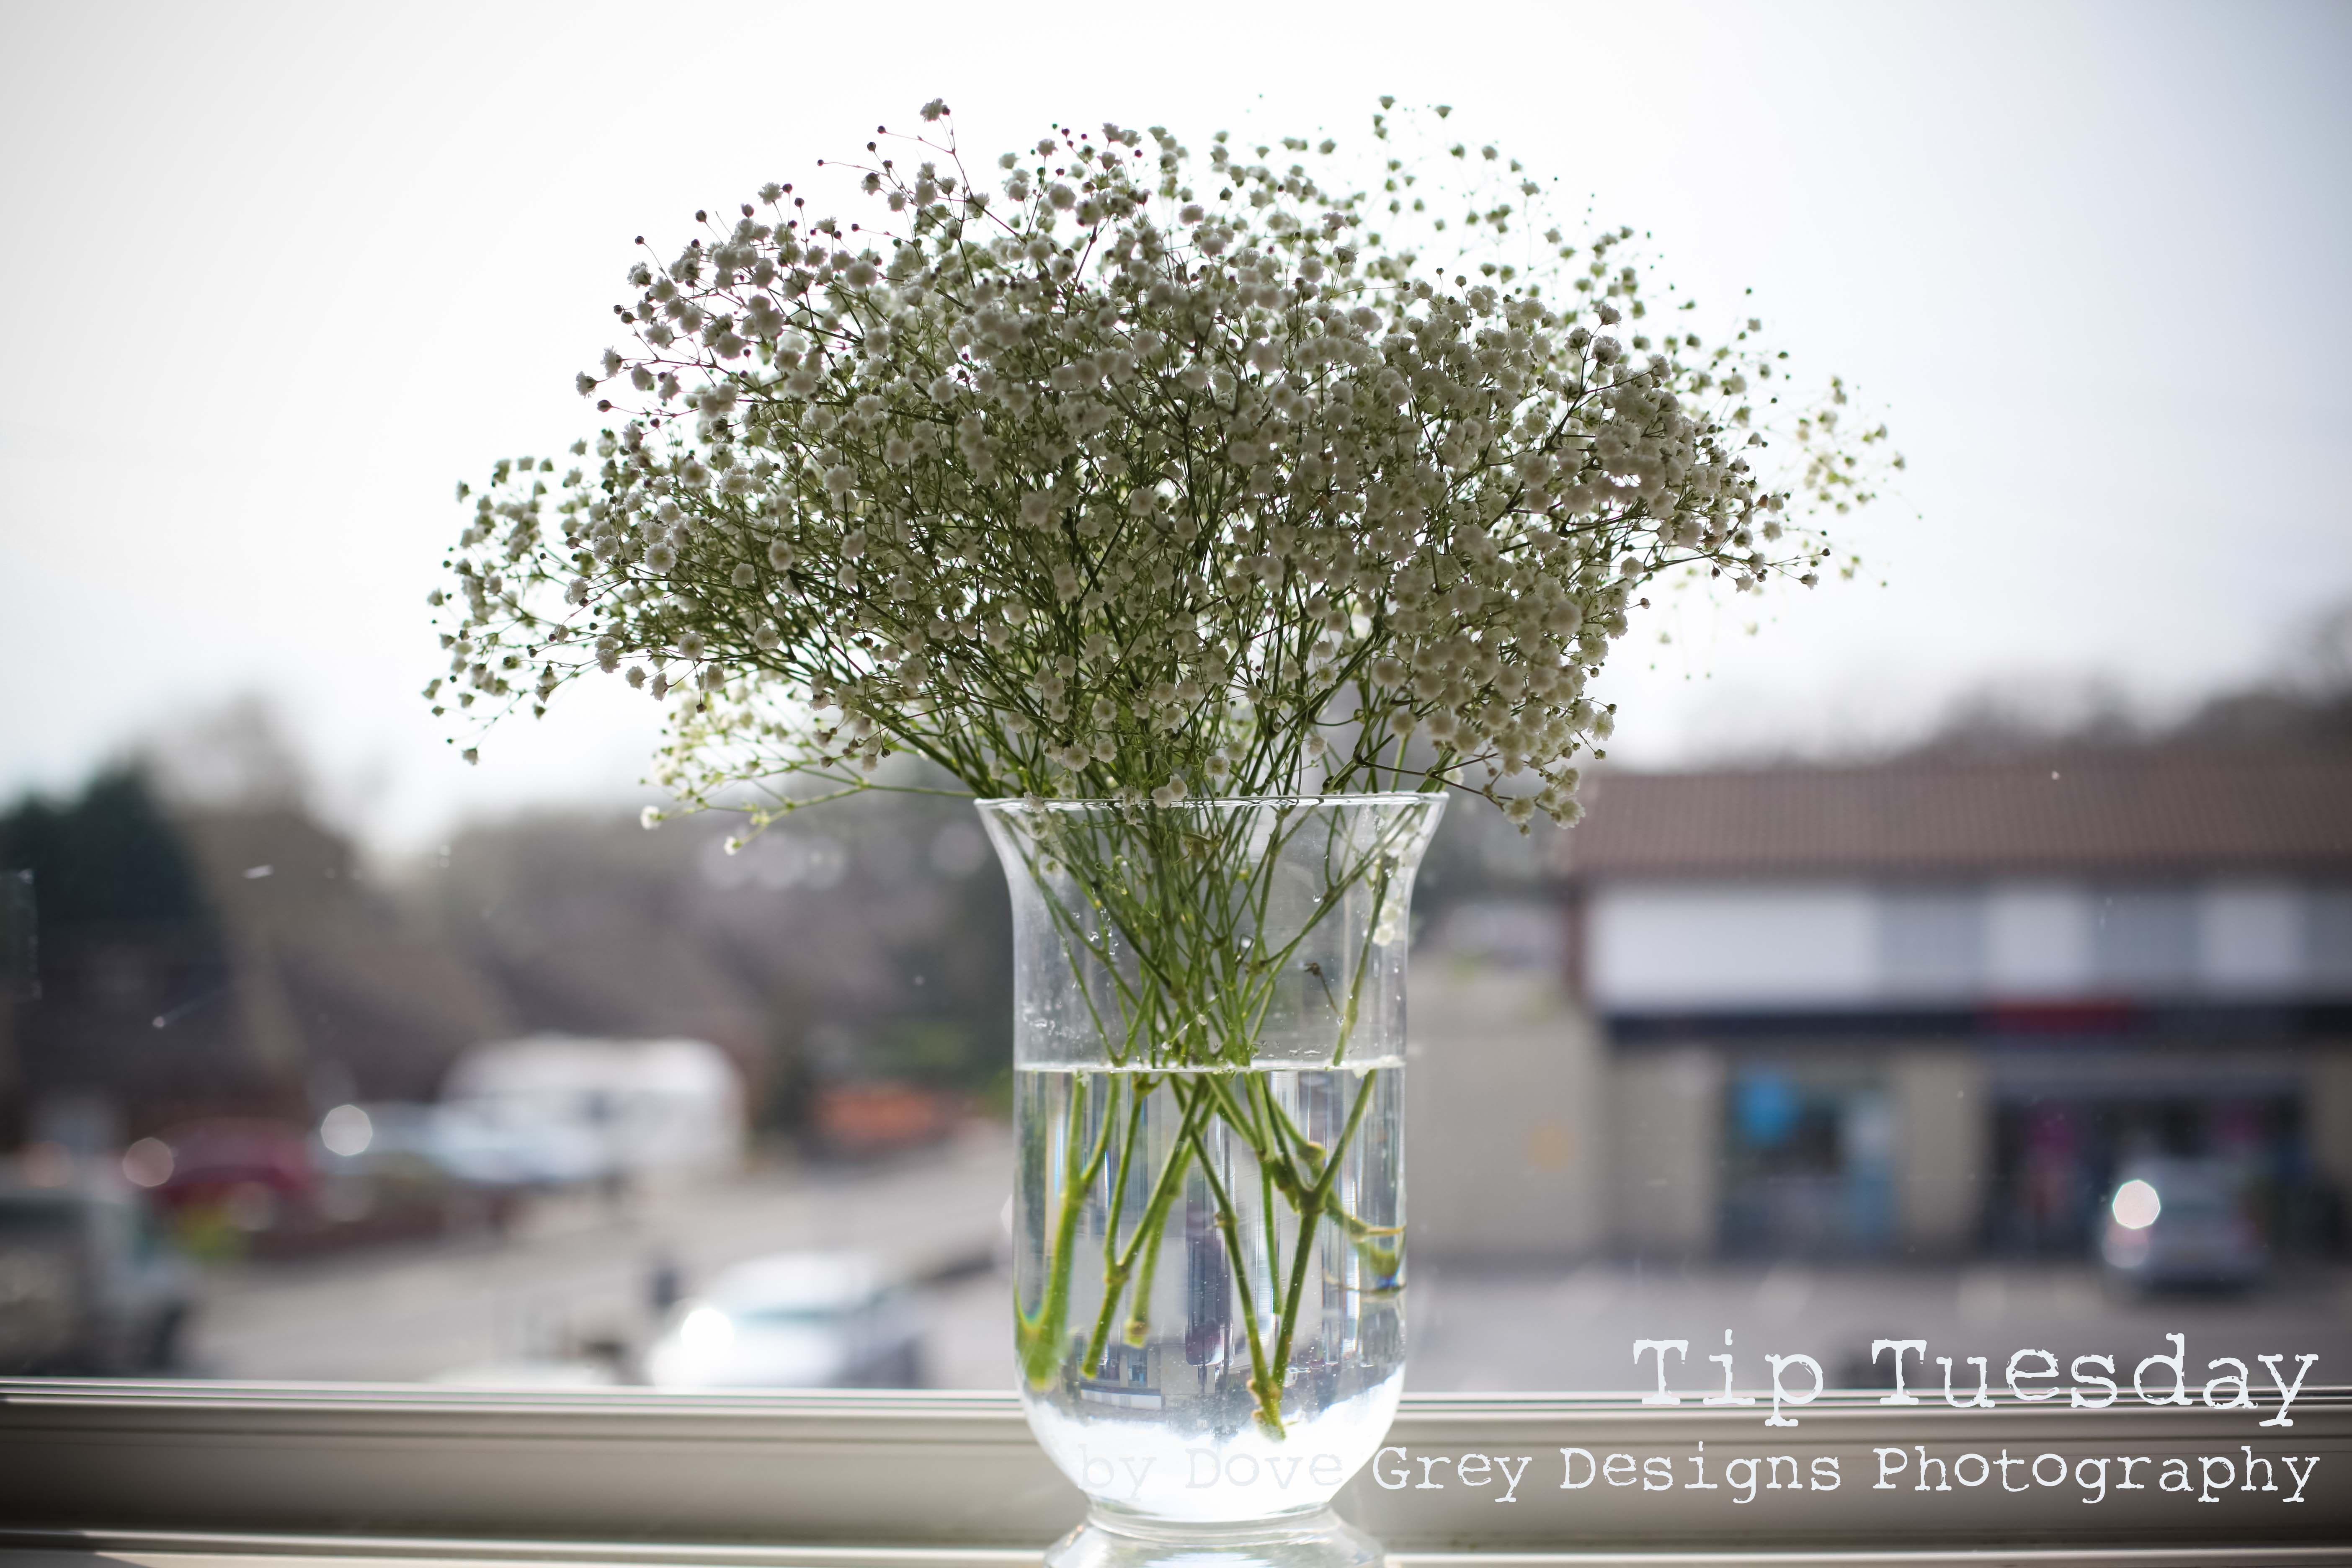
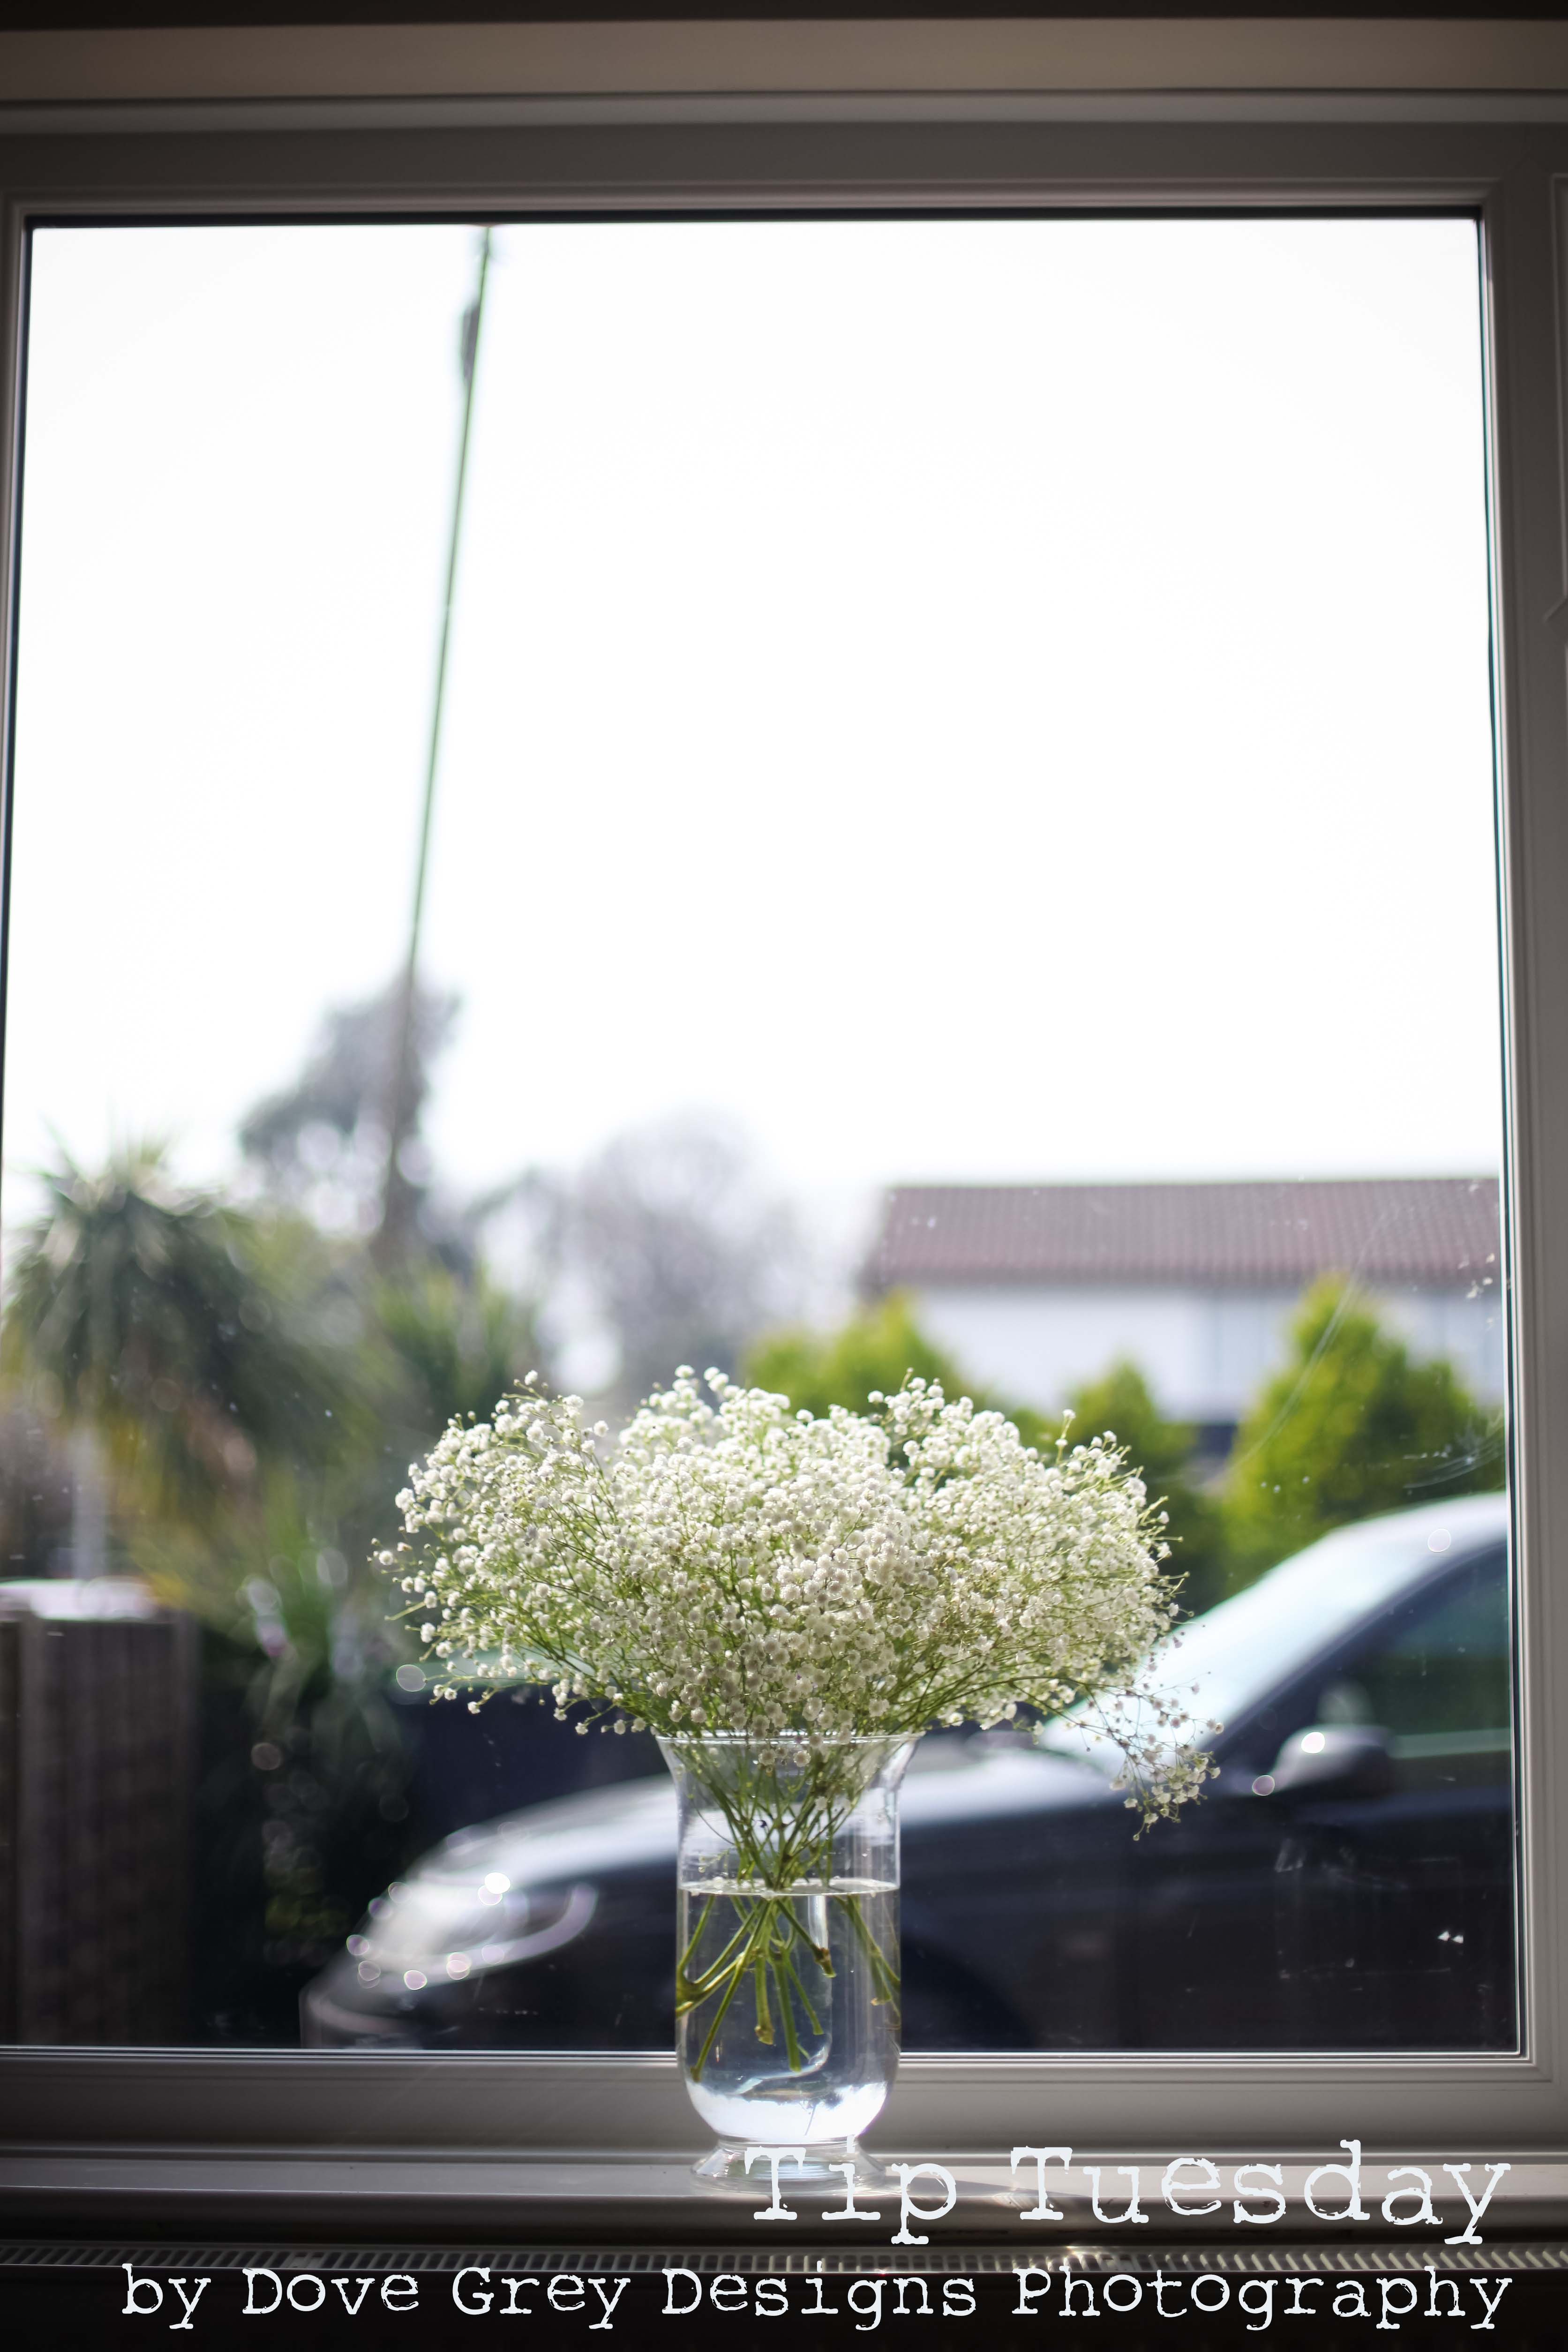
Lots of us like to place our flowers on a windowsill, we know they will be happy there because they will get lots of light. However, this makes photographing them slightly more tricky as backlighting can create silhouettes or shine into the camera lens resulting in lens flare (and, like me, you may not have the prettiest background out of your windows). In this first photo the back lighting really works to highlight the jar, the water and the little flowers, giving us an image that has a really light feel to it. This is because I have taken the photograph at a time when the light is coming in from the left side and from above rather than directly from behind. For the second photograph I moved the flowers upstairs so that they were no longer being lit from above. You can see the huge difference the direction of the light makes. In the second photograph the flowers look small and dark and almost as if they are dead and dry.
Getting in Close
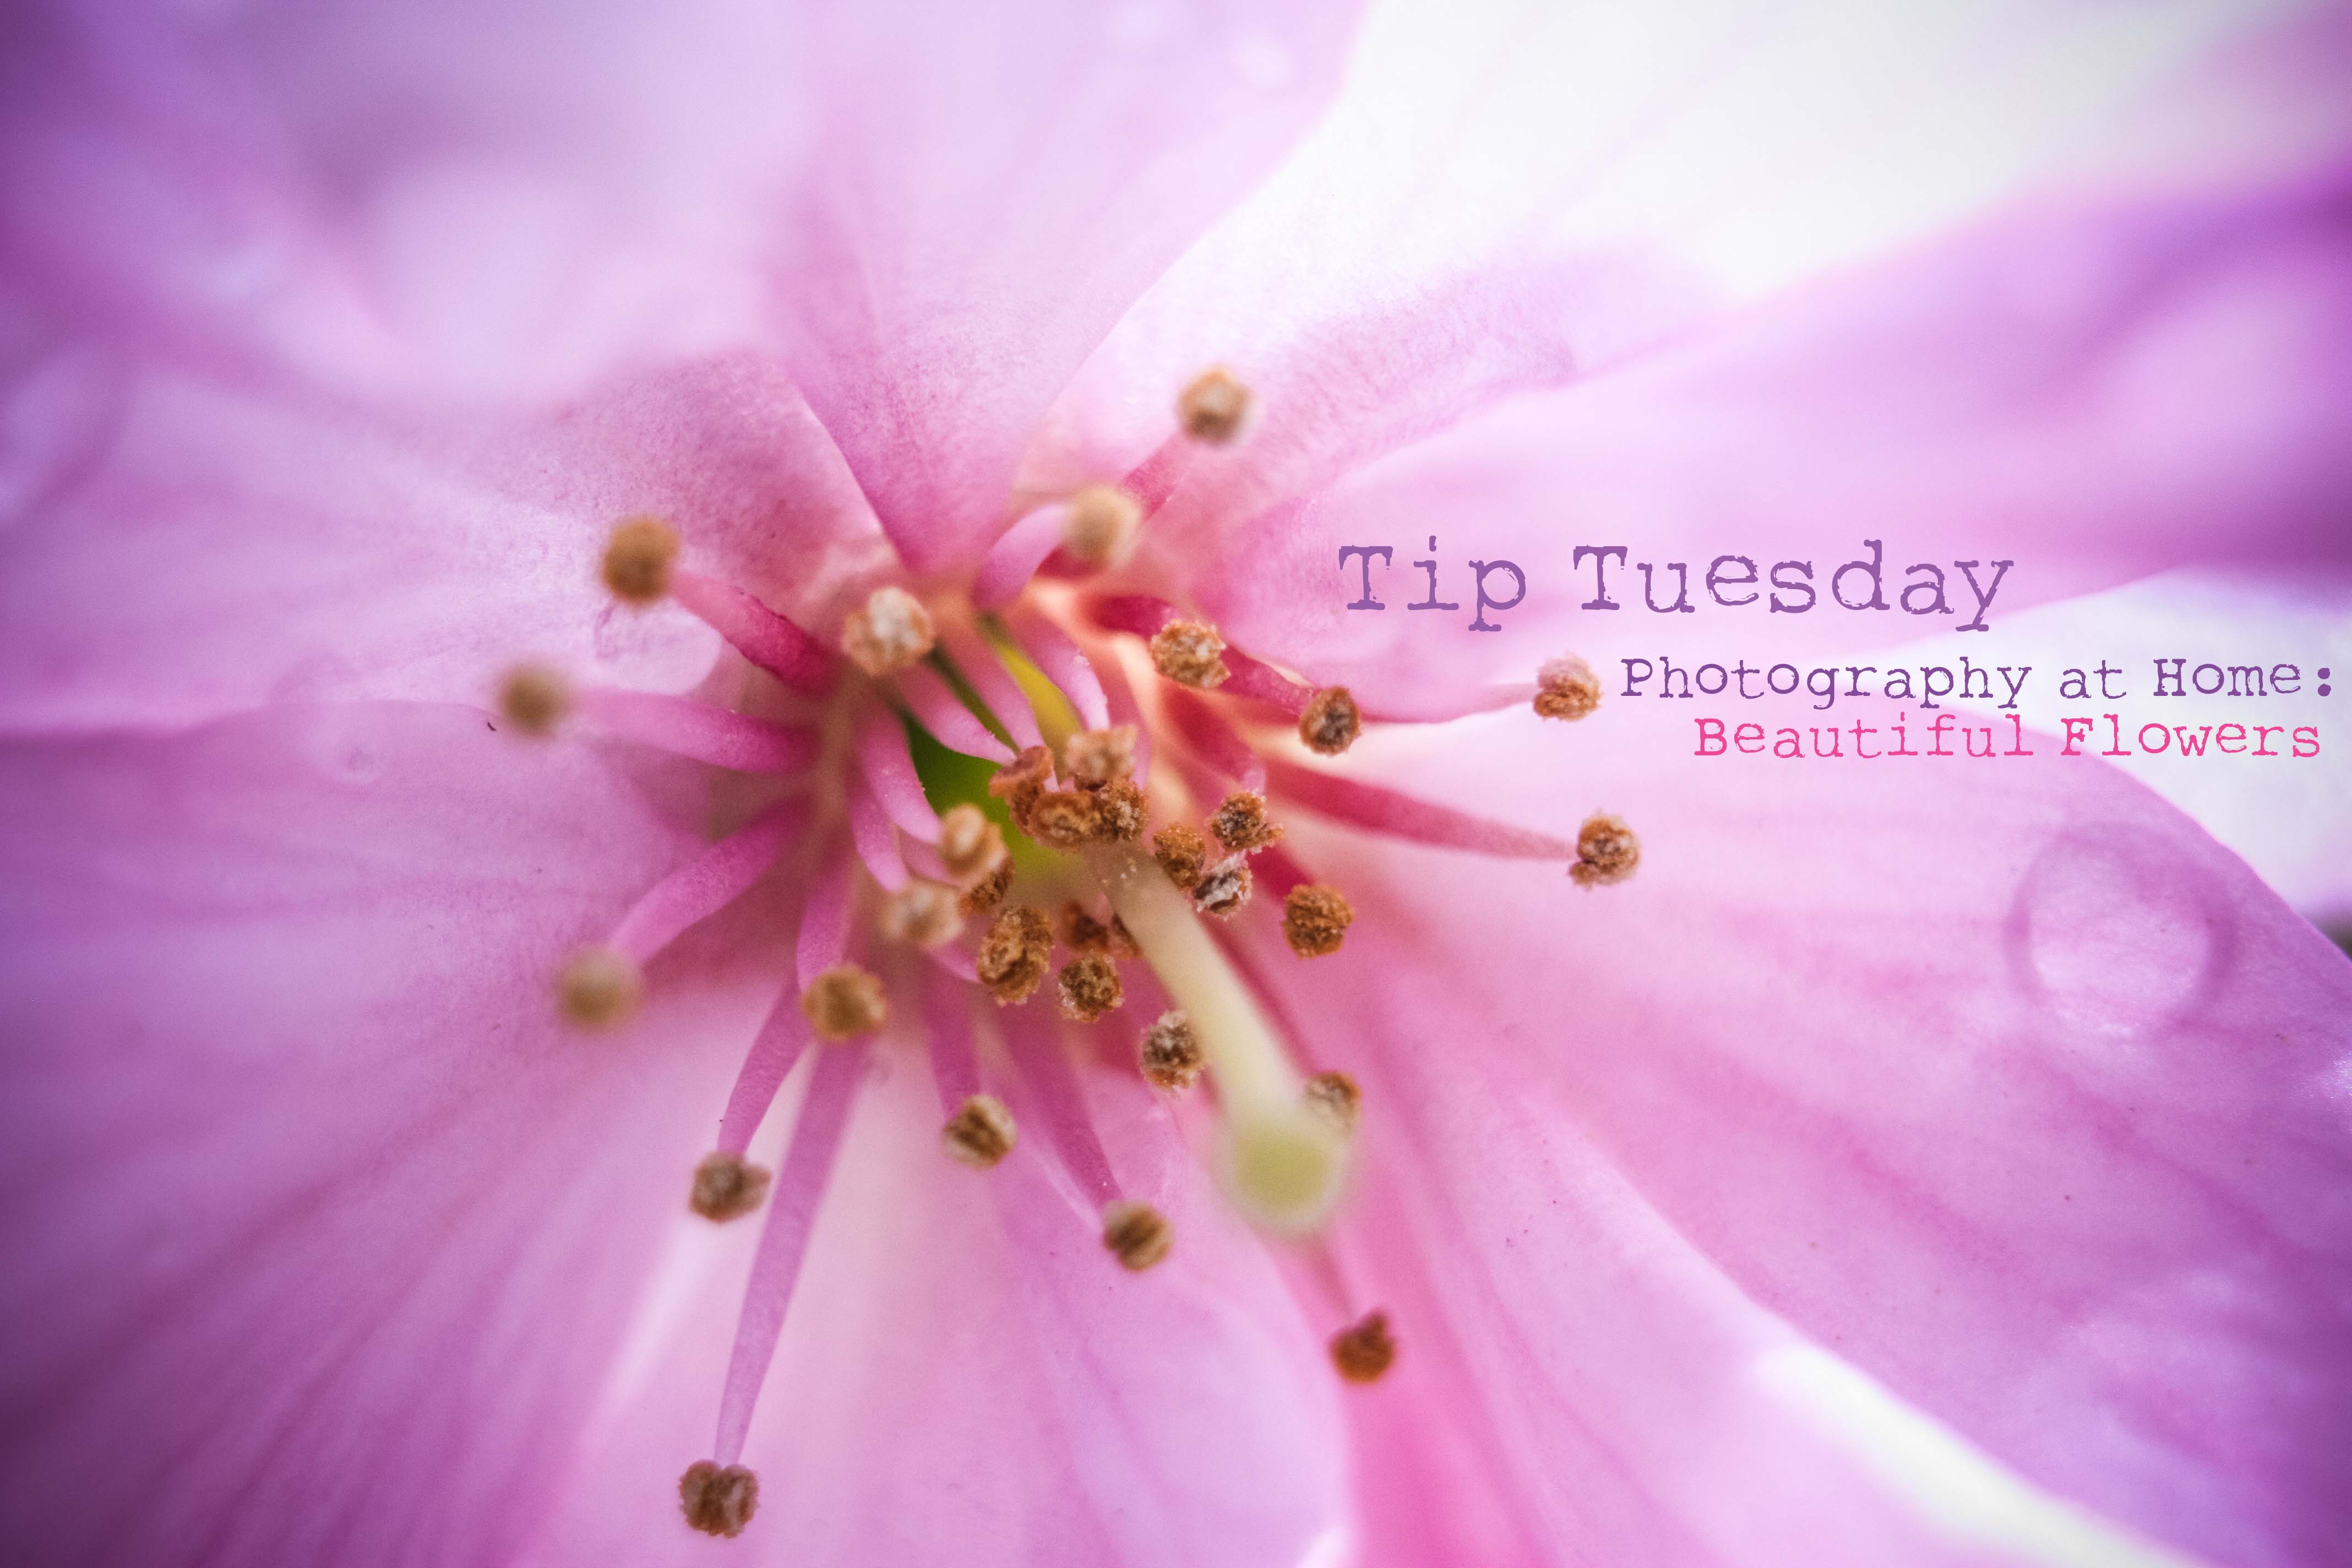
The closer you get to flowers the more details you see and the more stunning they become. If you want to take interesting and different photos of flowers then consider getting in close. A photo of a whole blossom tree can be beautiful but our tree only has a few blooms at the moment and is quite small so it actually makes quite a boring picture. Usually I find my iphone4 really lets me down when I have forgotten my camera but when it comes to taking close up shots it really comes into its own. Look how well it captures the water droplets on this flower!
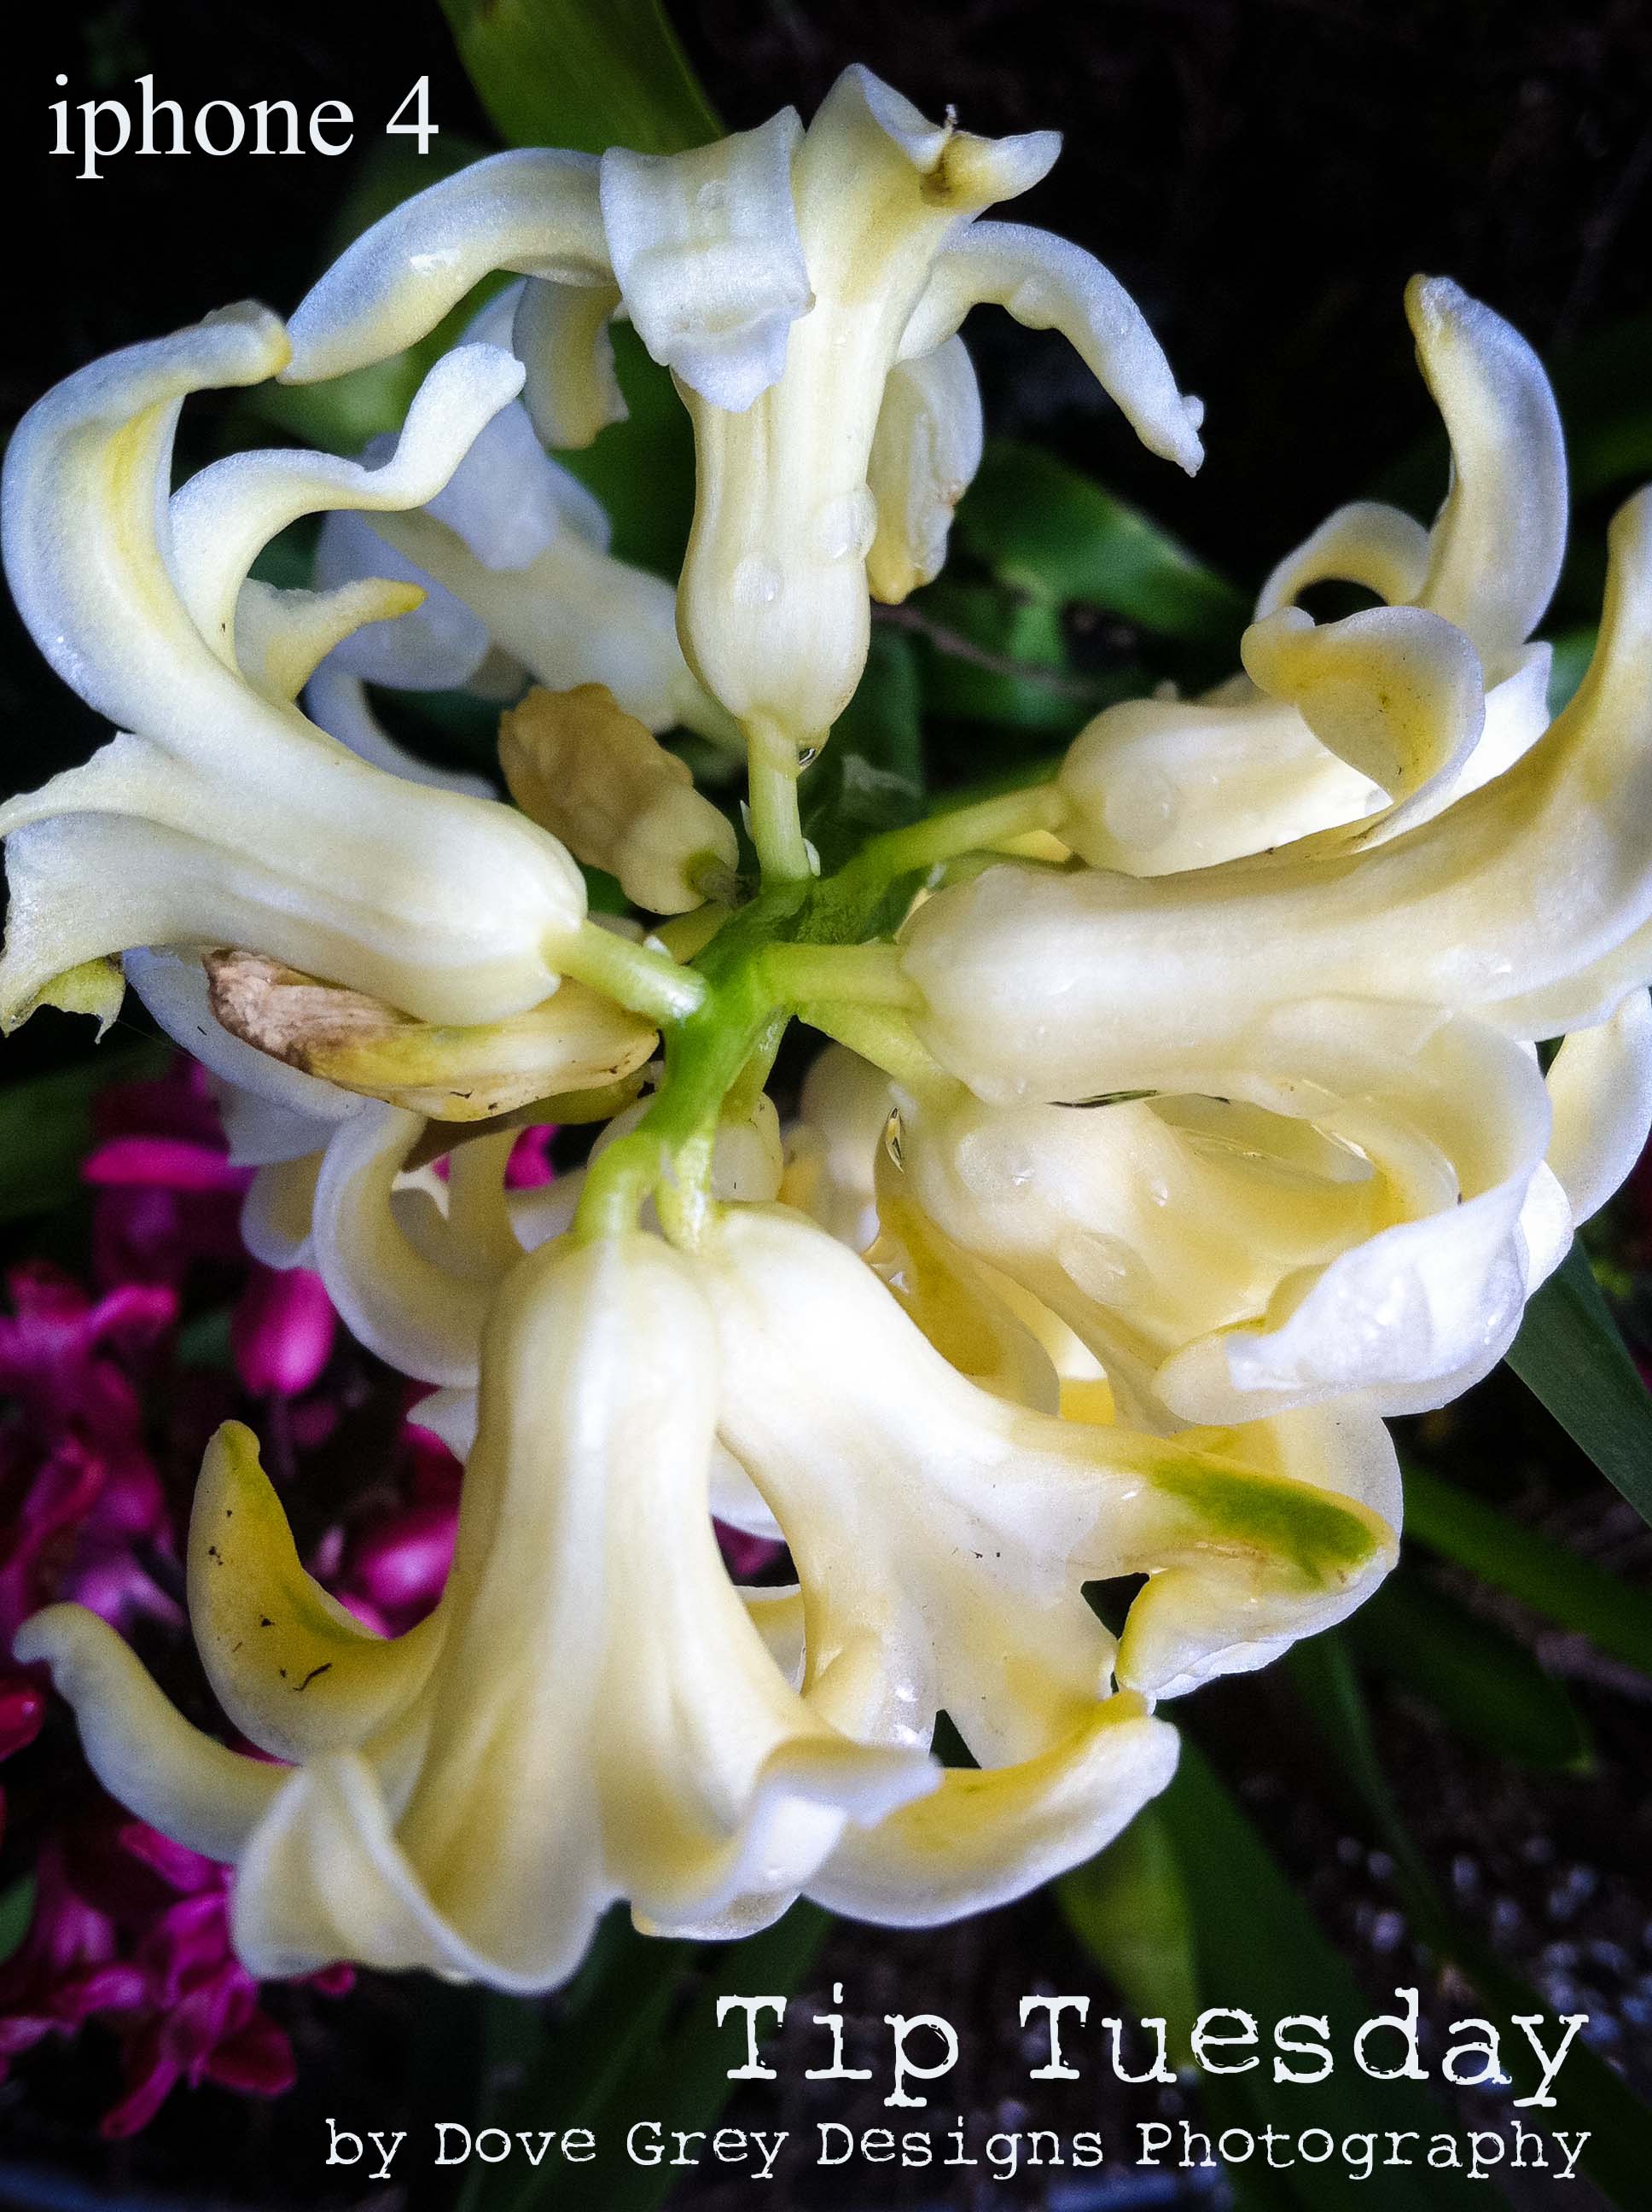
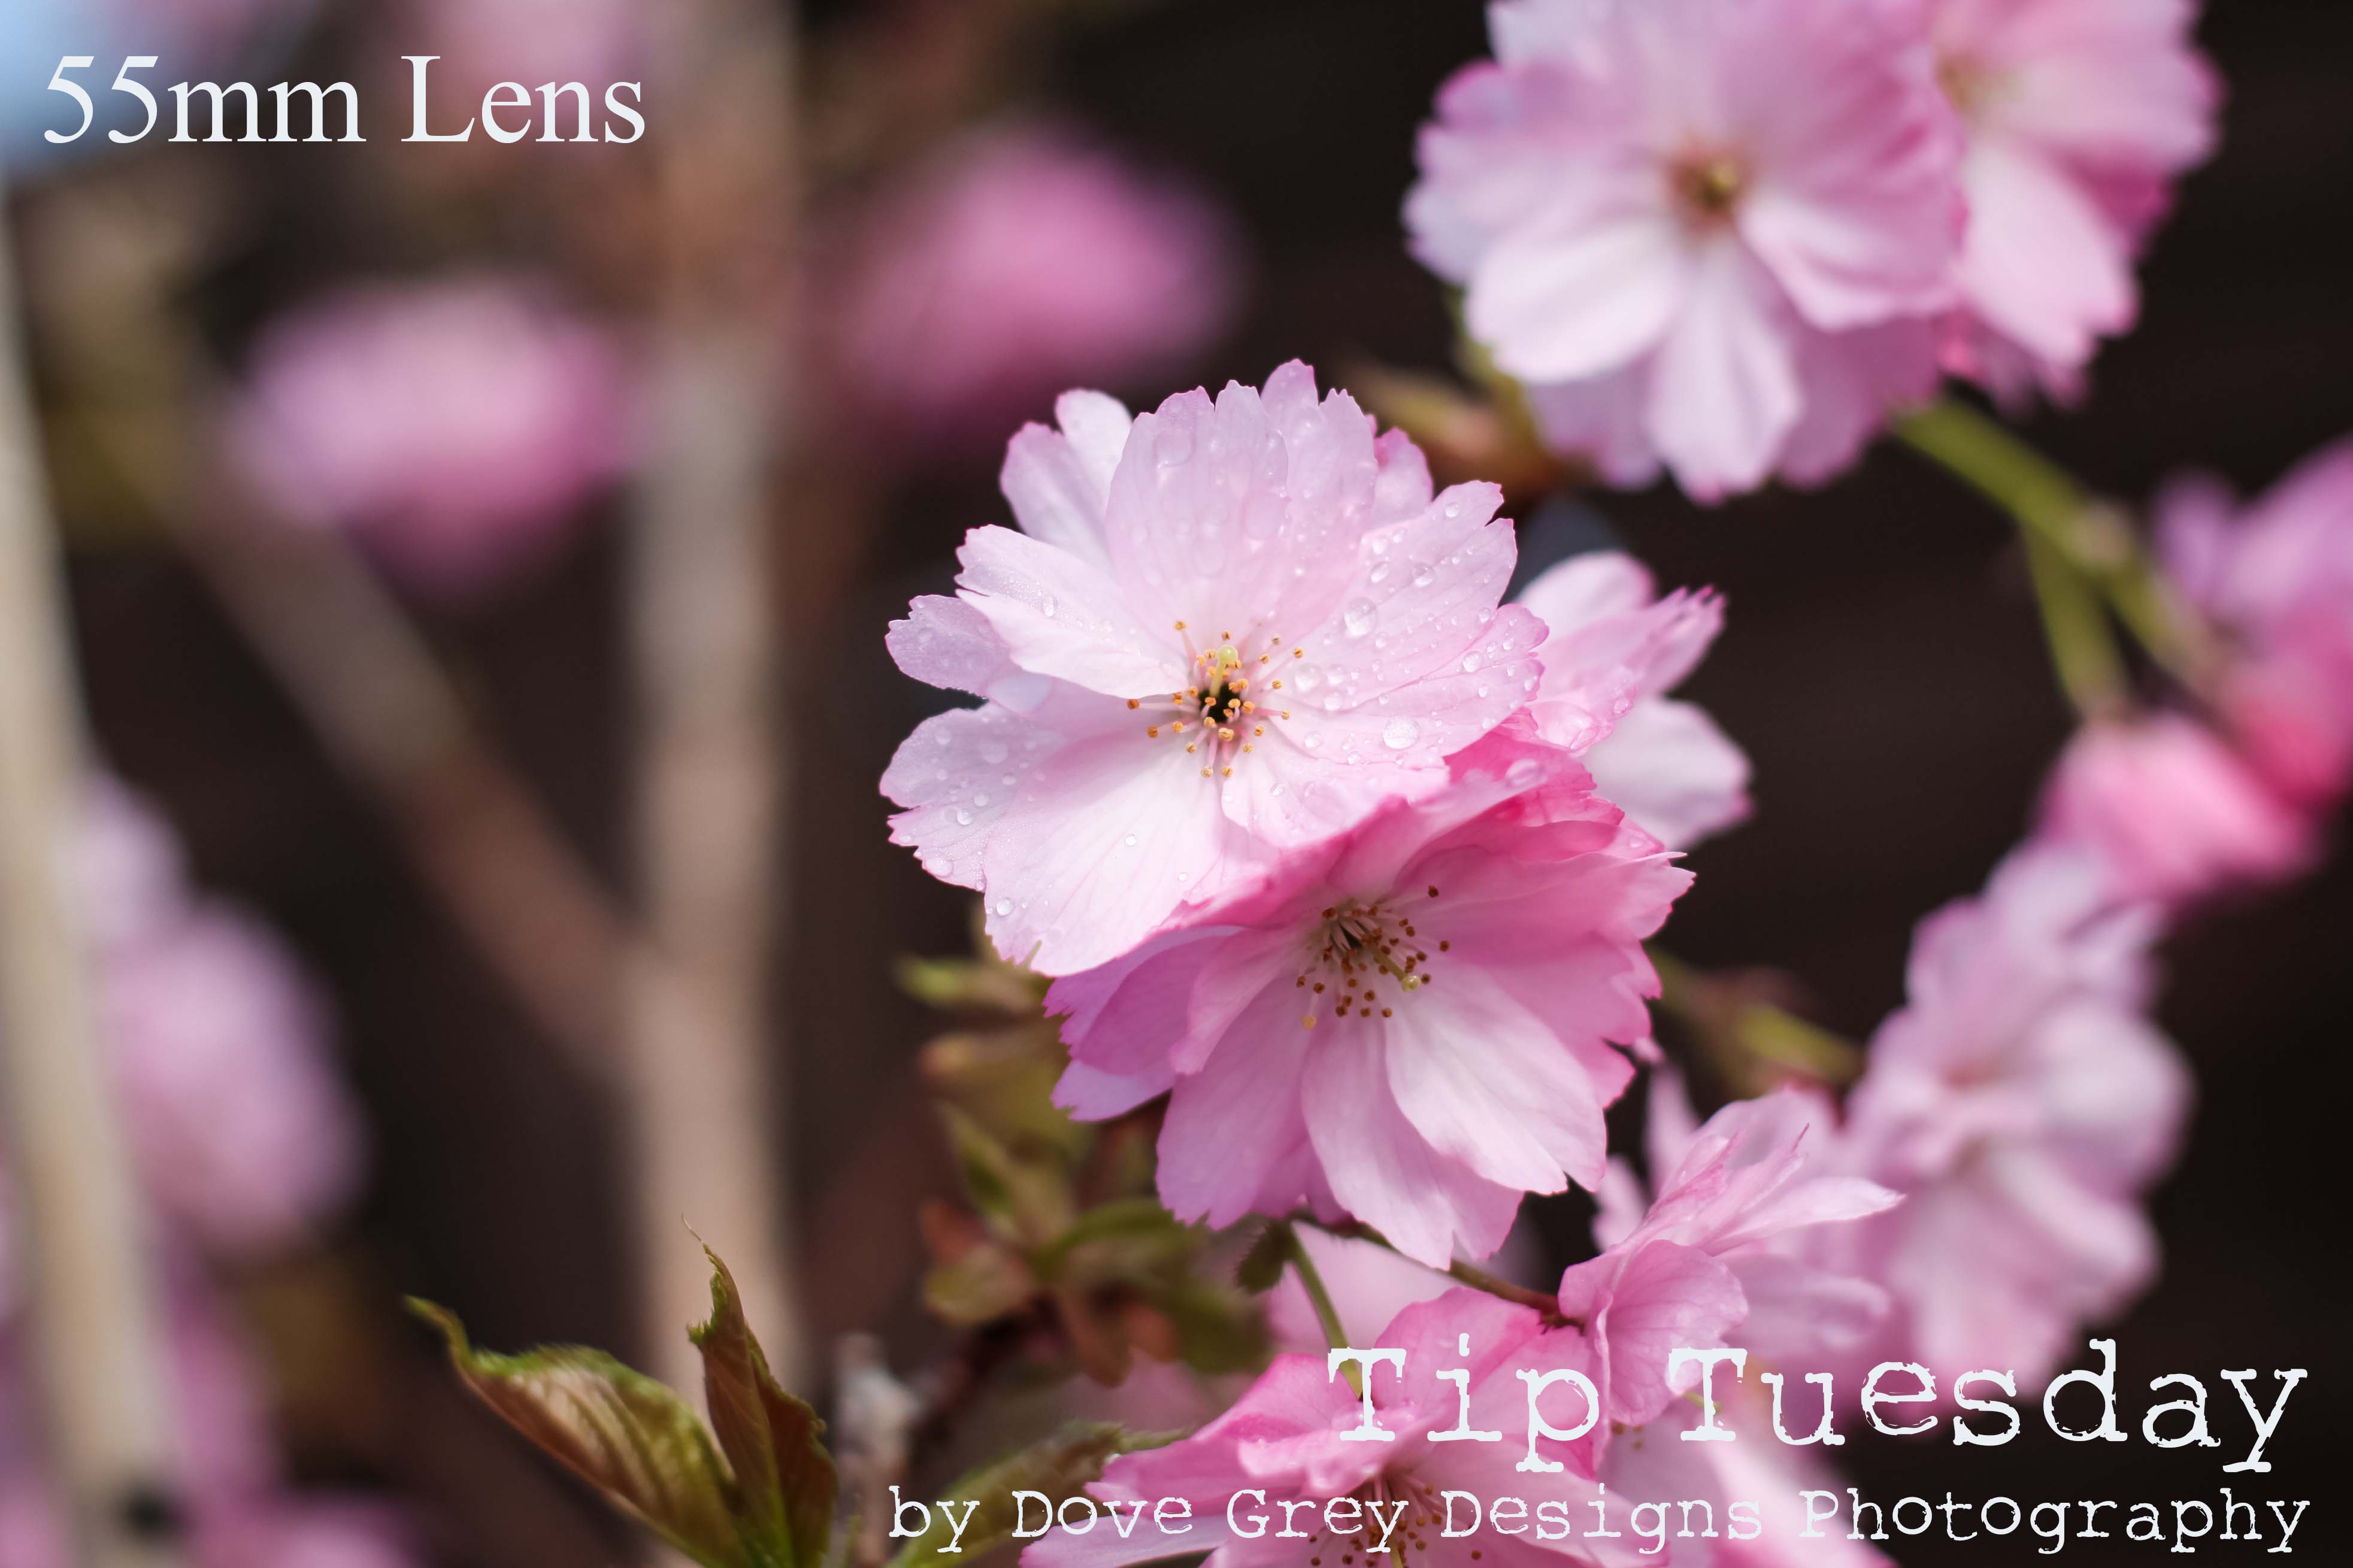
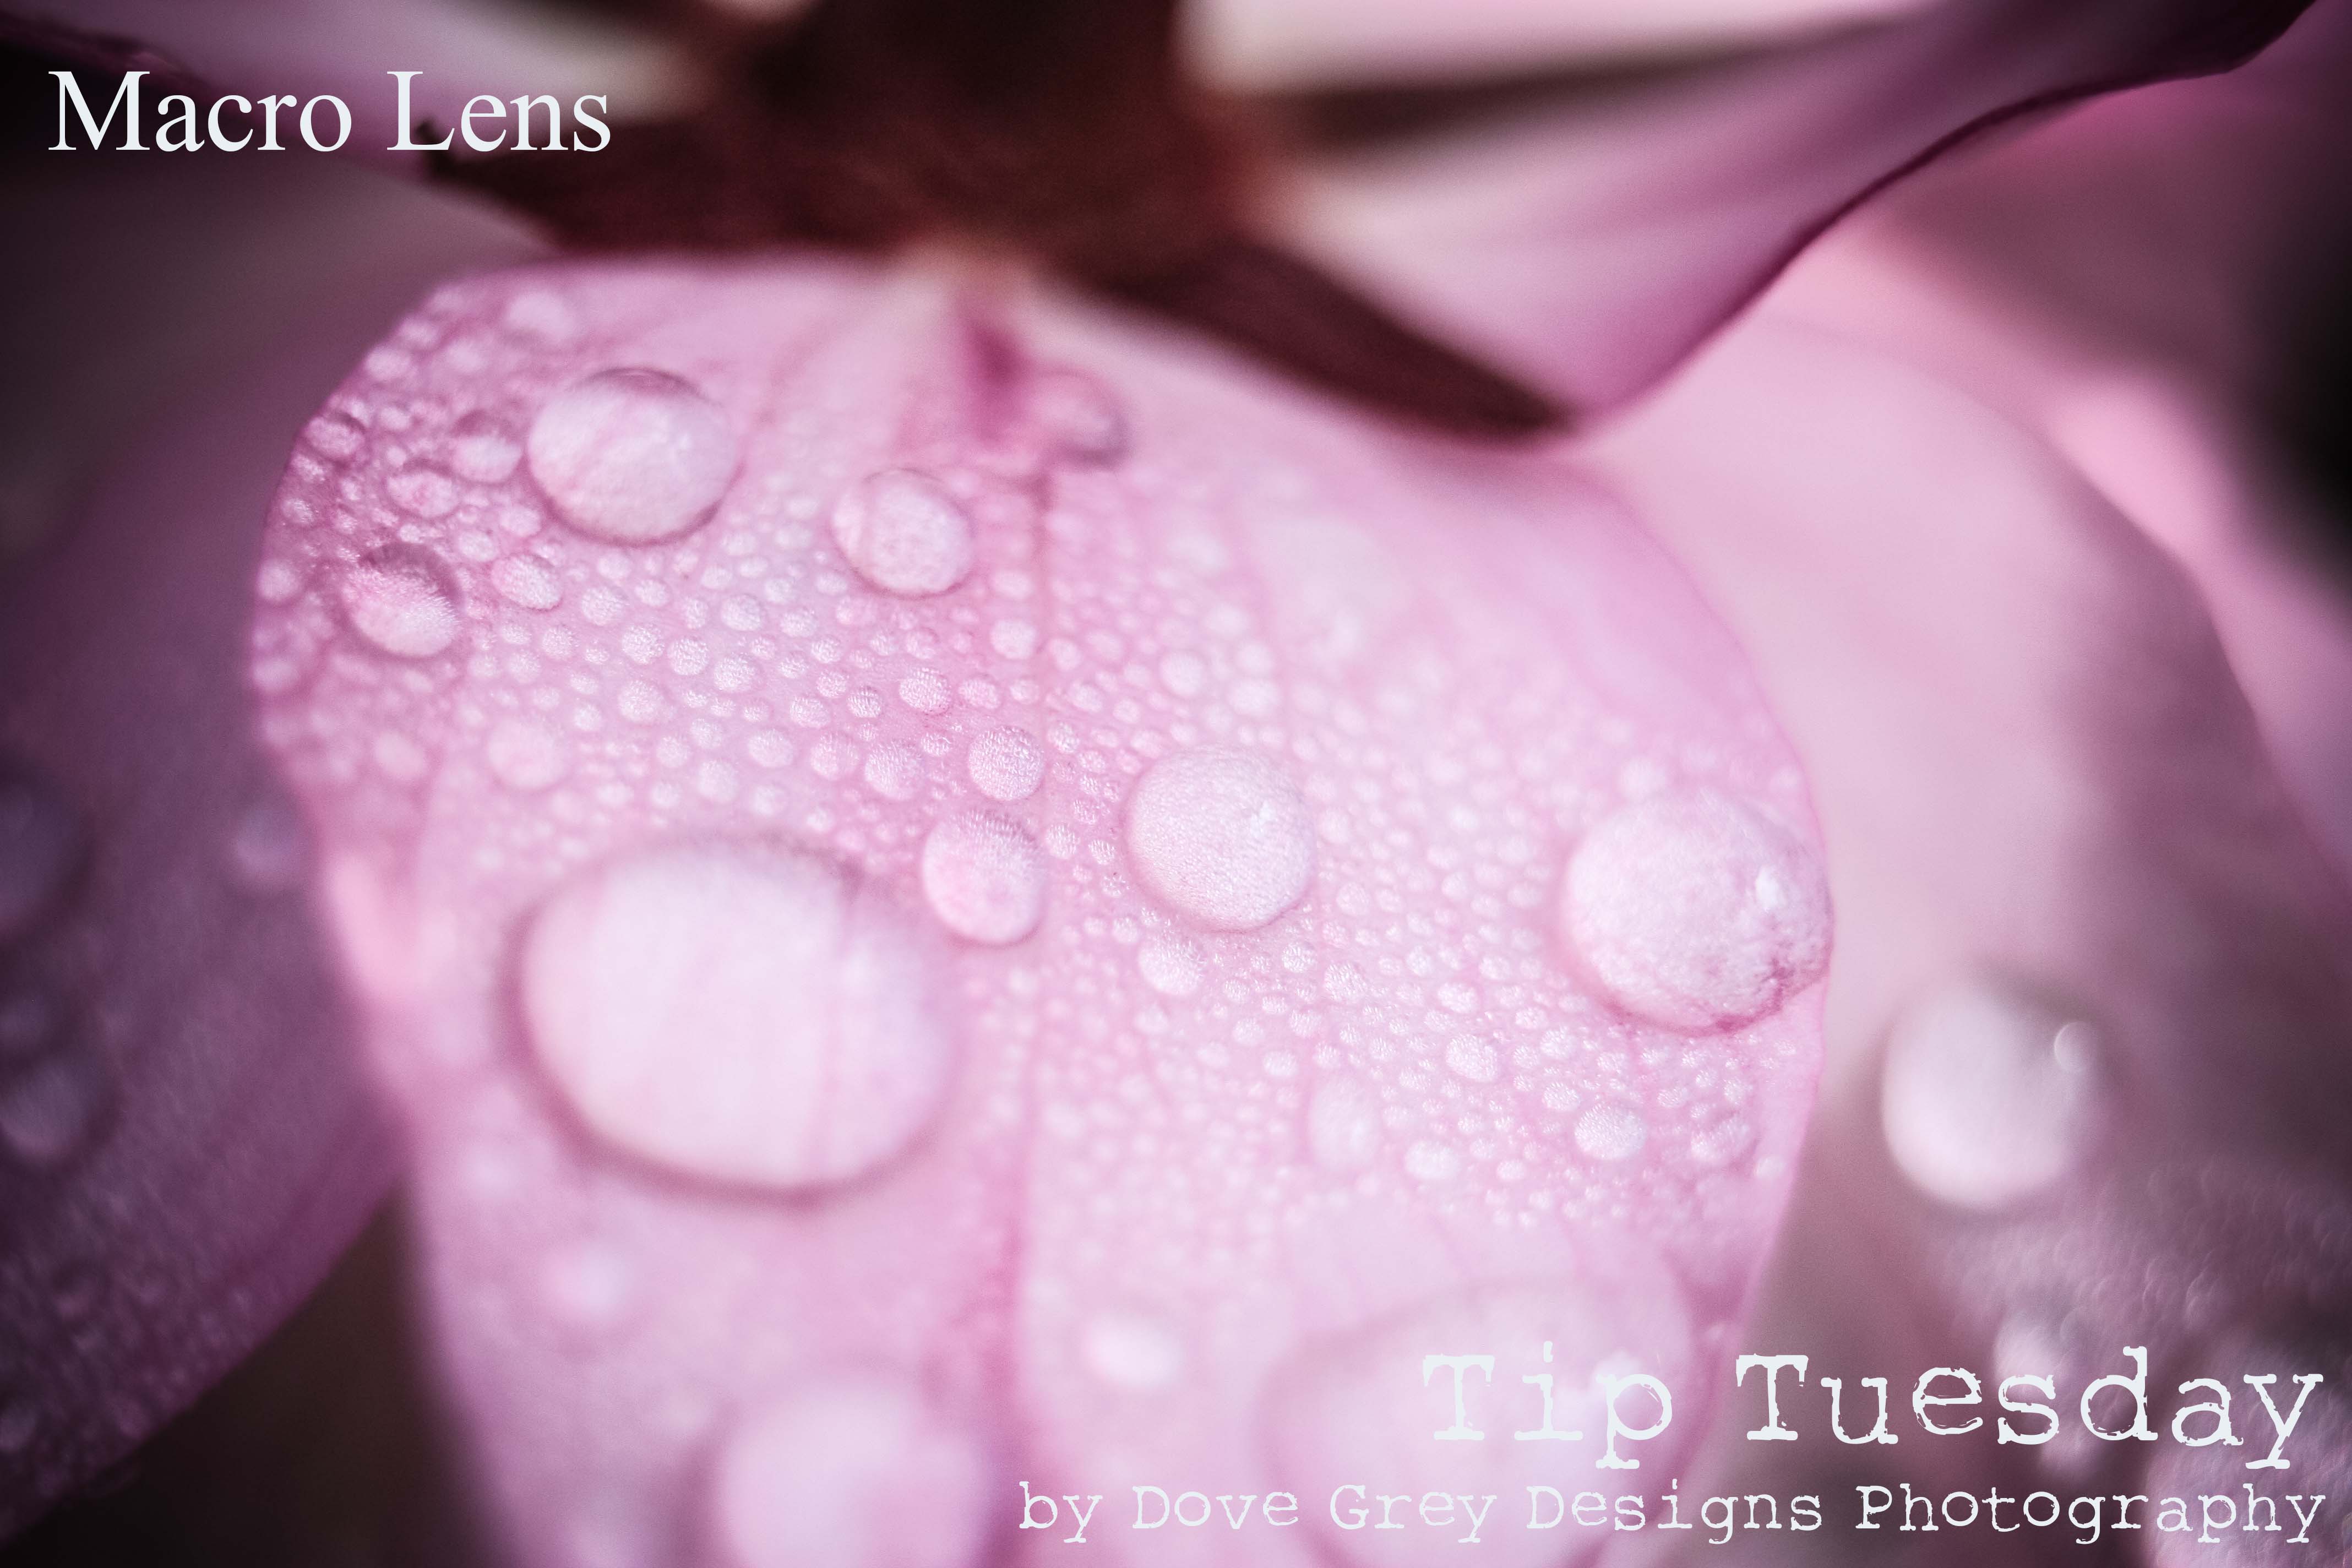
Another way to get in really close to flowers is to use a macro lens or set your camera on a macro setting. Straight away you have an image that isn’t your bog standard ‘blossom tree’ picture.
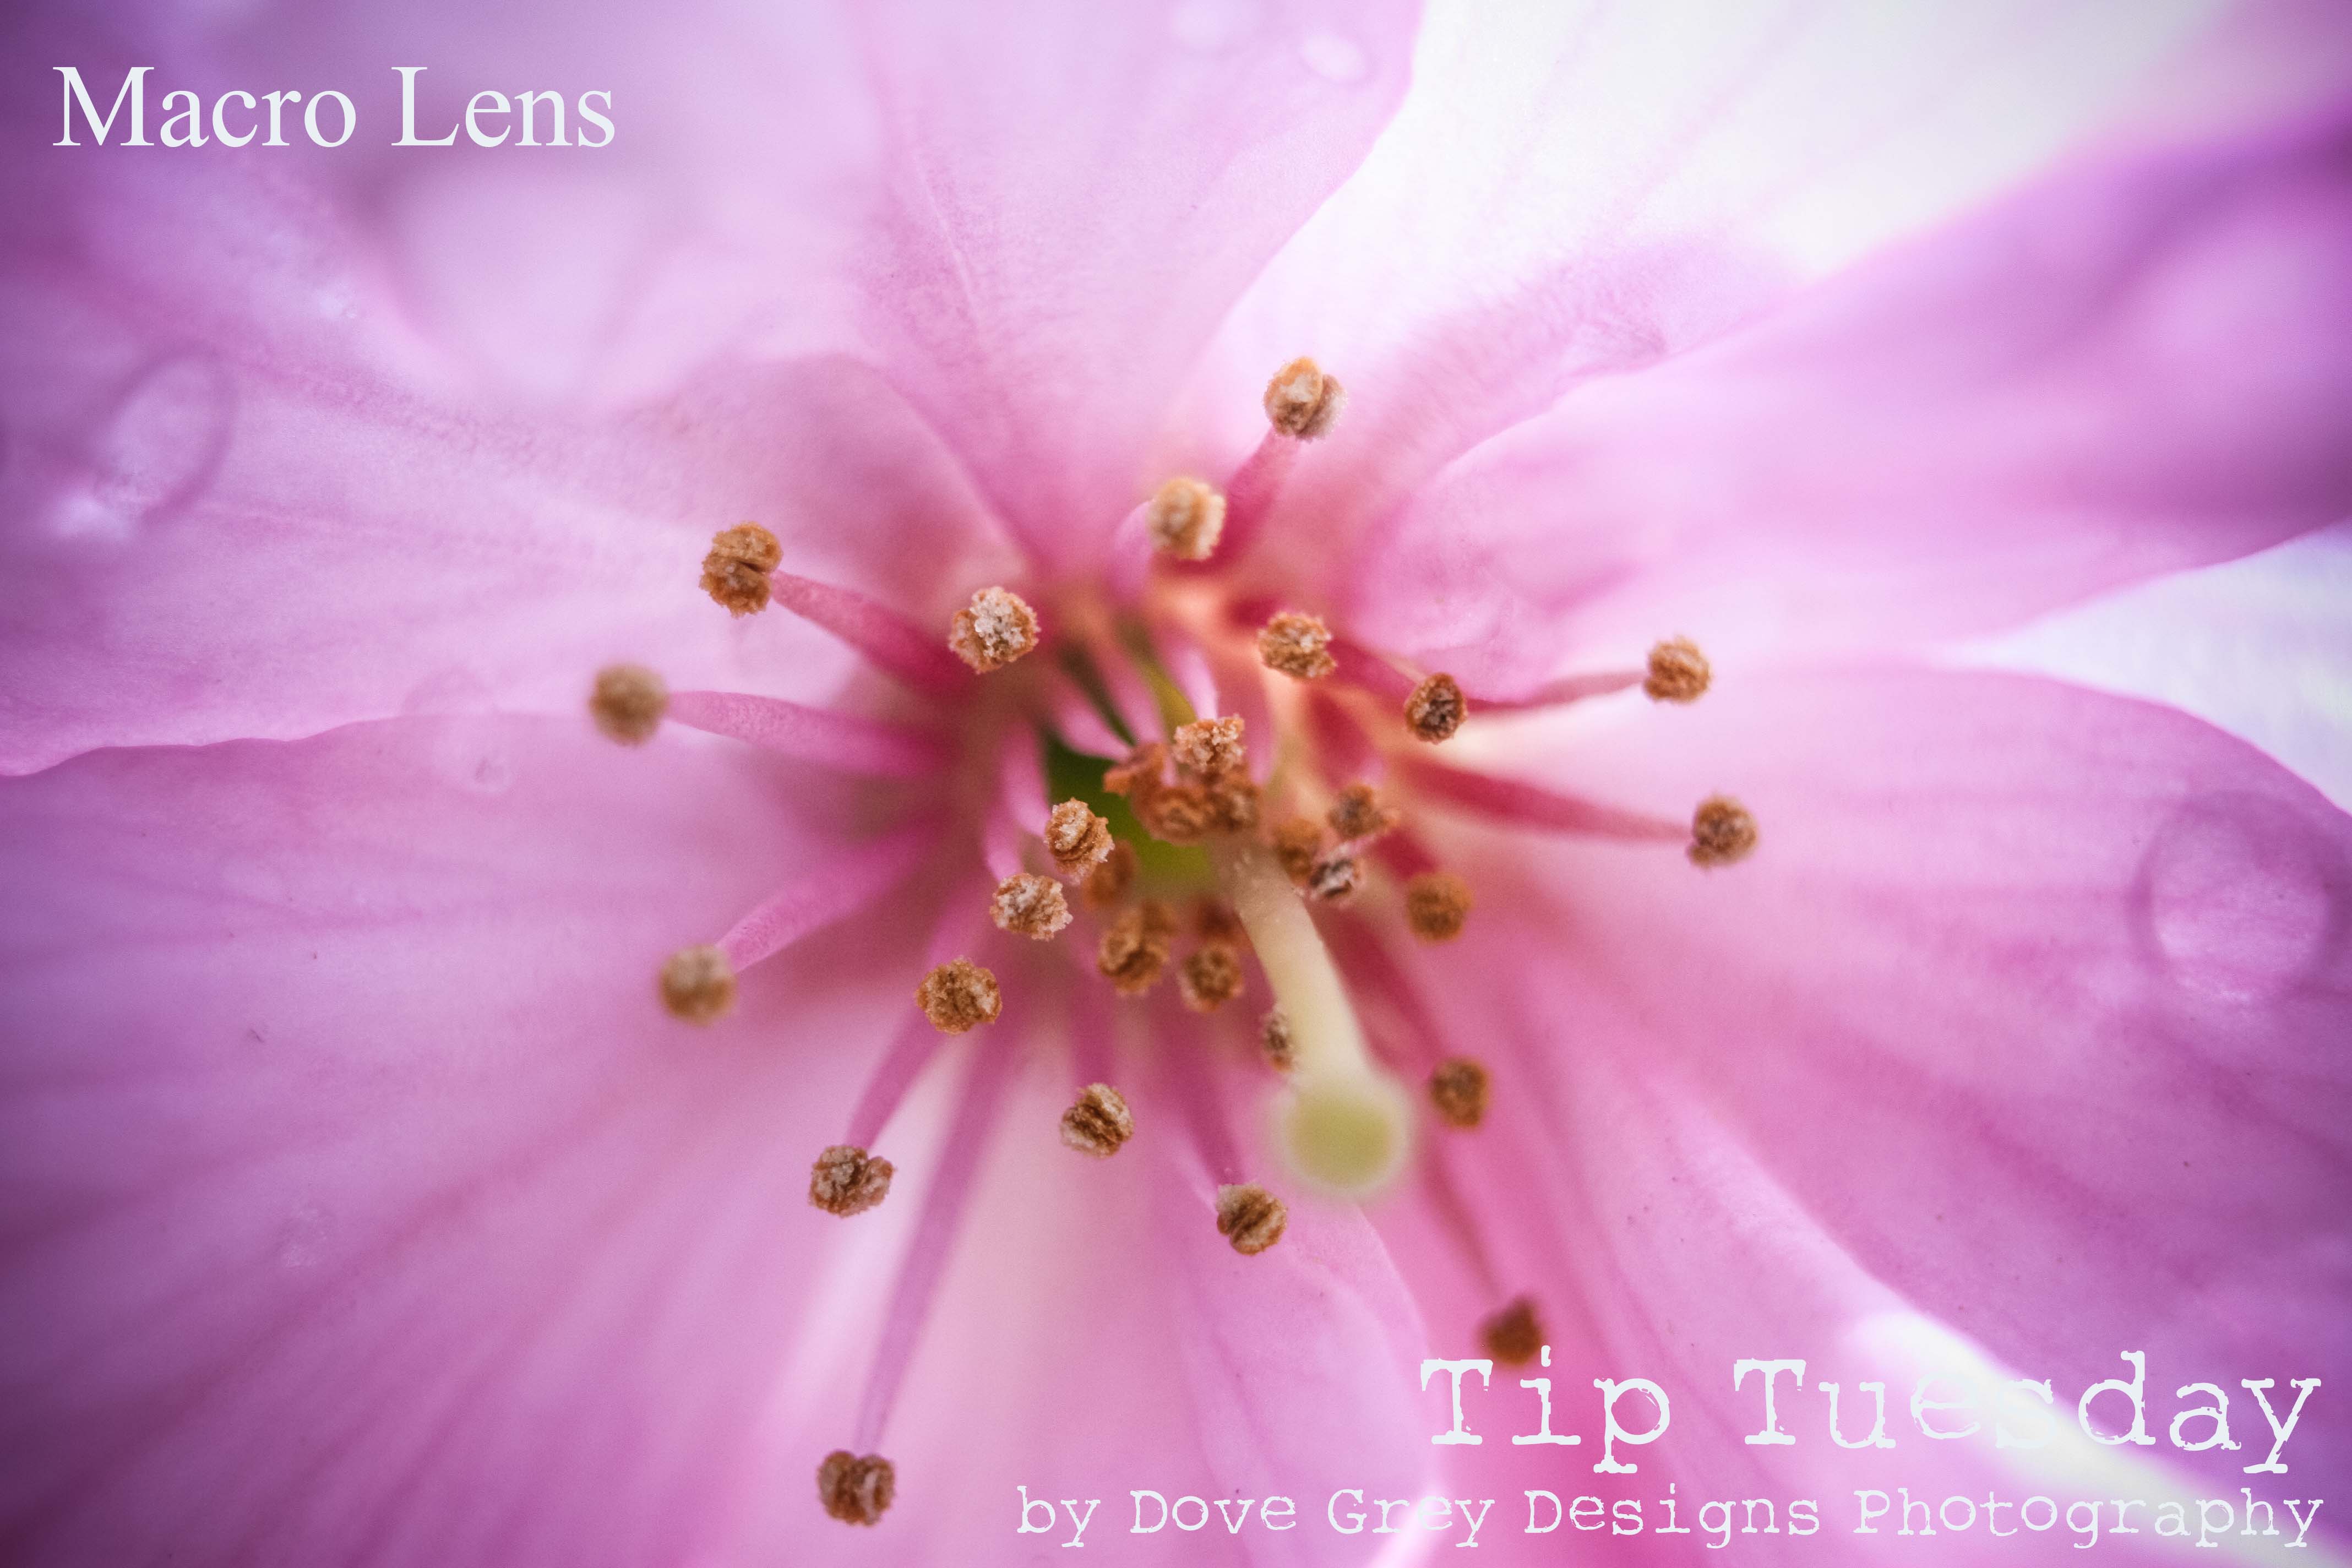
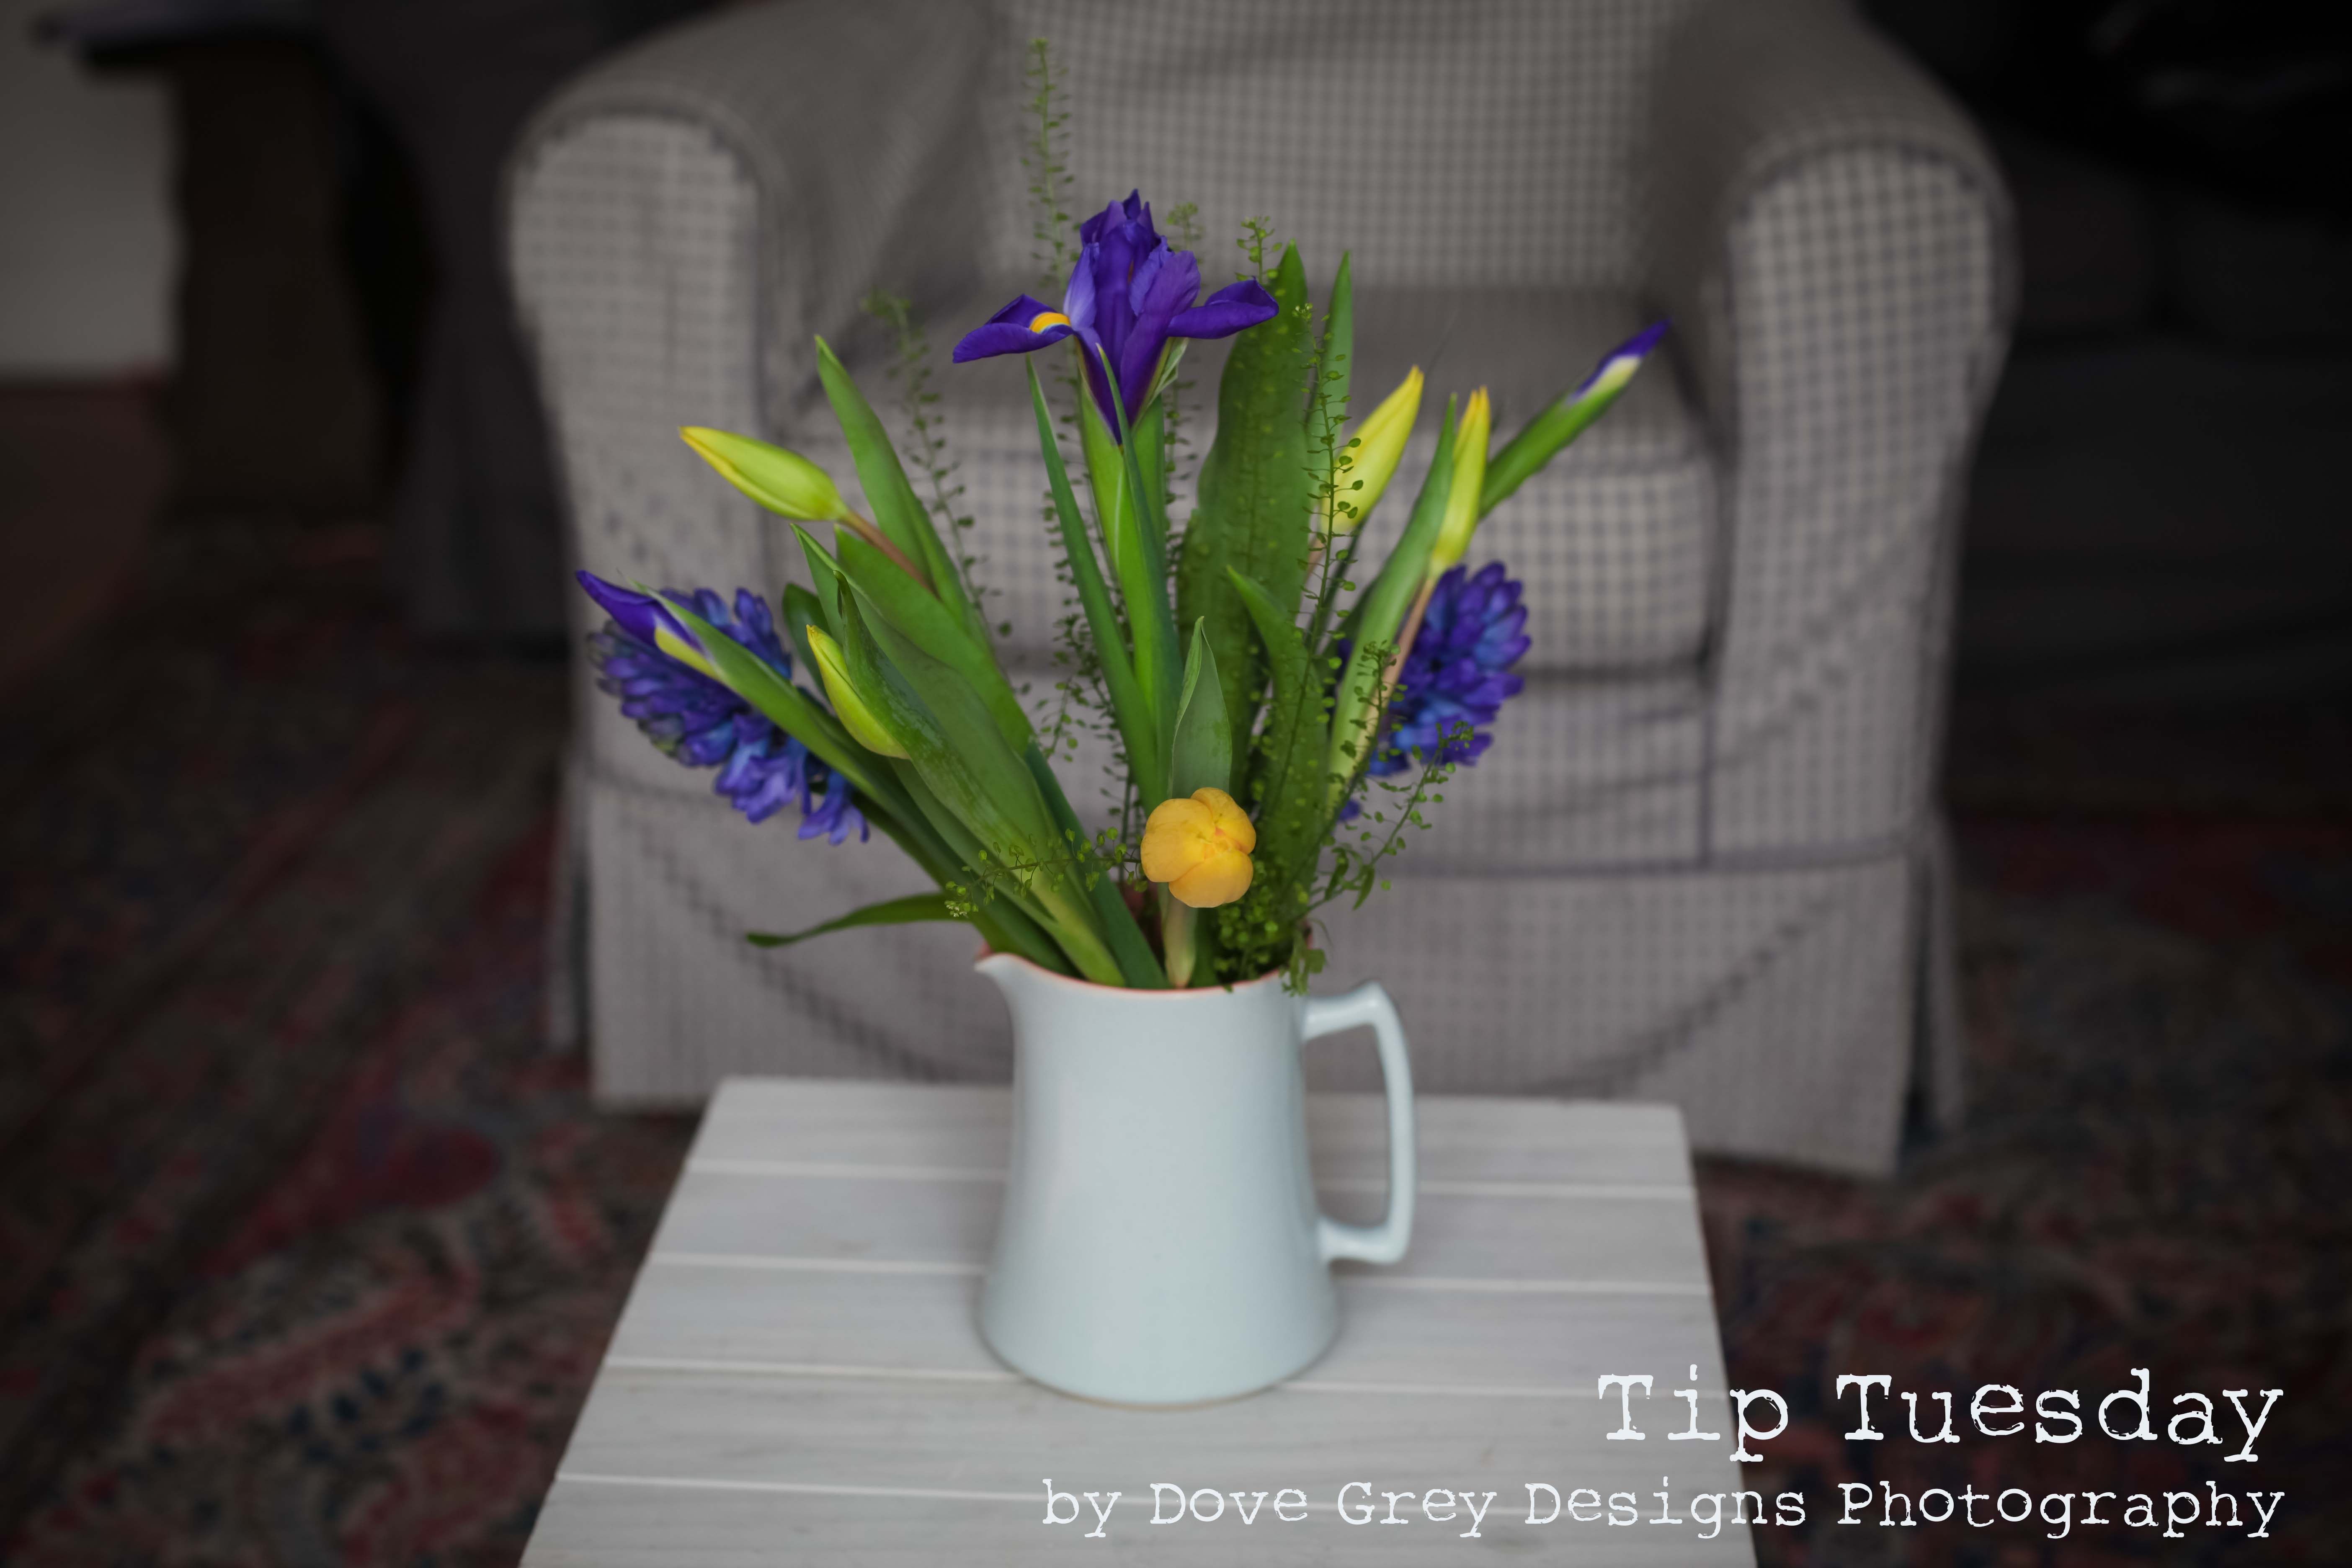
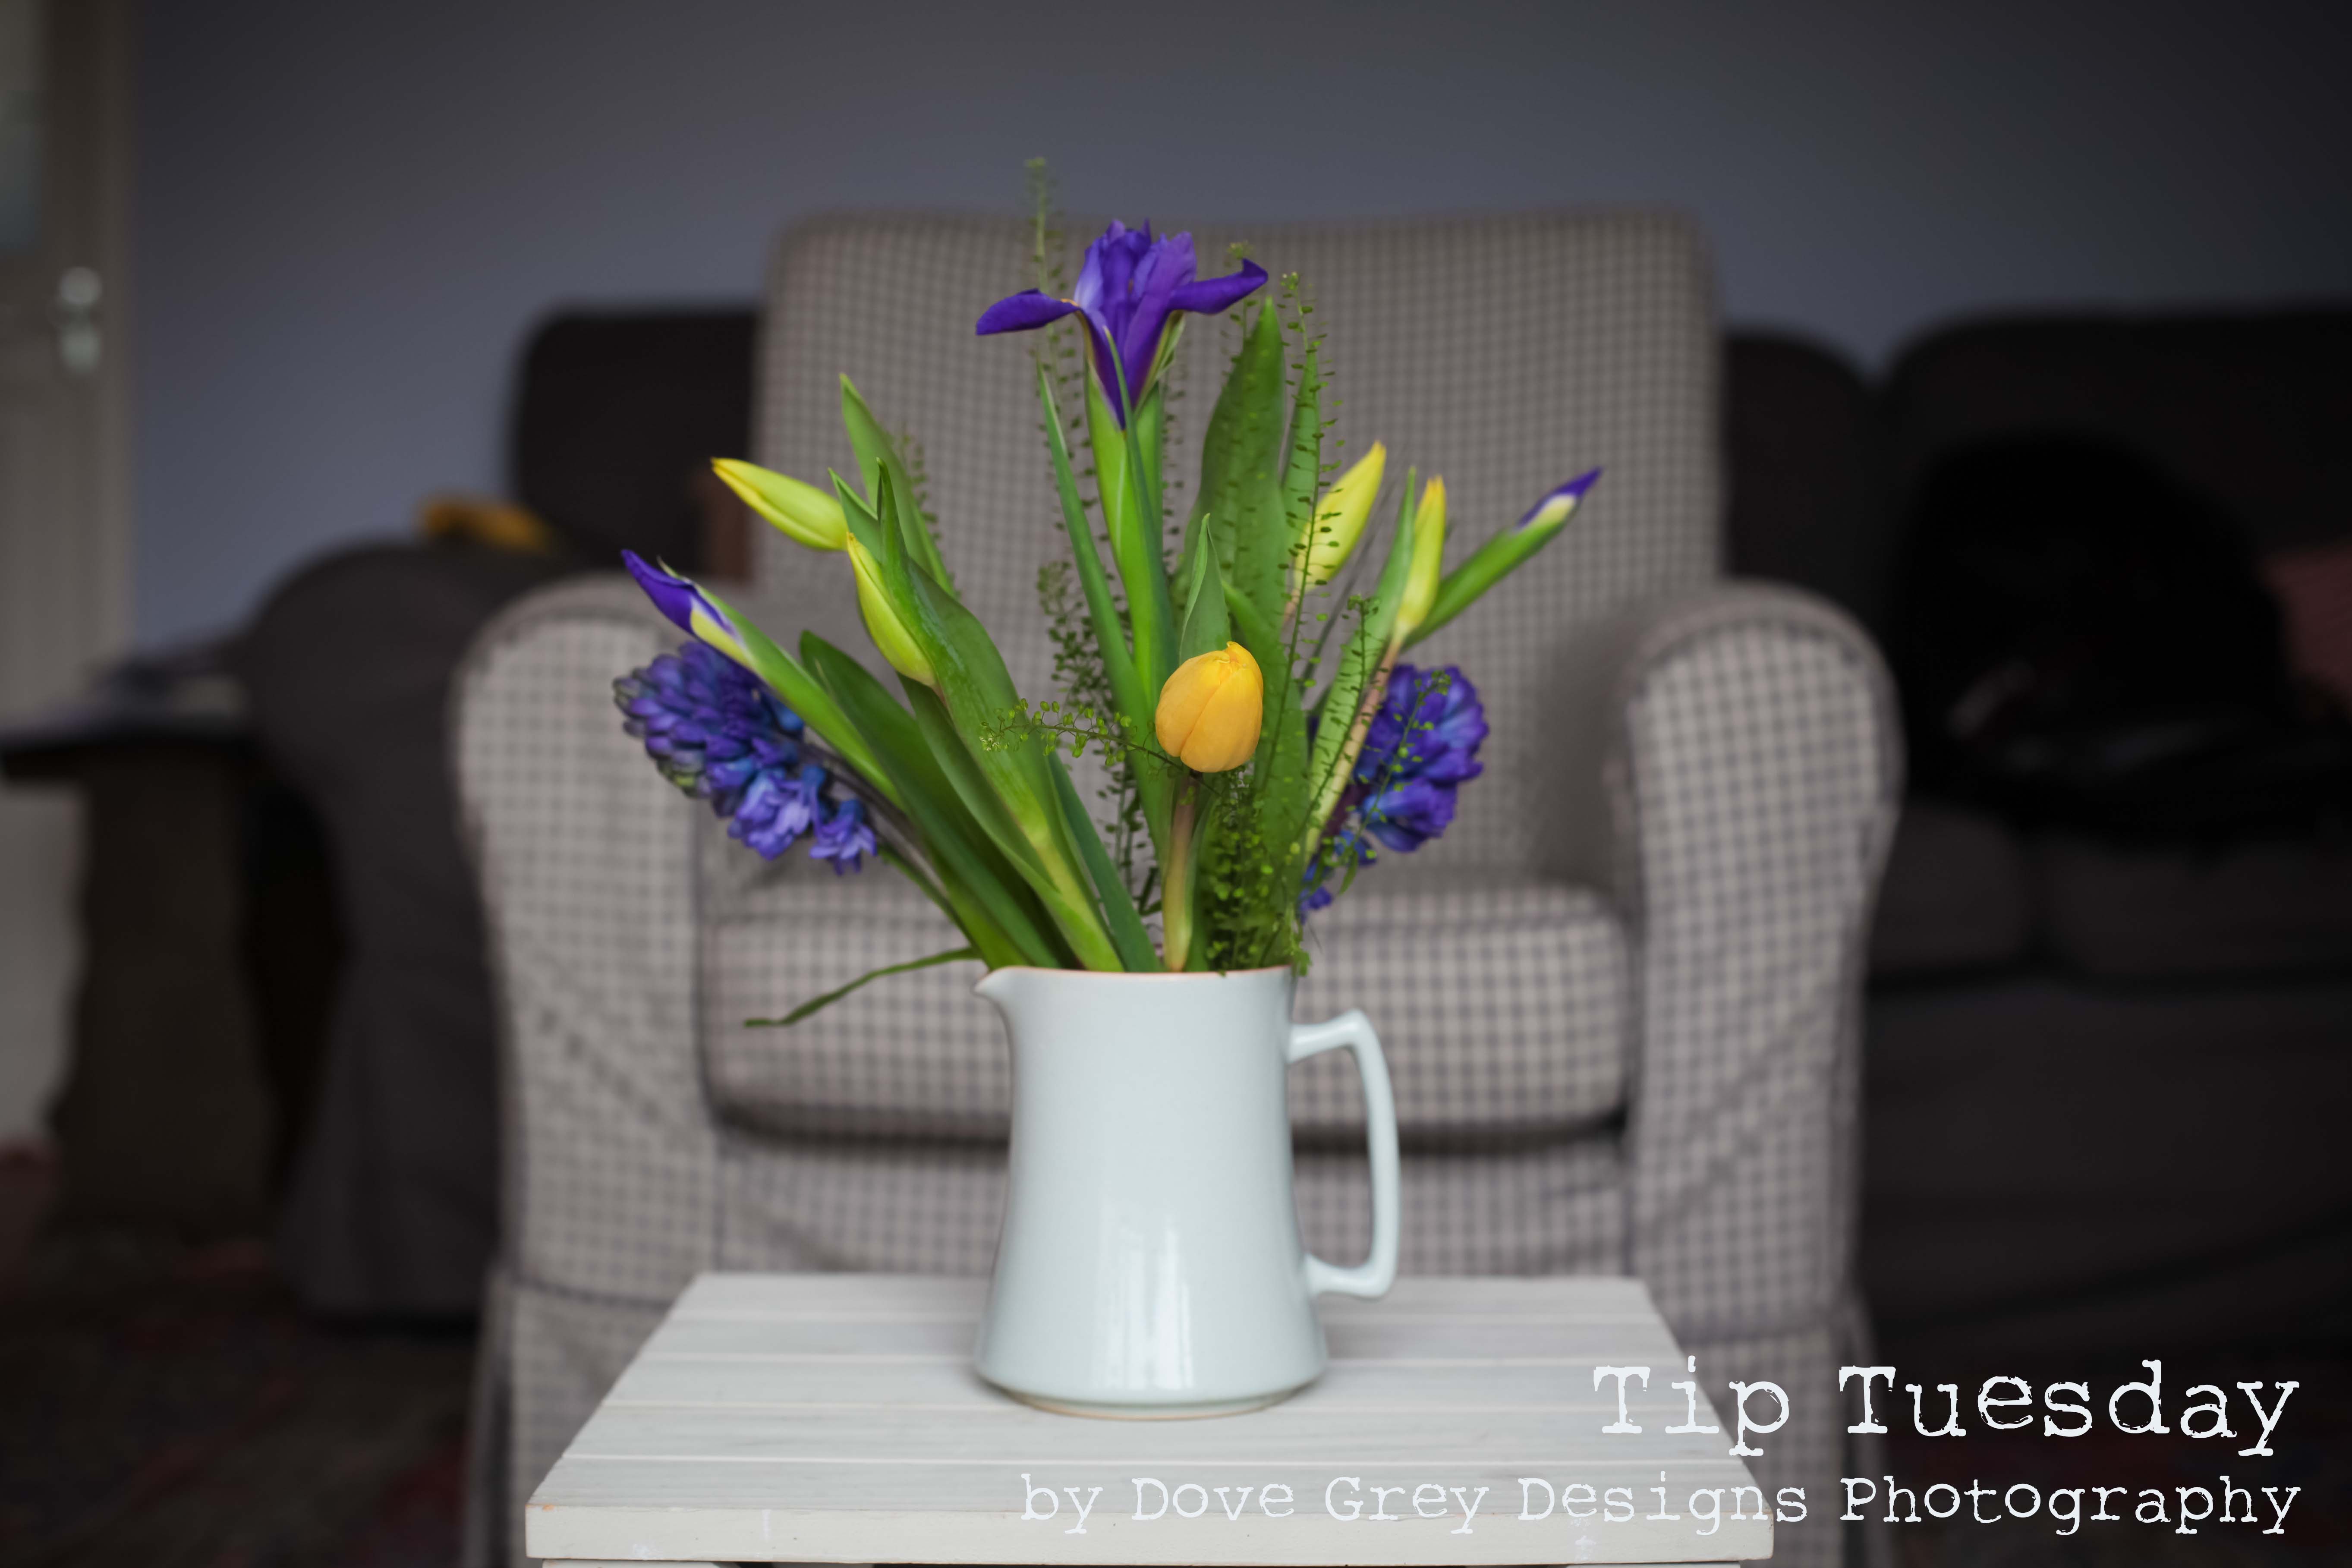
Positioning
The last thing to consider, which can make all the difference to a photograph of flowers, is your positioning. Too often I see photos on Facebook or Instagram of a vase of flowers photographed from above. This perspective makes the flowers seem diminished and small. See in the second photo how, just by lowering my position slightly, the flowers appear larger, fuller and as though they are bursting from the vase.
I hope that you have found this tip useful and have lots of opportunities to put it into practice over the next few months! Please visit my facebook page (link at the bottom) to let me know if you found this helpful and to suggest ideas for Tip Tuesday!
Here are a few more photos that I took when putting together this tip, I think I will be getting my macro lens out much more often!

Come and say Hi!
www.facebook.com/dovegreydesigns
Twitter: @DoveGreyDesigns
Instagram: @antoupfield
Pinterest: @antoupfield
Lovely pictures Anto!
Another helpful tip :)