Tip Tuesday – Photography at Home: Simple Steps to a Blurry Background.
Mother’s Day and a lovely sunny walk on the beach; the perfect opportunity to photograph my little sister and put together a tip for you! This week I am going to show you how to position yourself and your subject to ensure that you get a lovely blurry background that makes your subject stand out and look sharp. I will also suggest a couple of things you can do to your camera settings, making this tip even more effective.
My preferred camera setting is manual. I like it because it gives me complete control over the images that I am taking and, as you can see from the photos below, I like my photos to be quite light and over exposed. If I were to shoot in automatic, the camera would choose to take images that are quite a bit darker. If your camera has manual, aperture priority or shutter priority settings then it is really worth spending some time experimenting with the different settings, reading the manual, looking it up on google or watching videos on YouTube. You will see a noticeable improvement in your photos if you stop letting the camera make all the decisions for you. If you have a camera that lets you control the aperture, now is the time to use that setting. By setting your aperture to a low number (for the photos in this post I used an easy 4.0) you will achieve a much blurrier background than if your aperture is on a high number such as 10. I’m not going to go into too much detail about aperture settings in this post as all cameras are set up differently and it can all start getting a bit technical and confusing. I will do a separate post on how to use the different camera settings at a later date.
Even if you can’t or don’t want to fiddle around with your camera settings, you can still follow these next tips to achieve a blurry background.
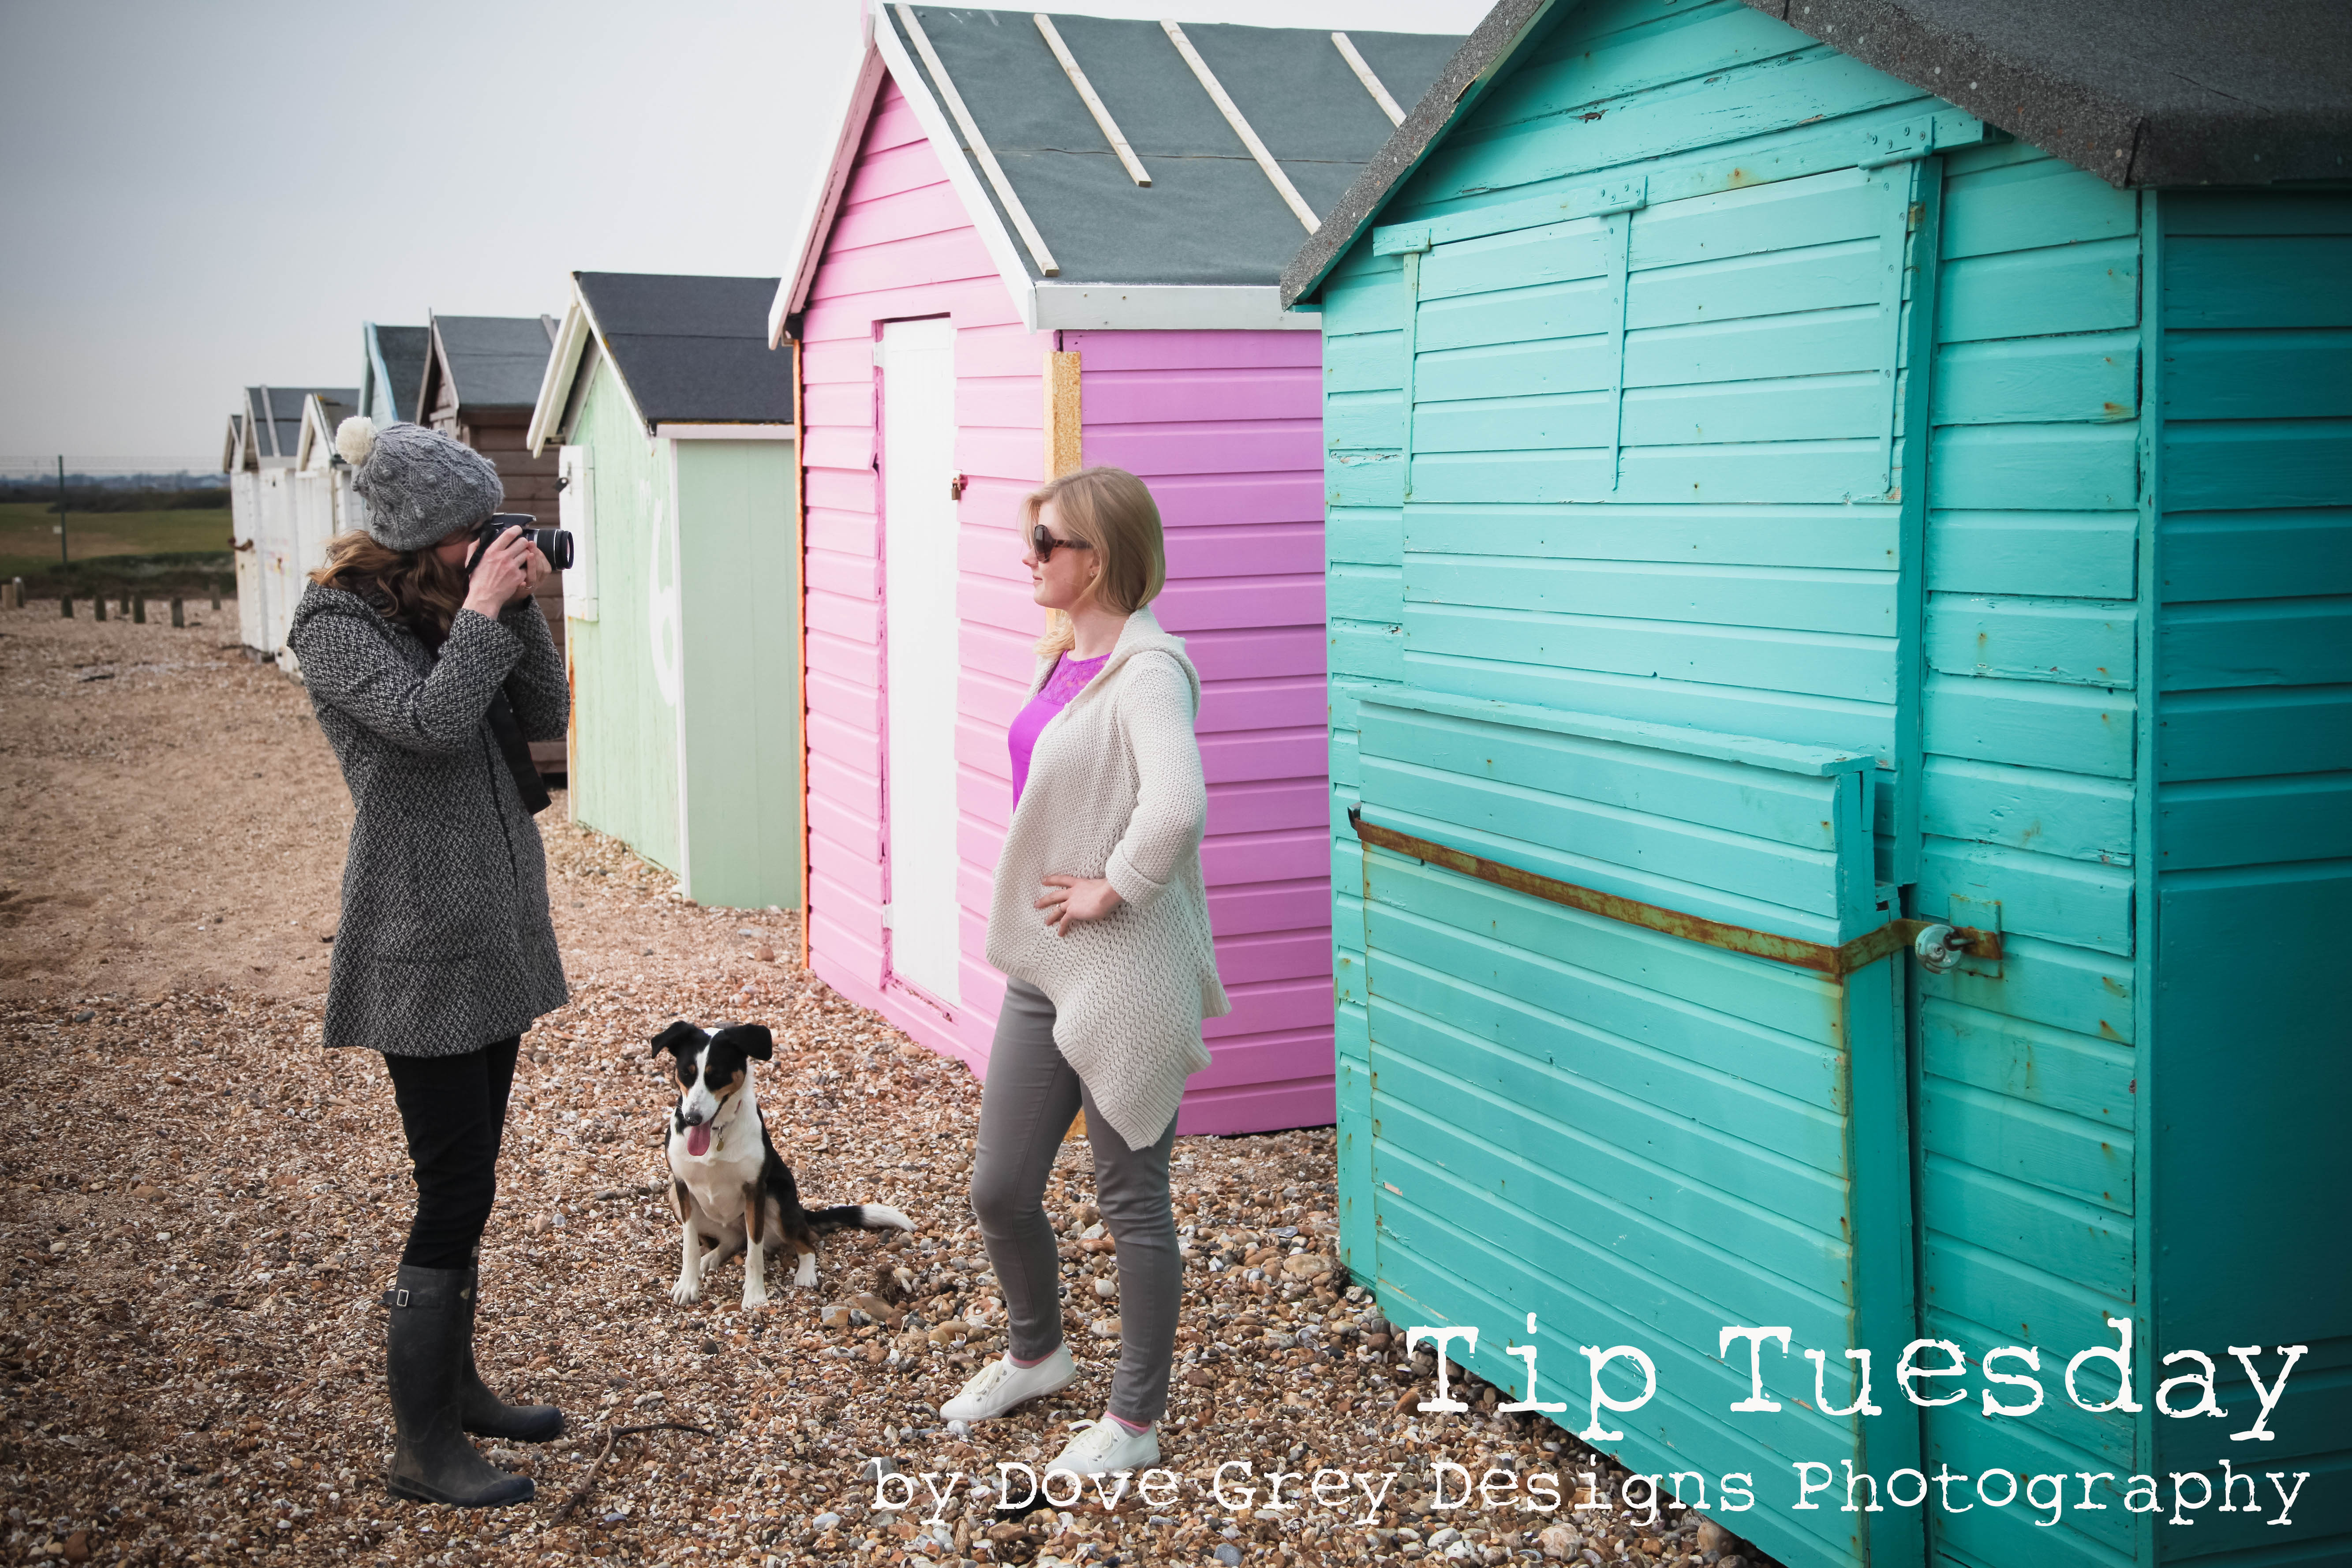
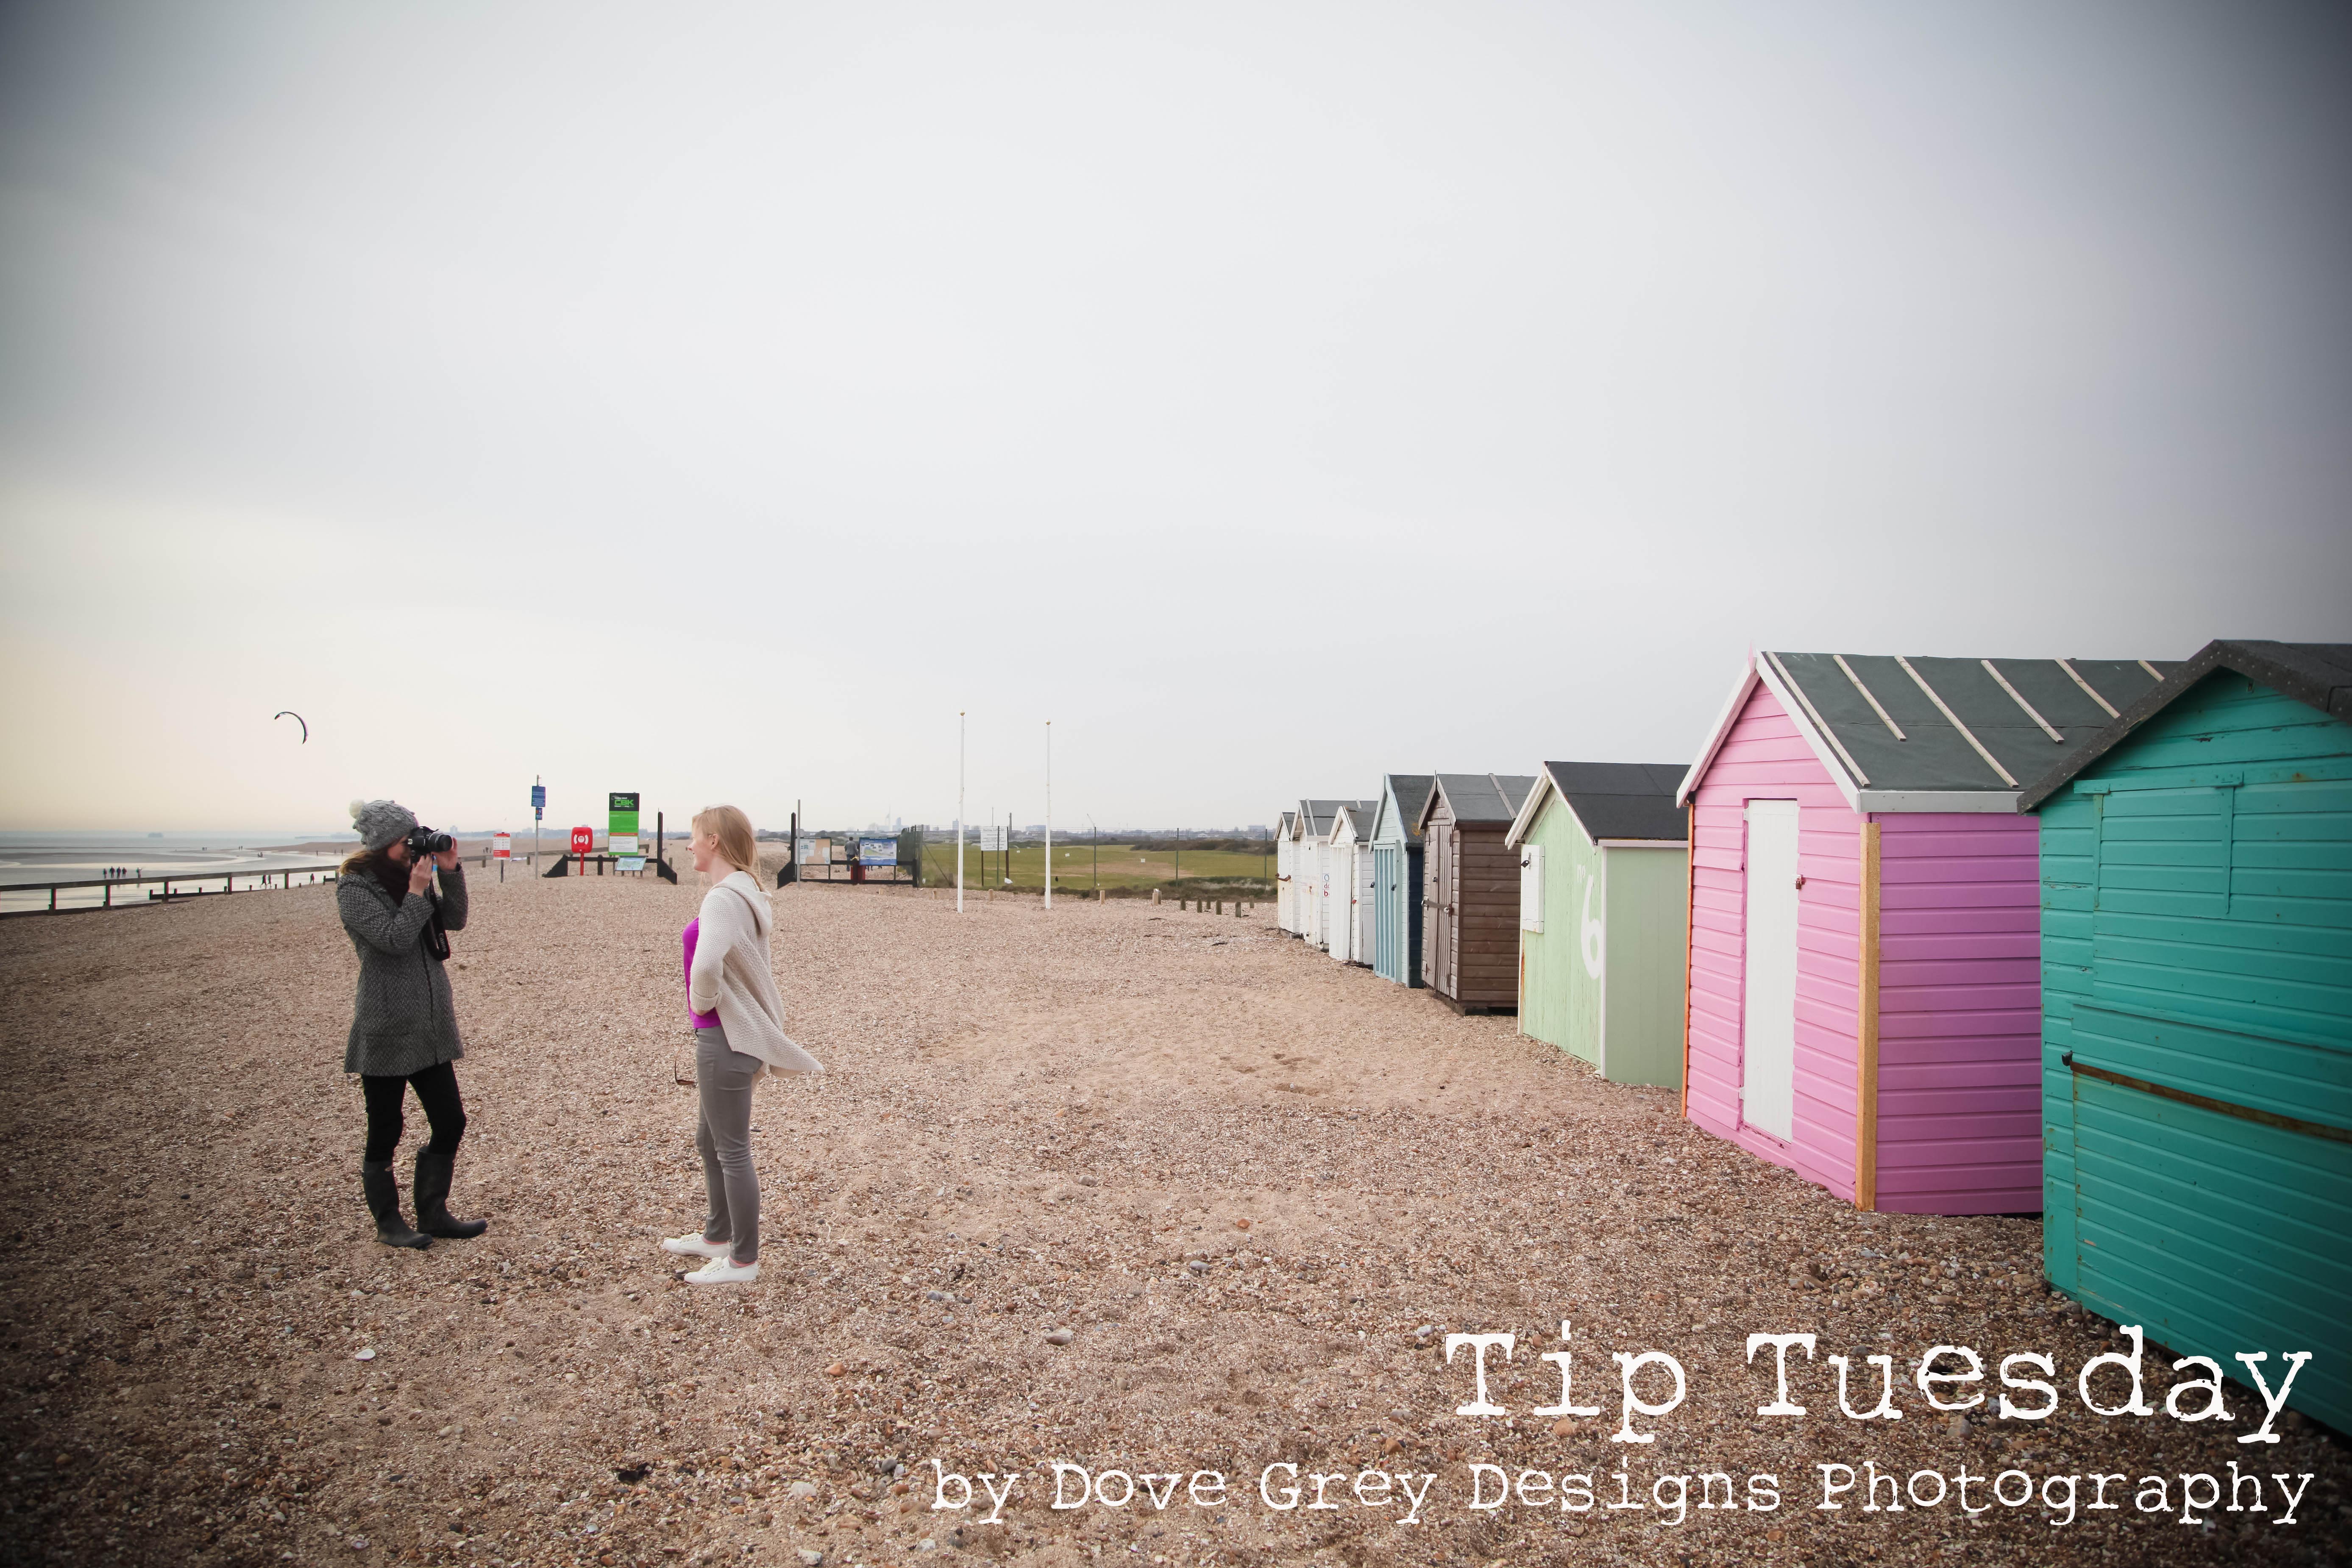
In the image bellow you will see that Beth is standing very close to our background (the beach hut) and I am standing around 4 meters away from her. This results in a background that is quite sharp and clear.
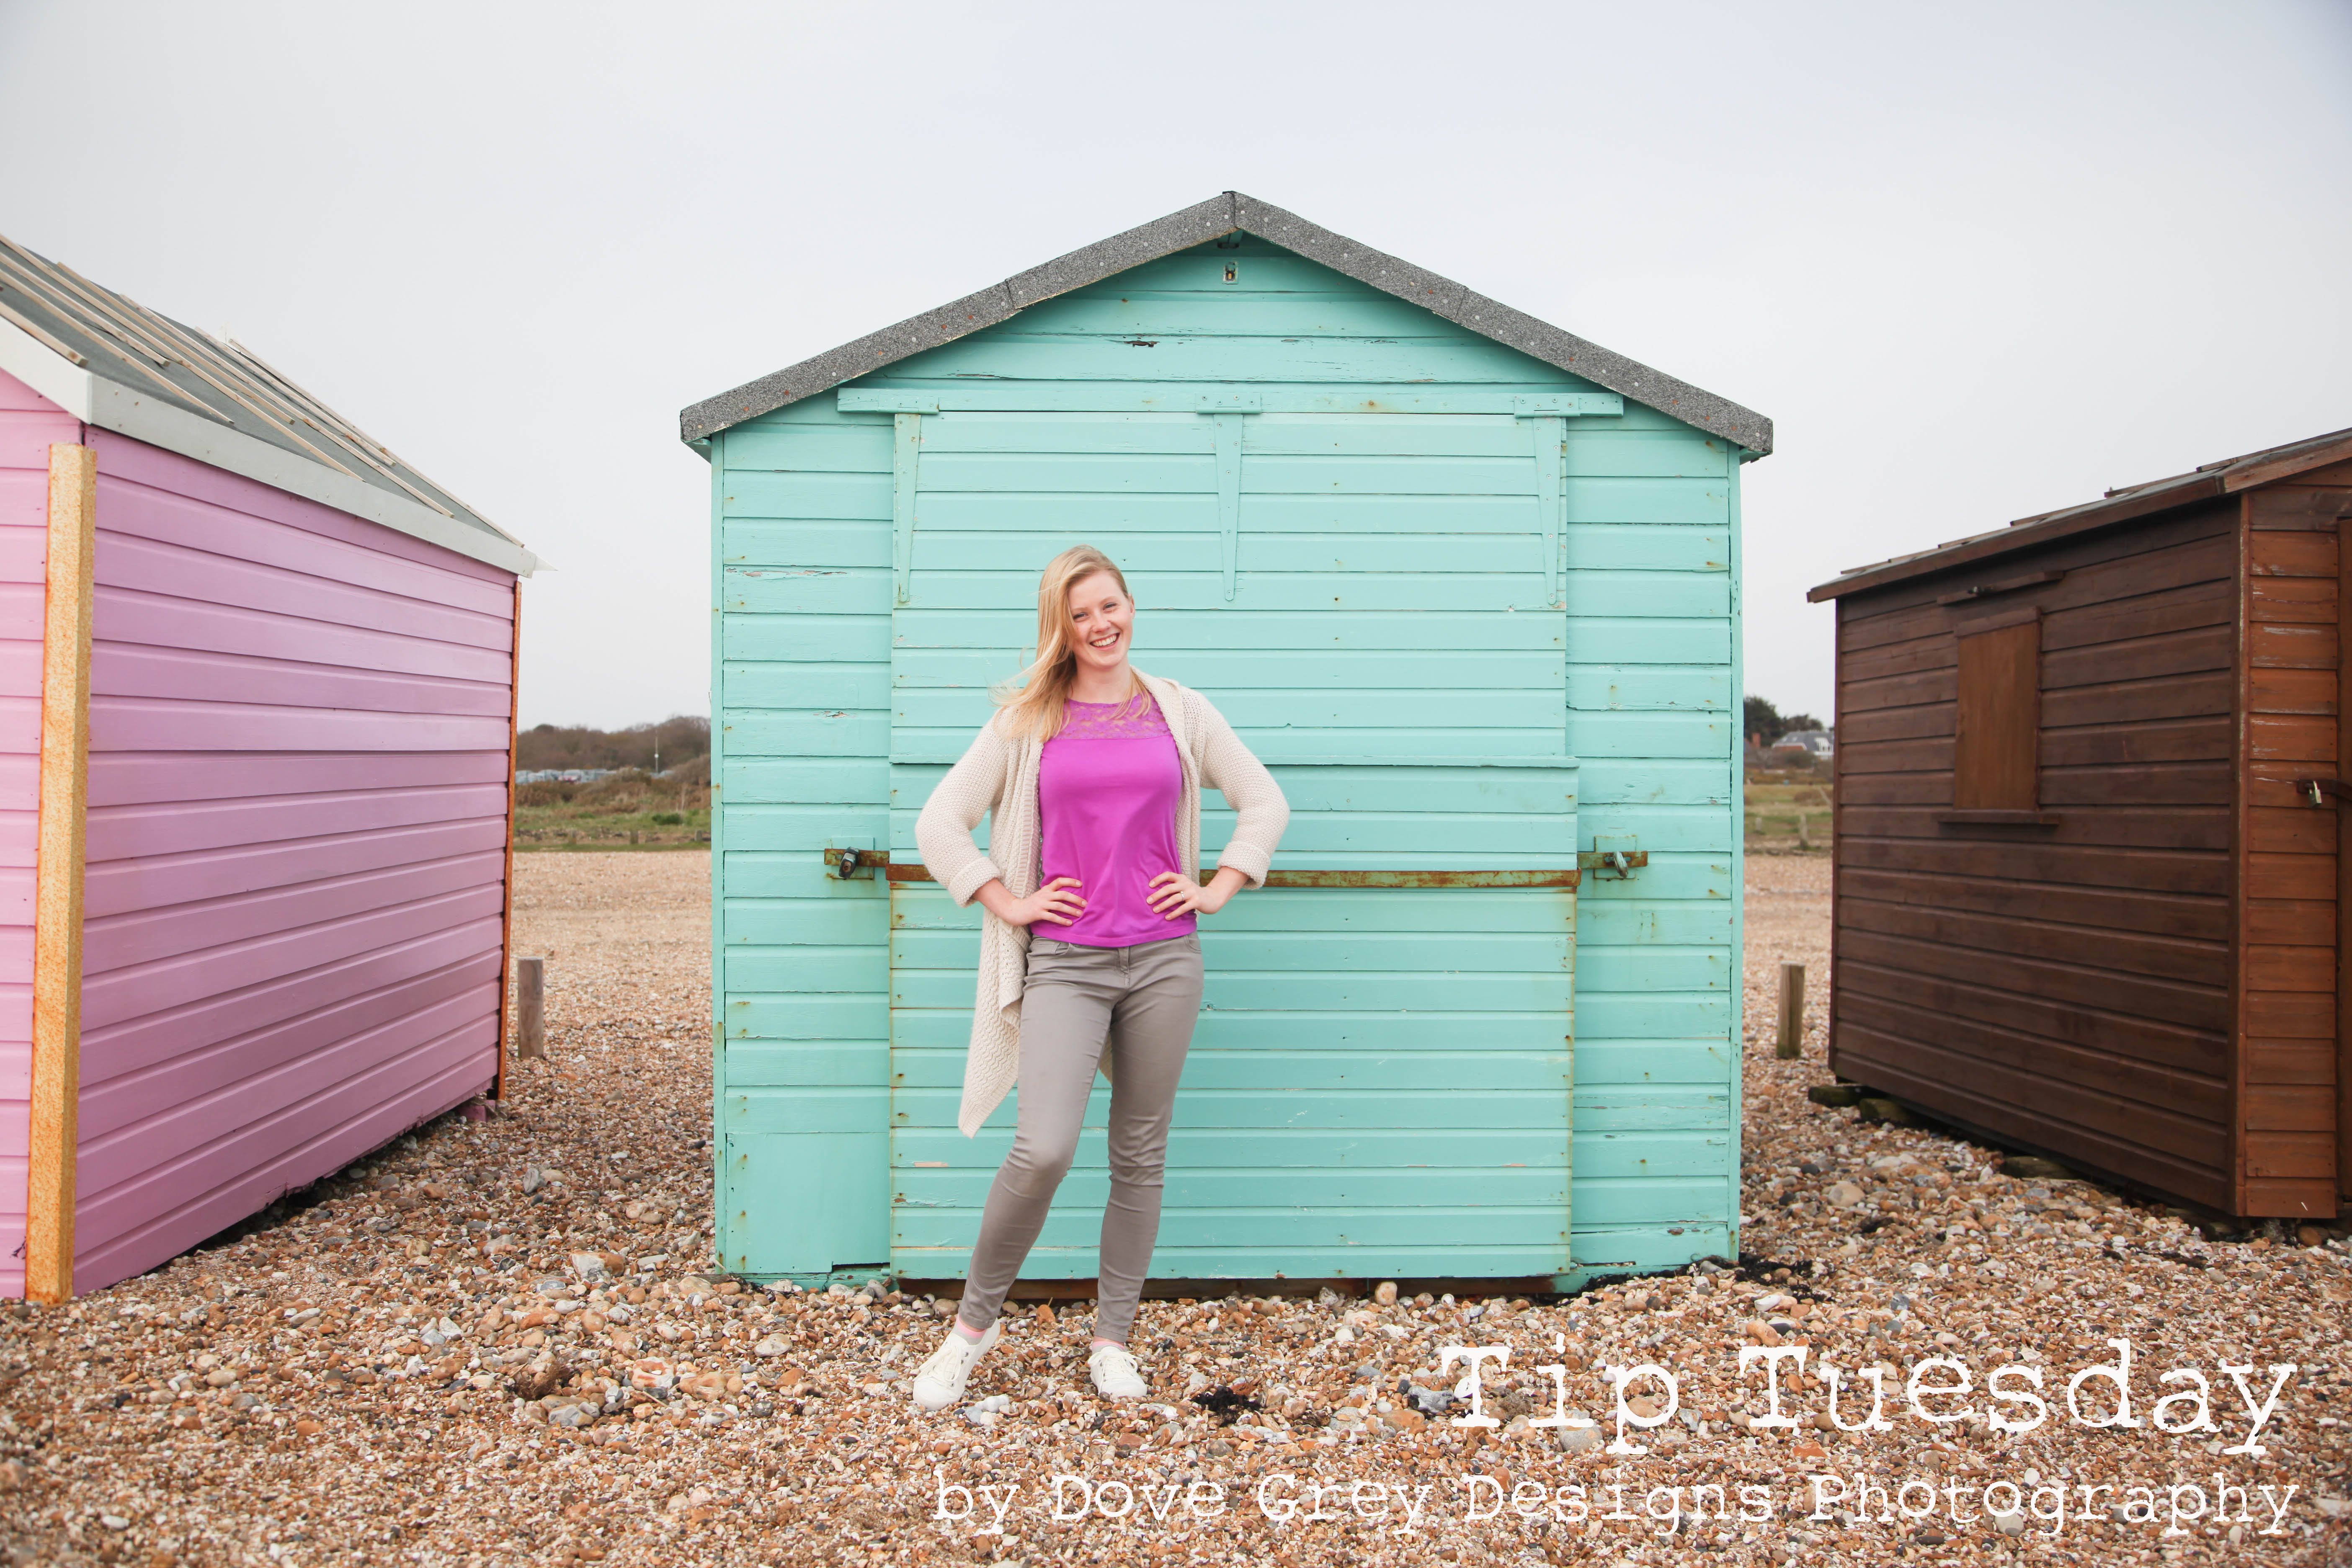
It’s a really nice look, especially if you want the detail of the background to show up, but that is not what we are aiming for today. In the next photo you will see that I am standing much closer to Beth, less than a meter away. There is still not much distance between her and the beach hut but you can see in the result photo below that this shortening of distance between her and myself allows the background to blur much more than in the photo above.
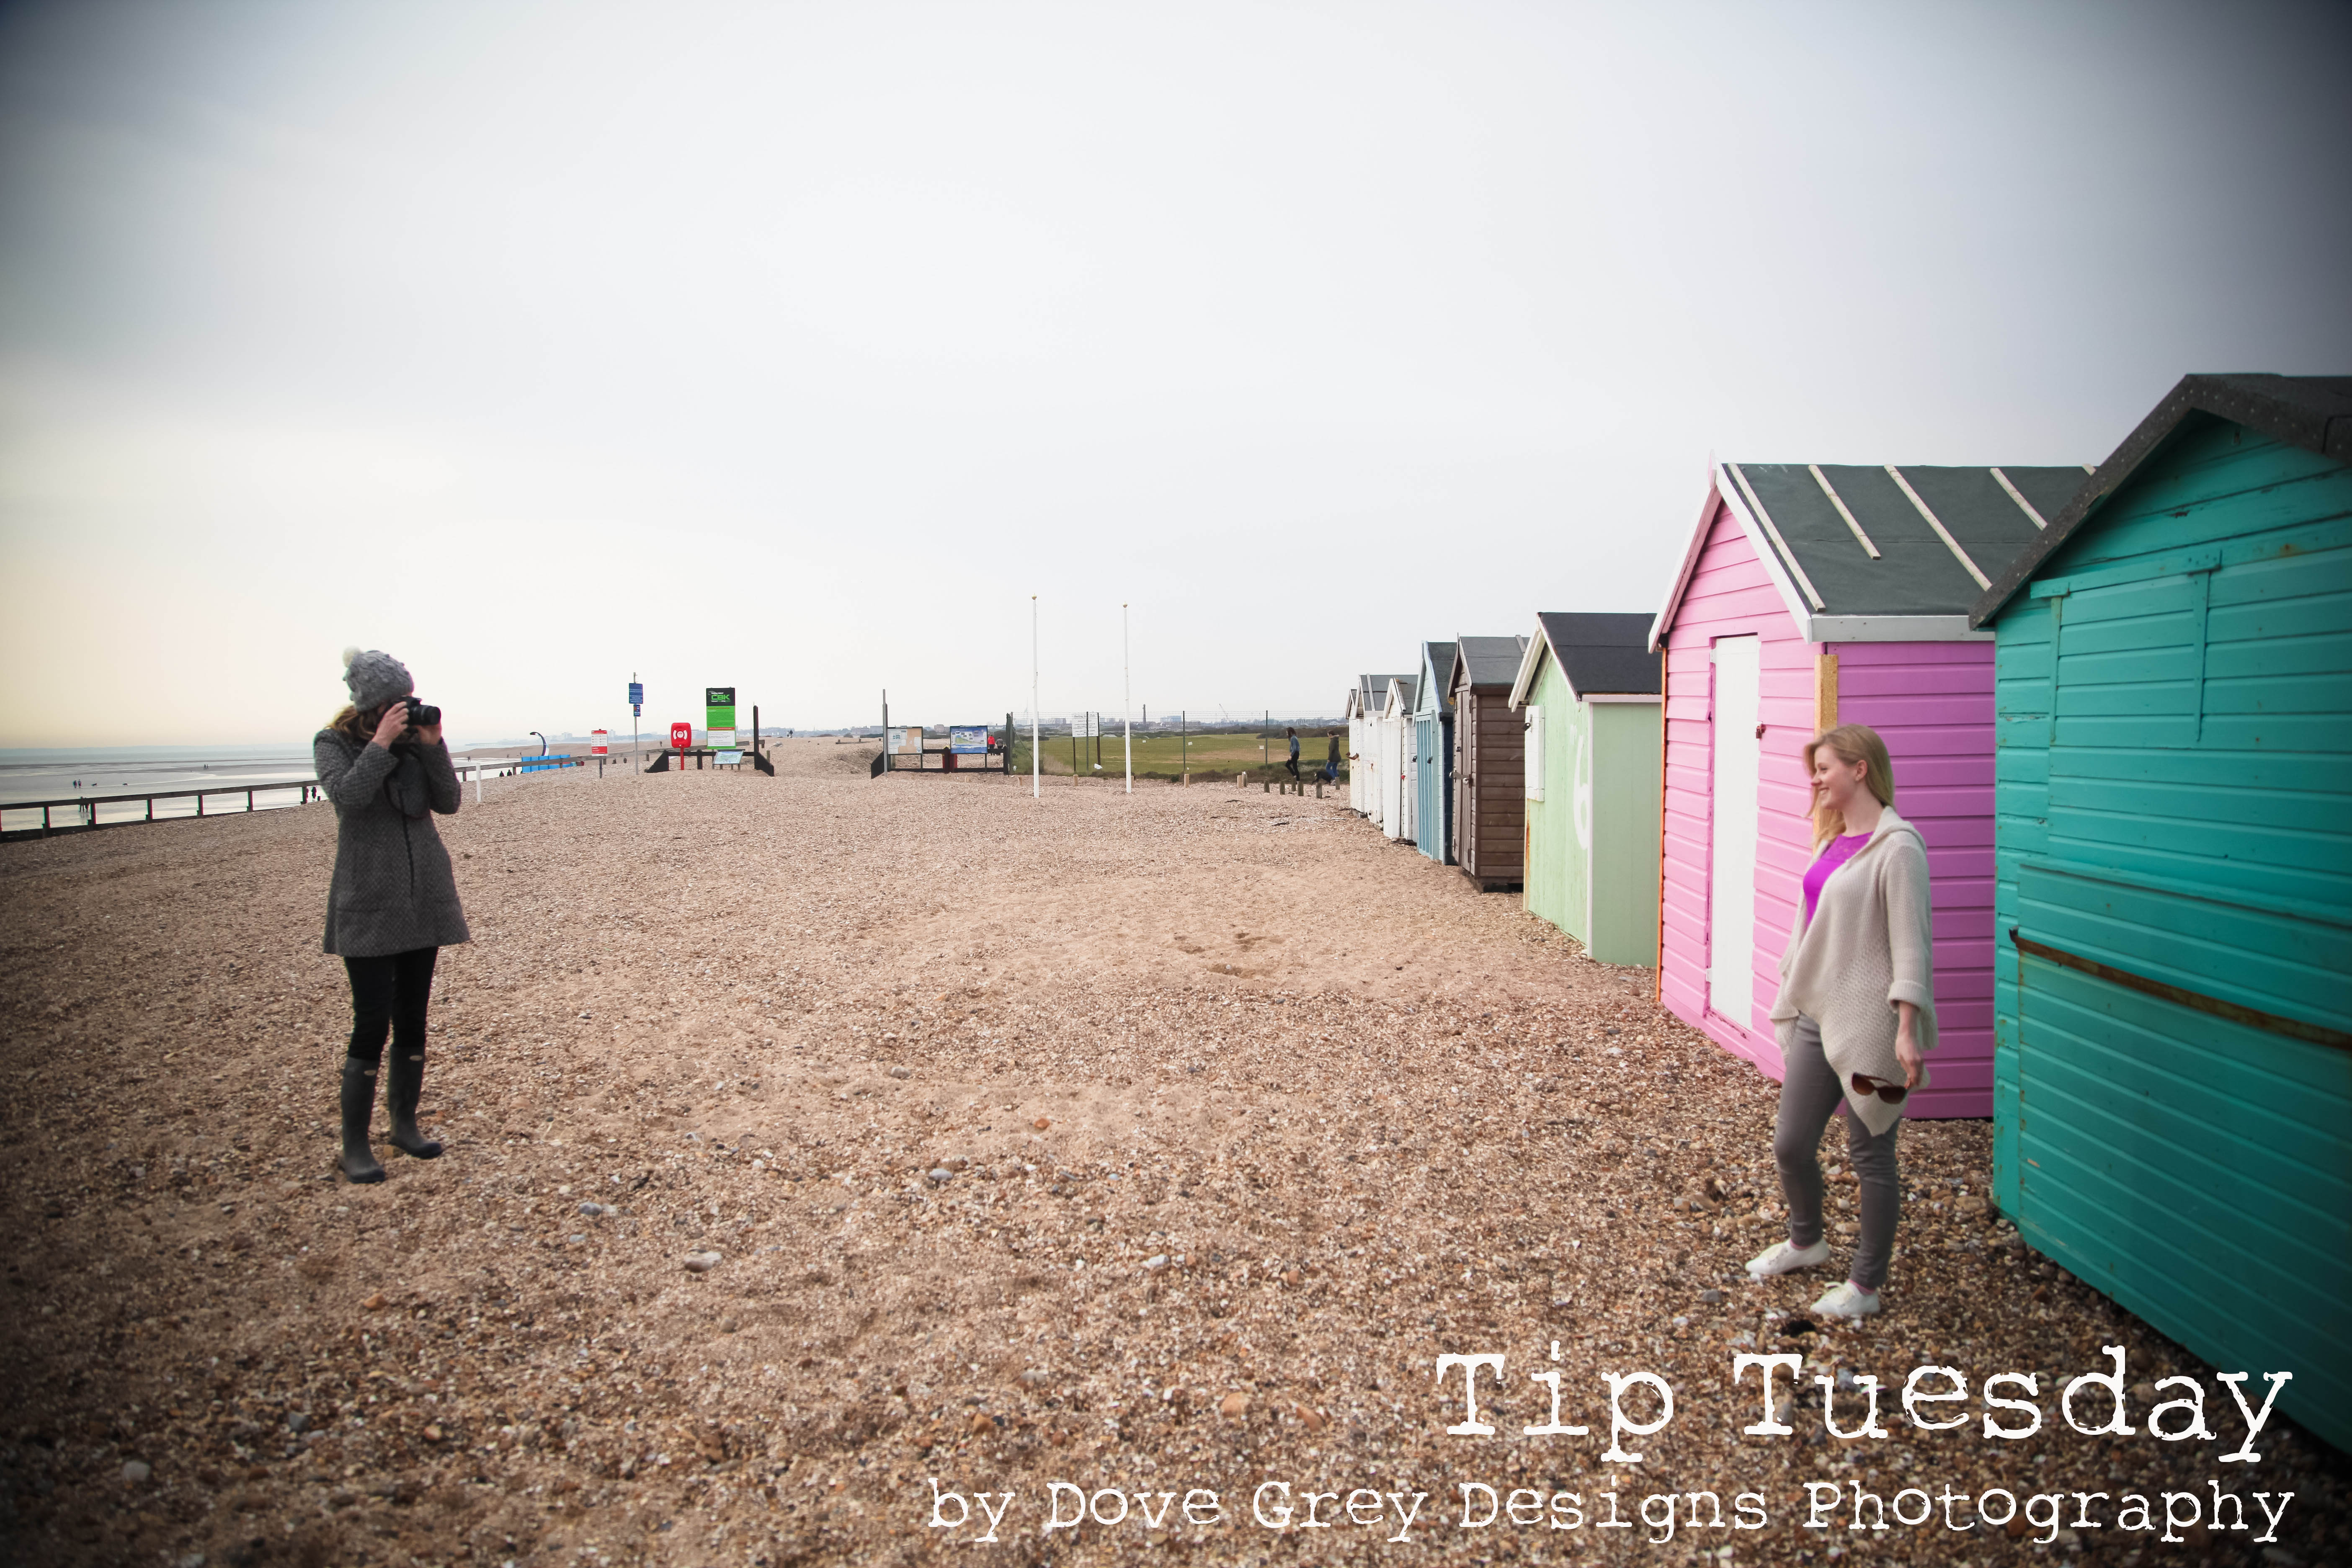
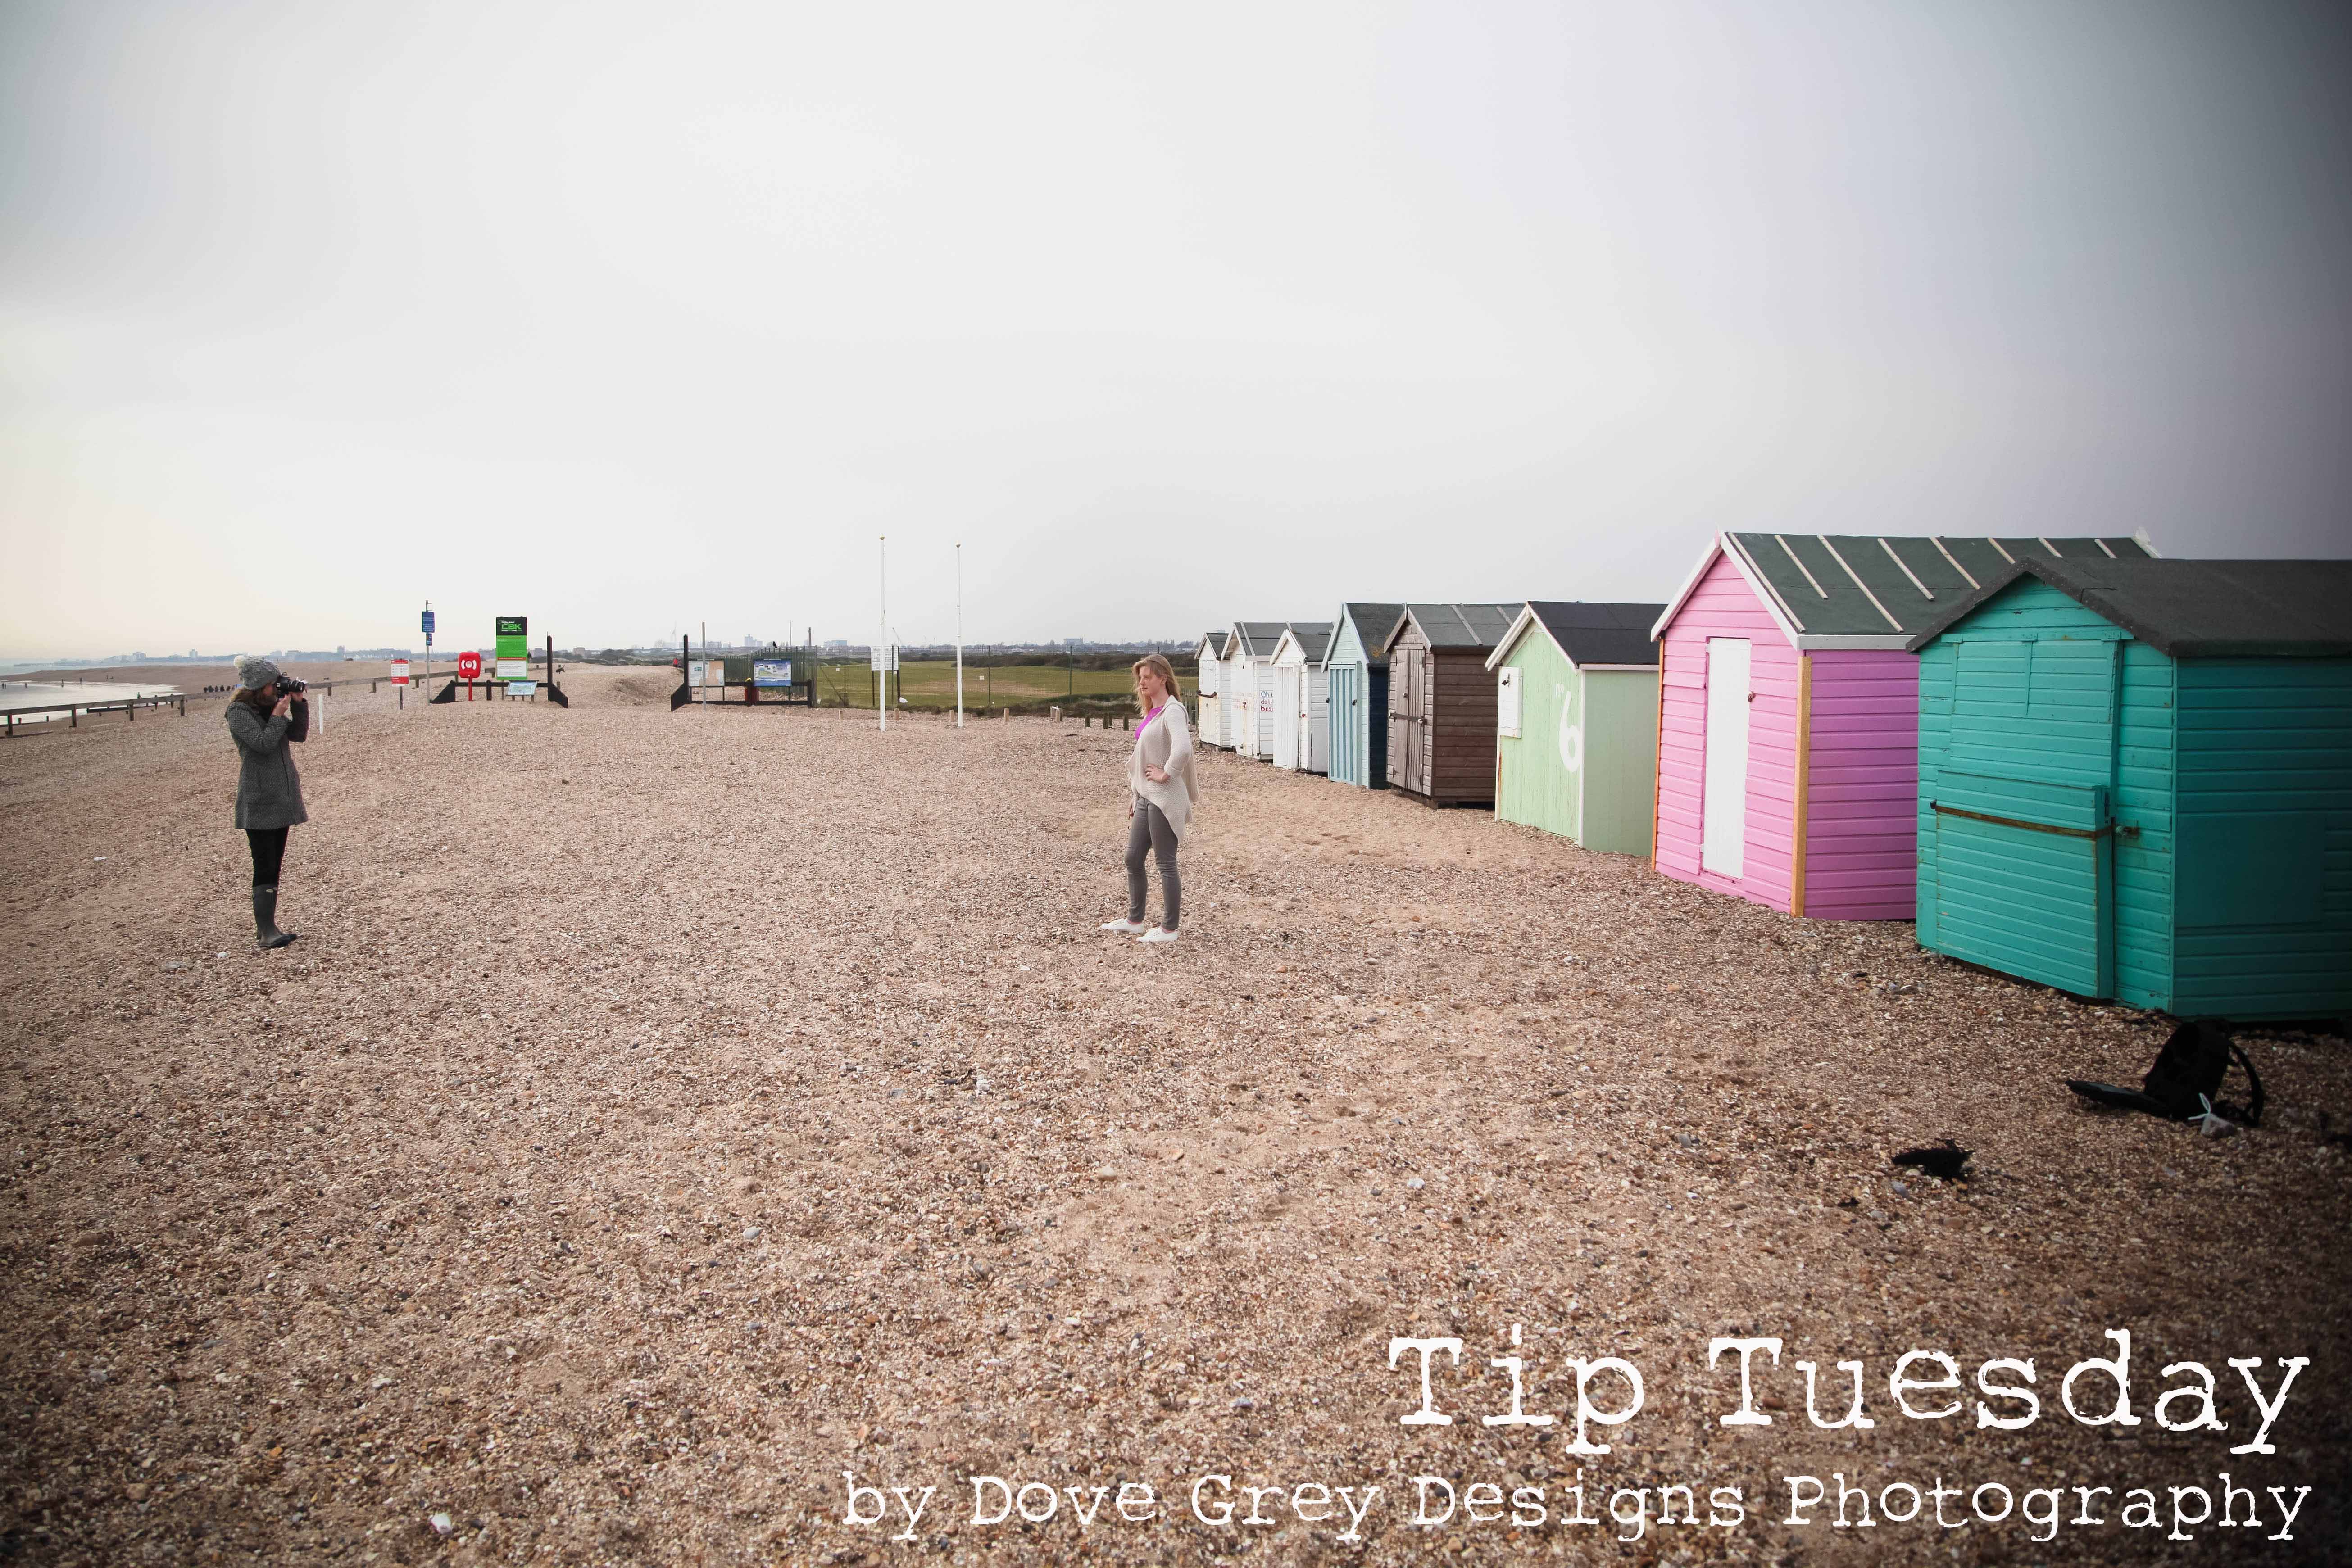
So if being really close to your background doesn’t work, obviously you want to be at a distance to it. This is especially important if your background is unattractive, boring or busy with mess or other people. Here you can see that as we start to move away from the beach huts they automatically start to become more out of focus and look less like the focal point of the picture. Again I am taking the photo at about 4 meters from Beth so the beach huts still have some definition.
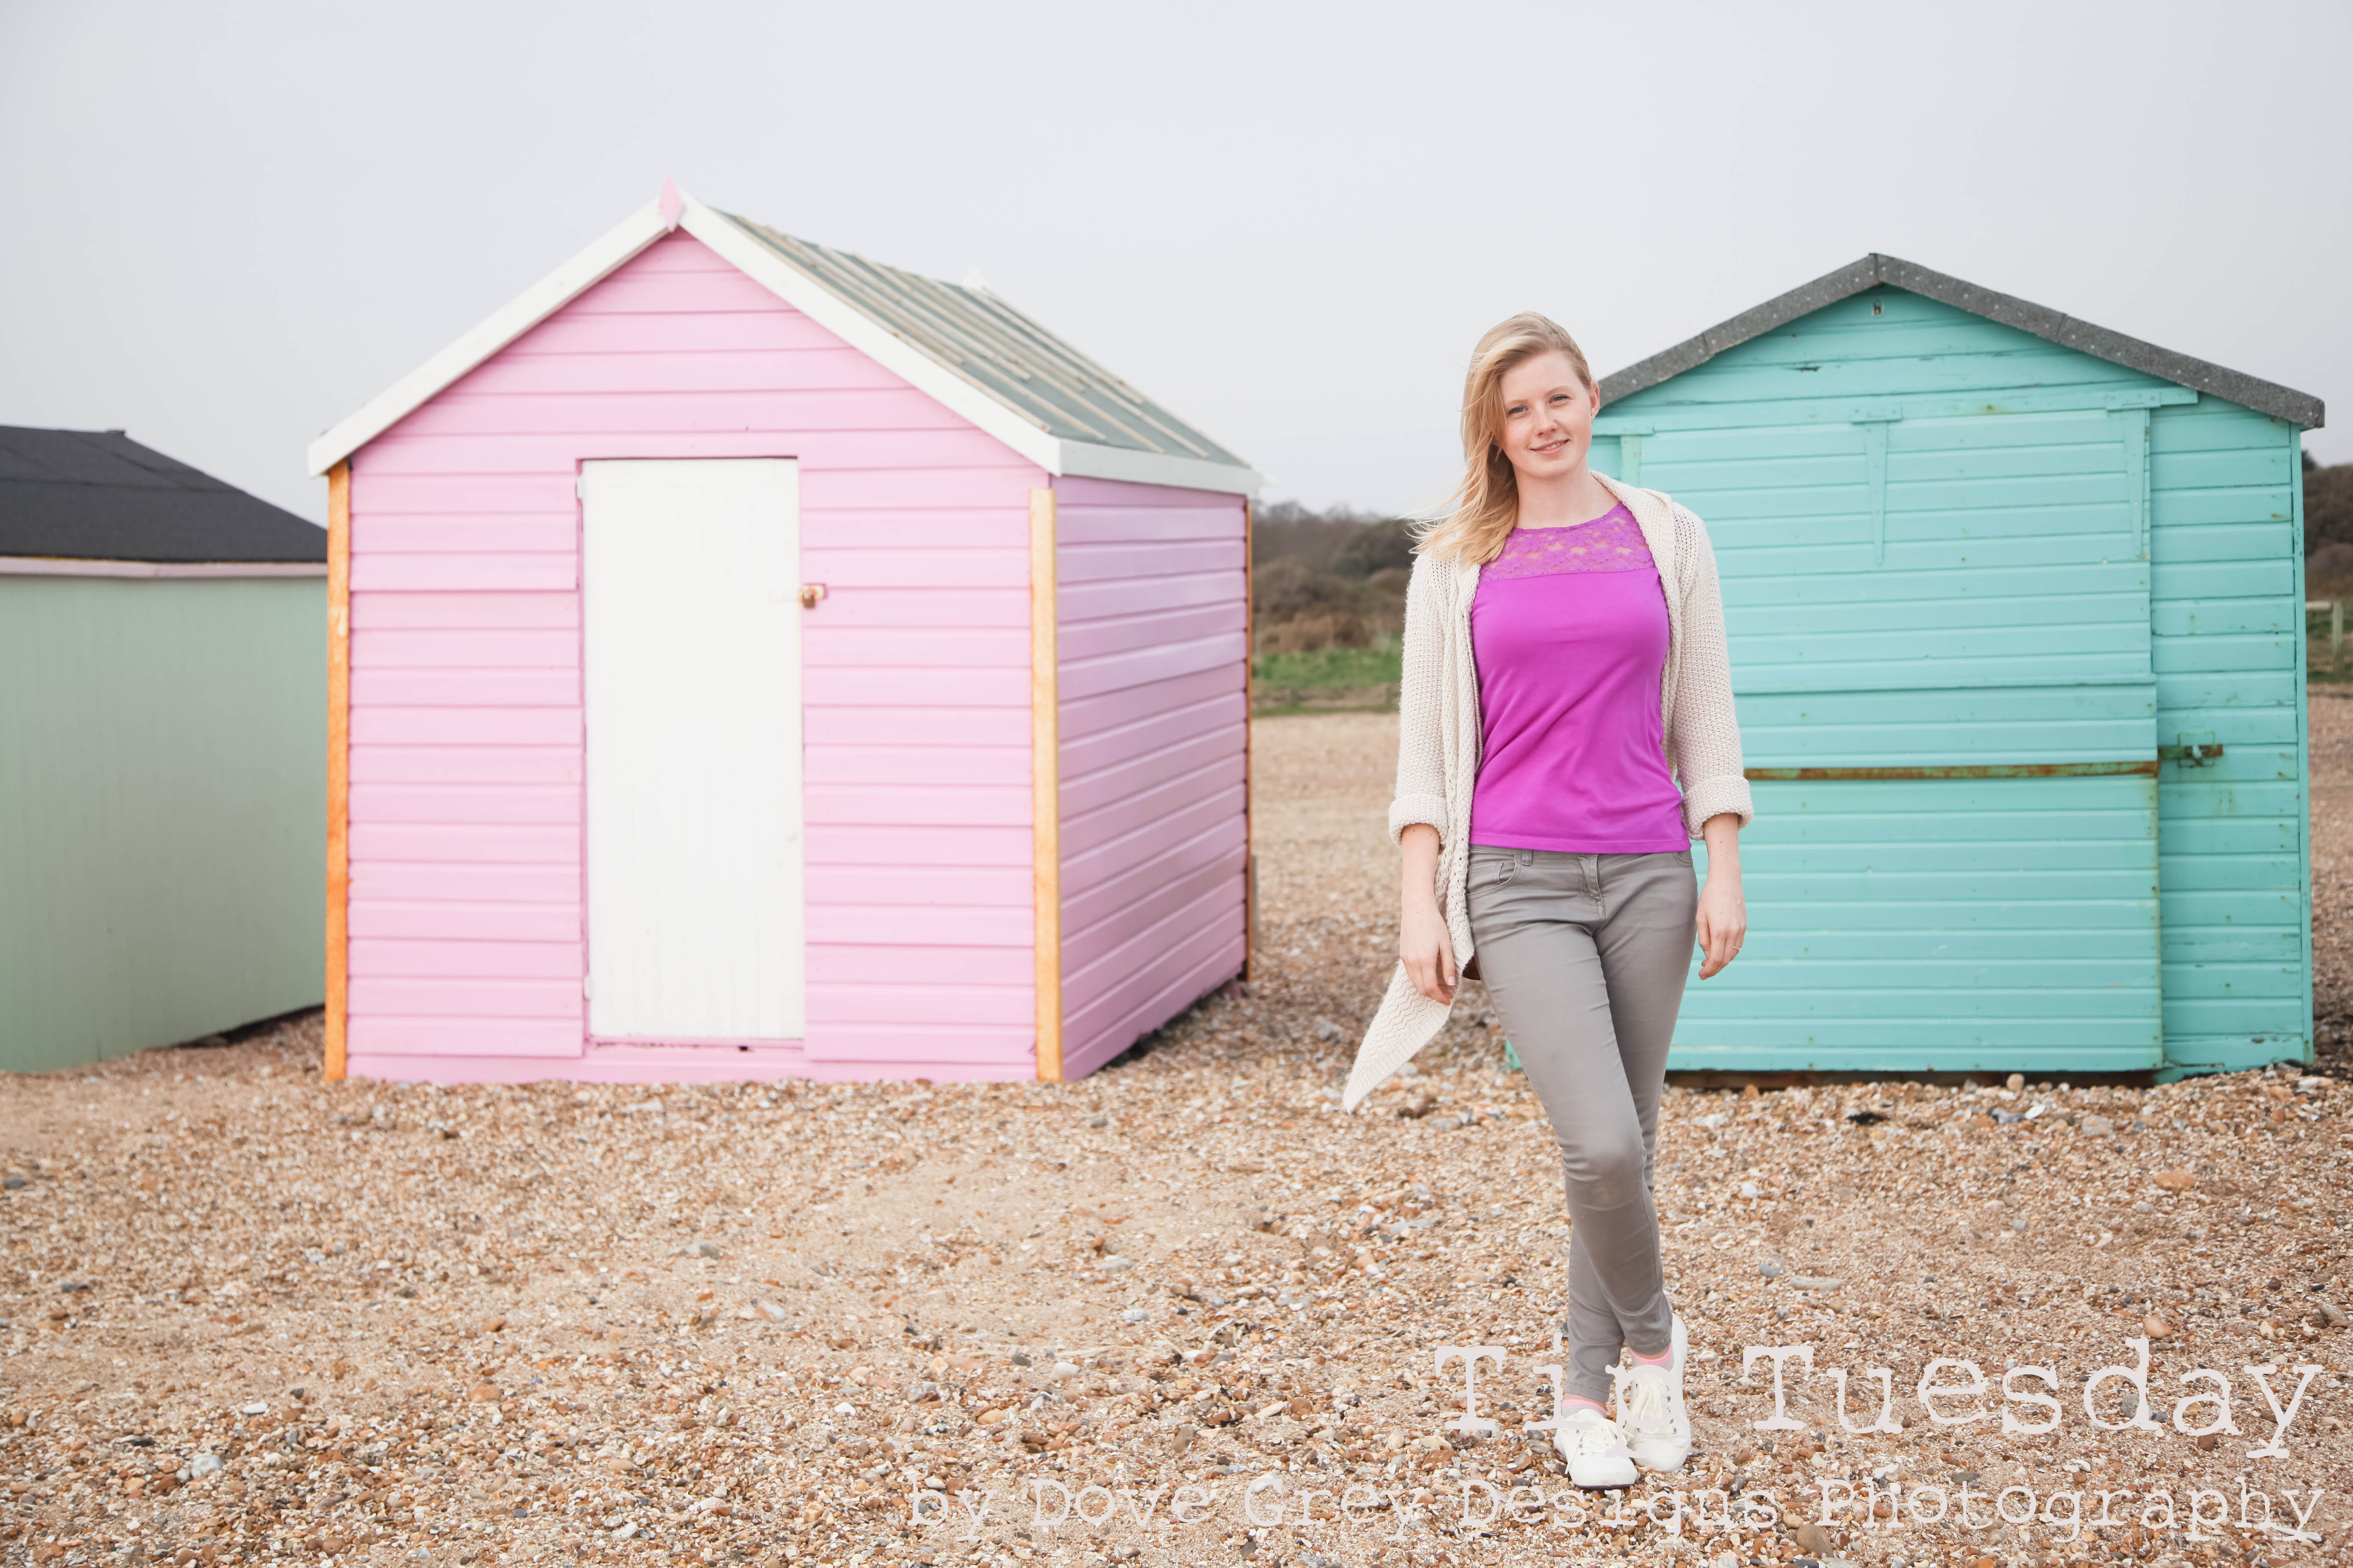
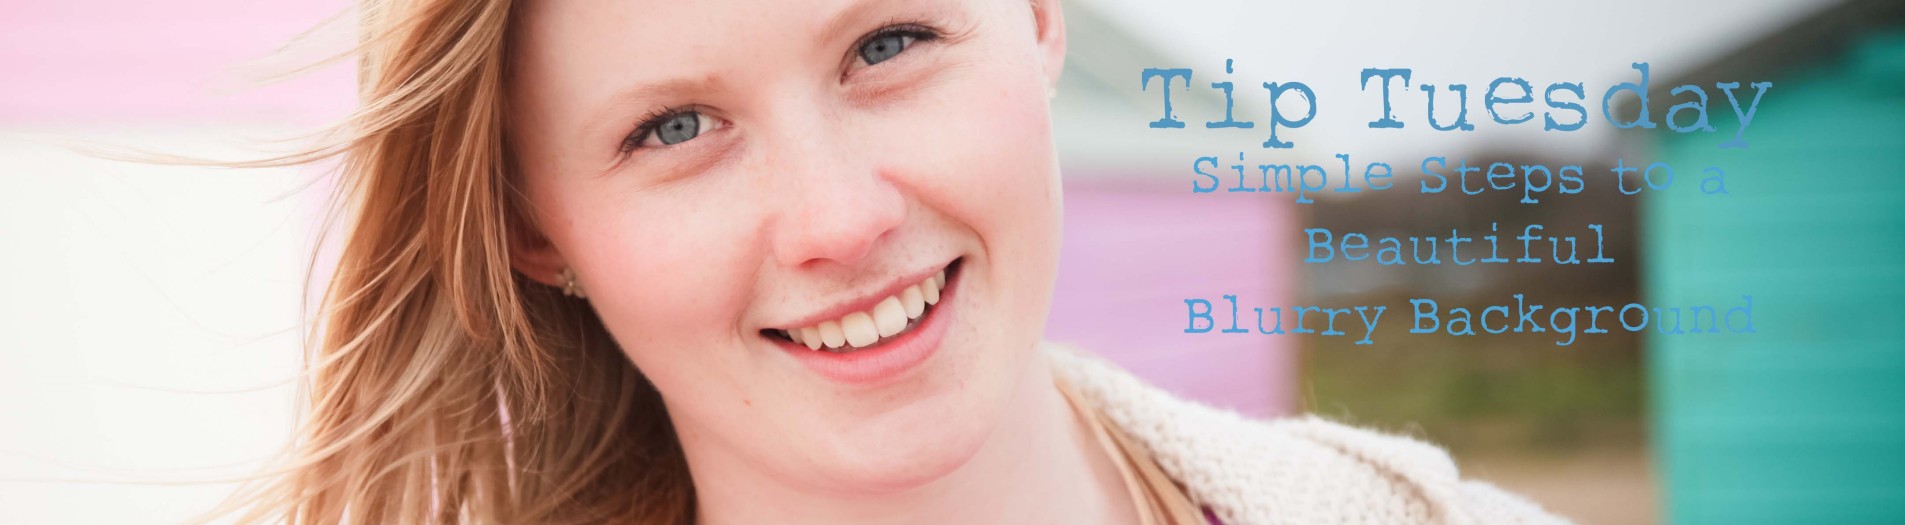
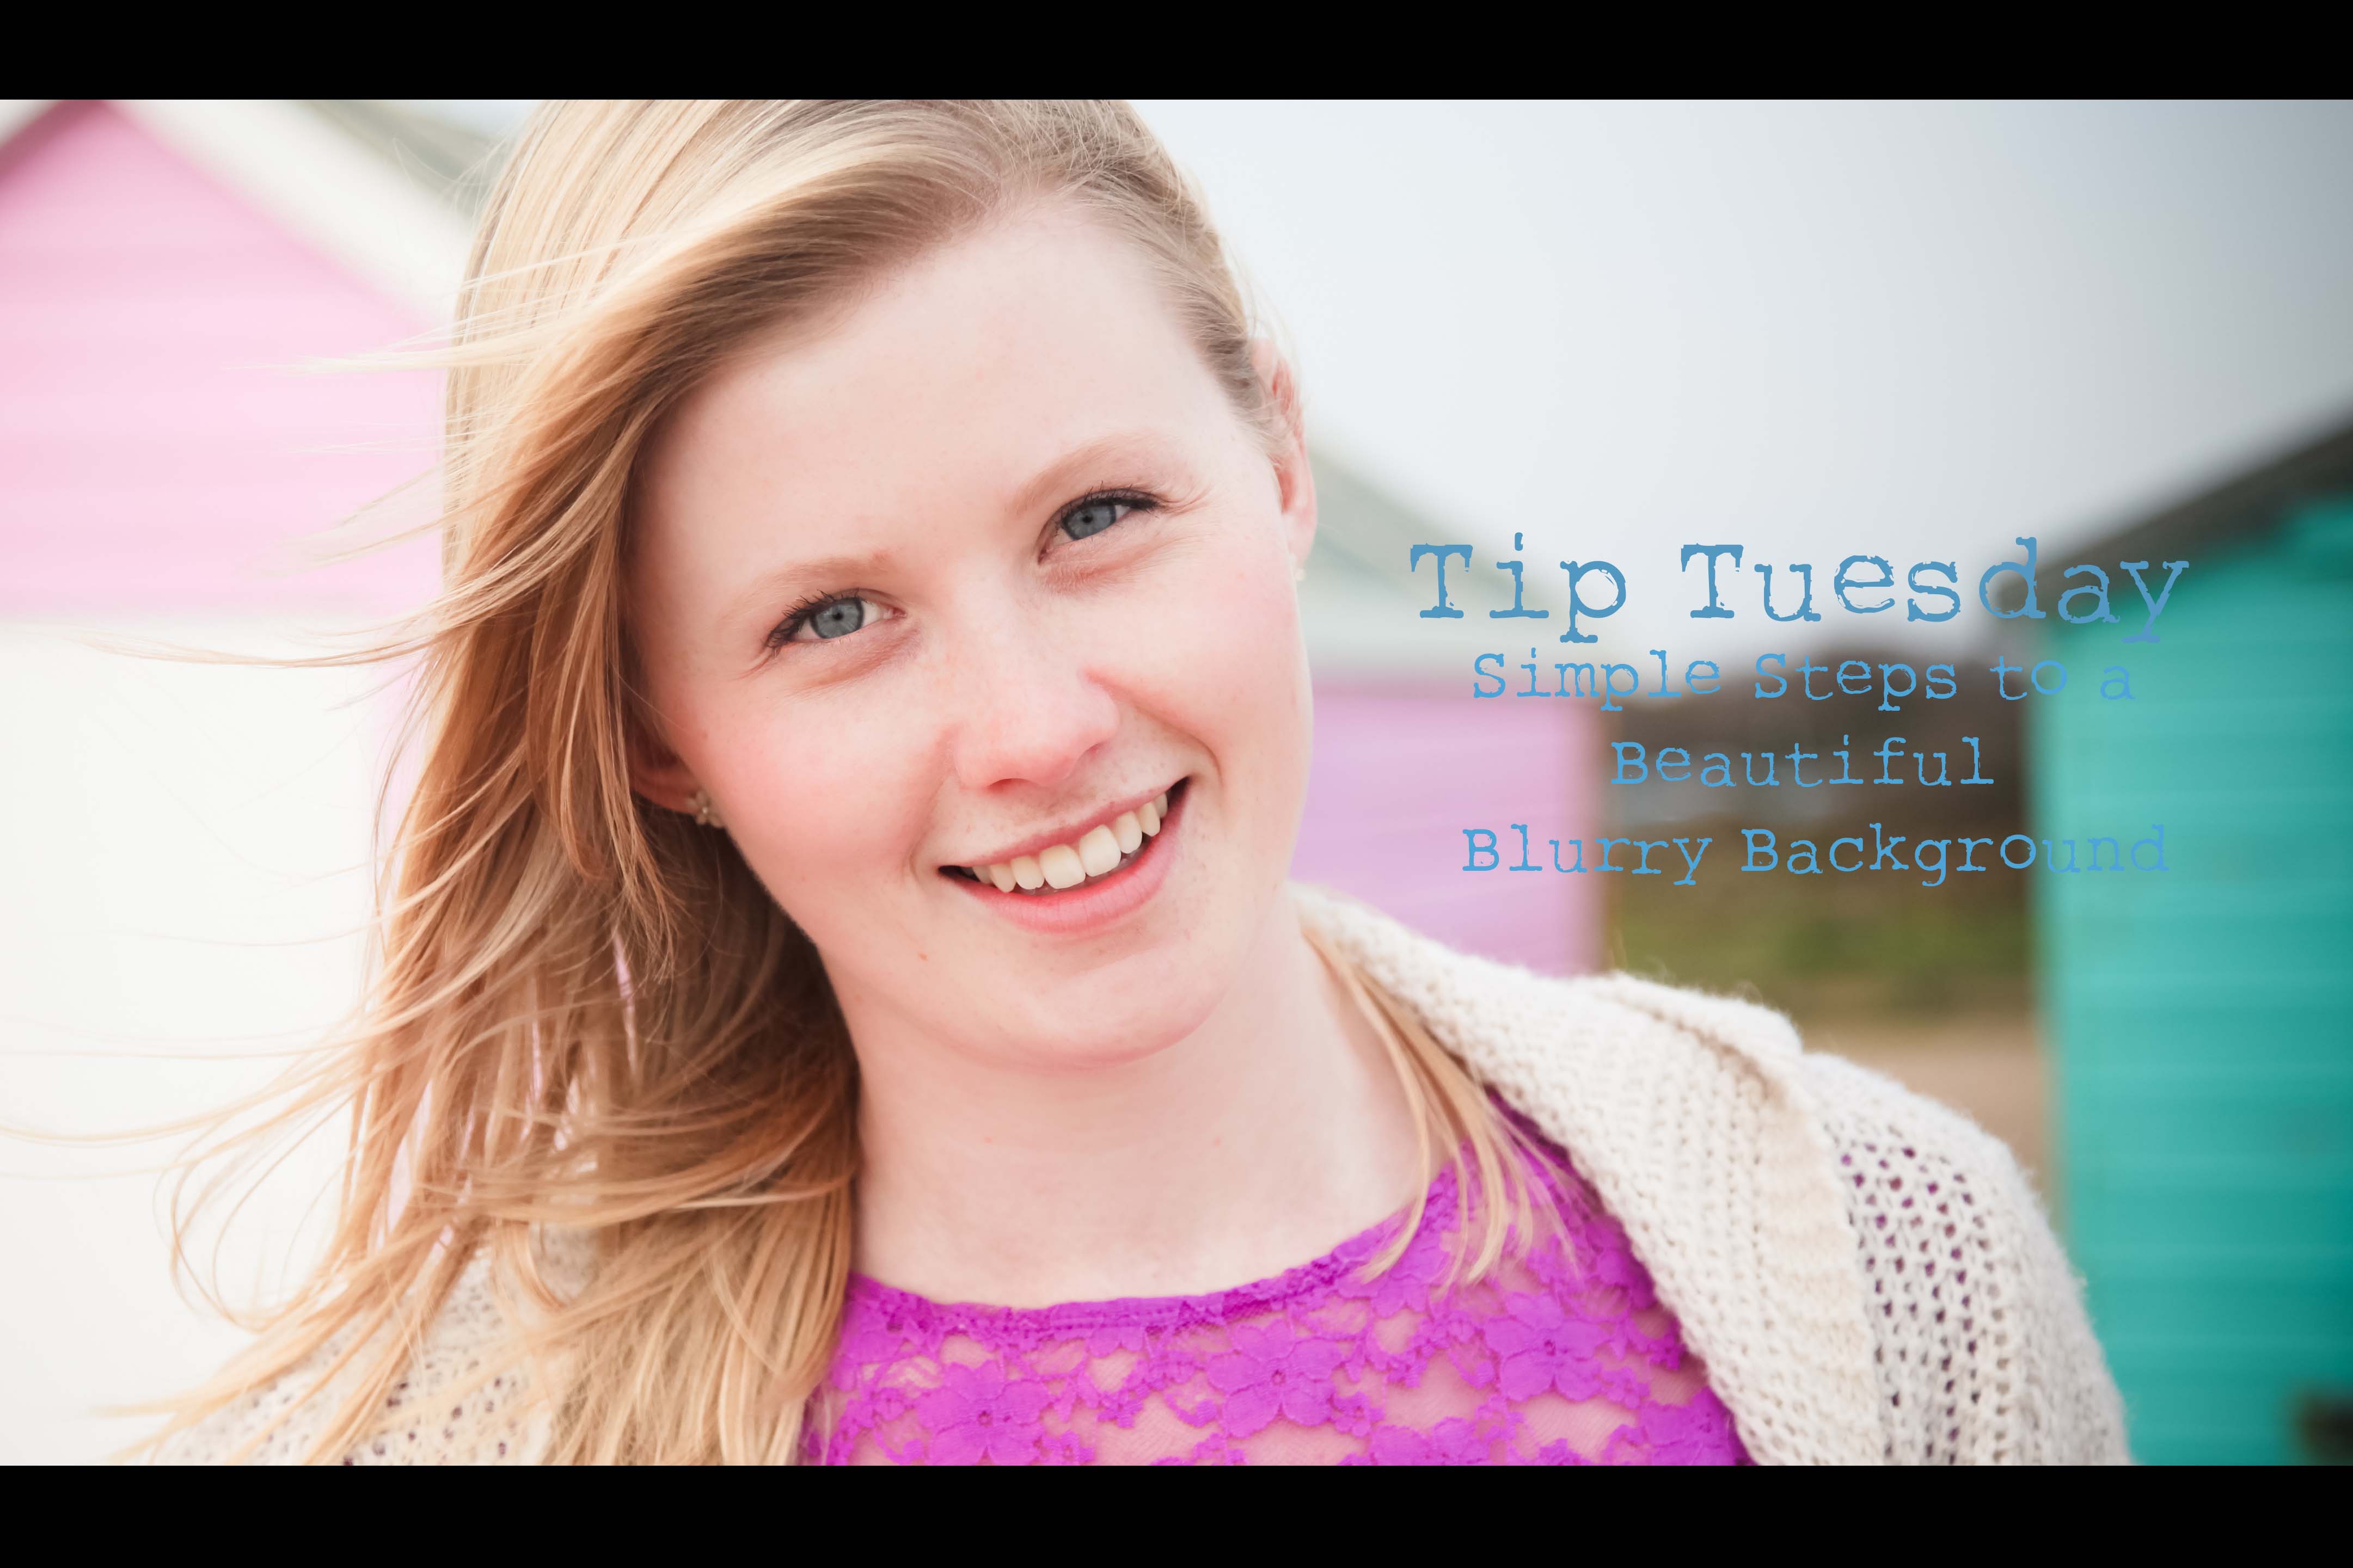
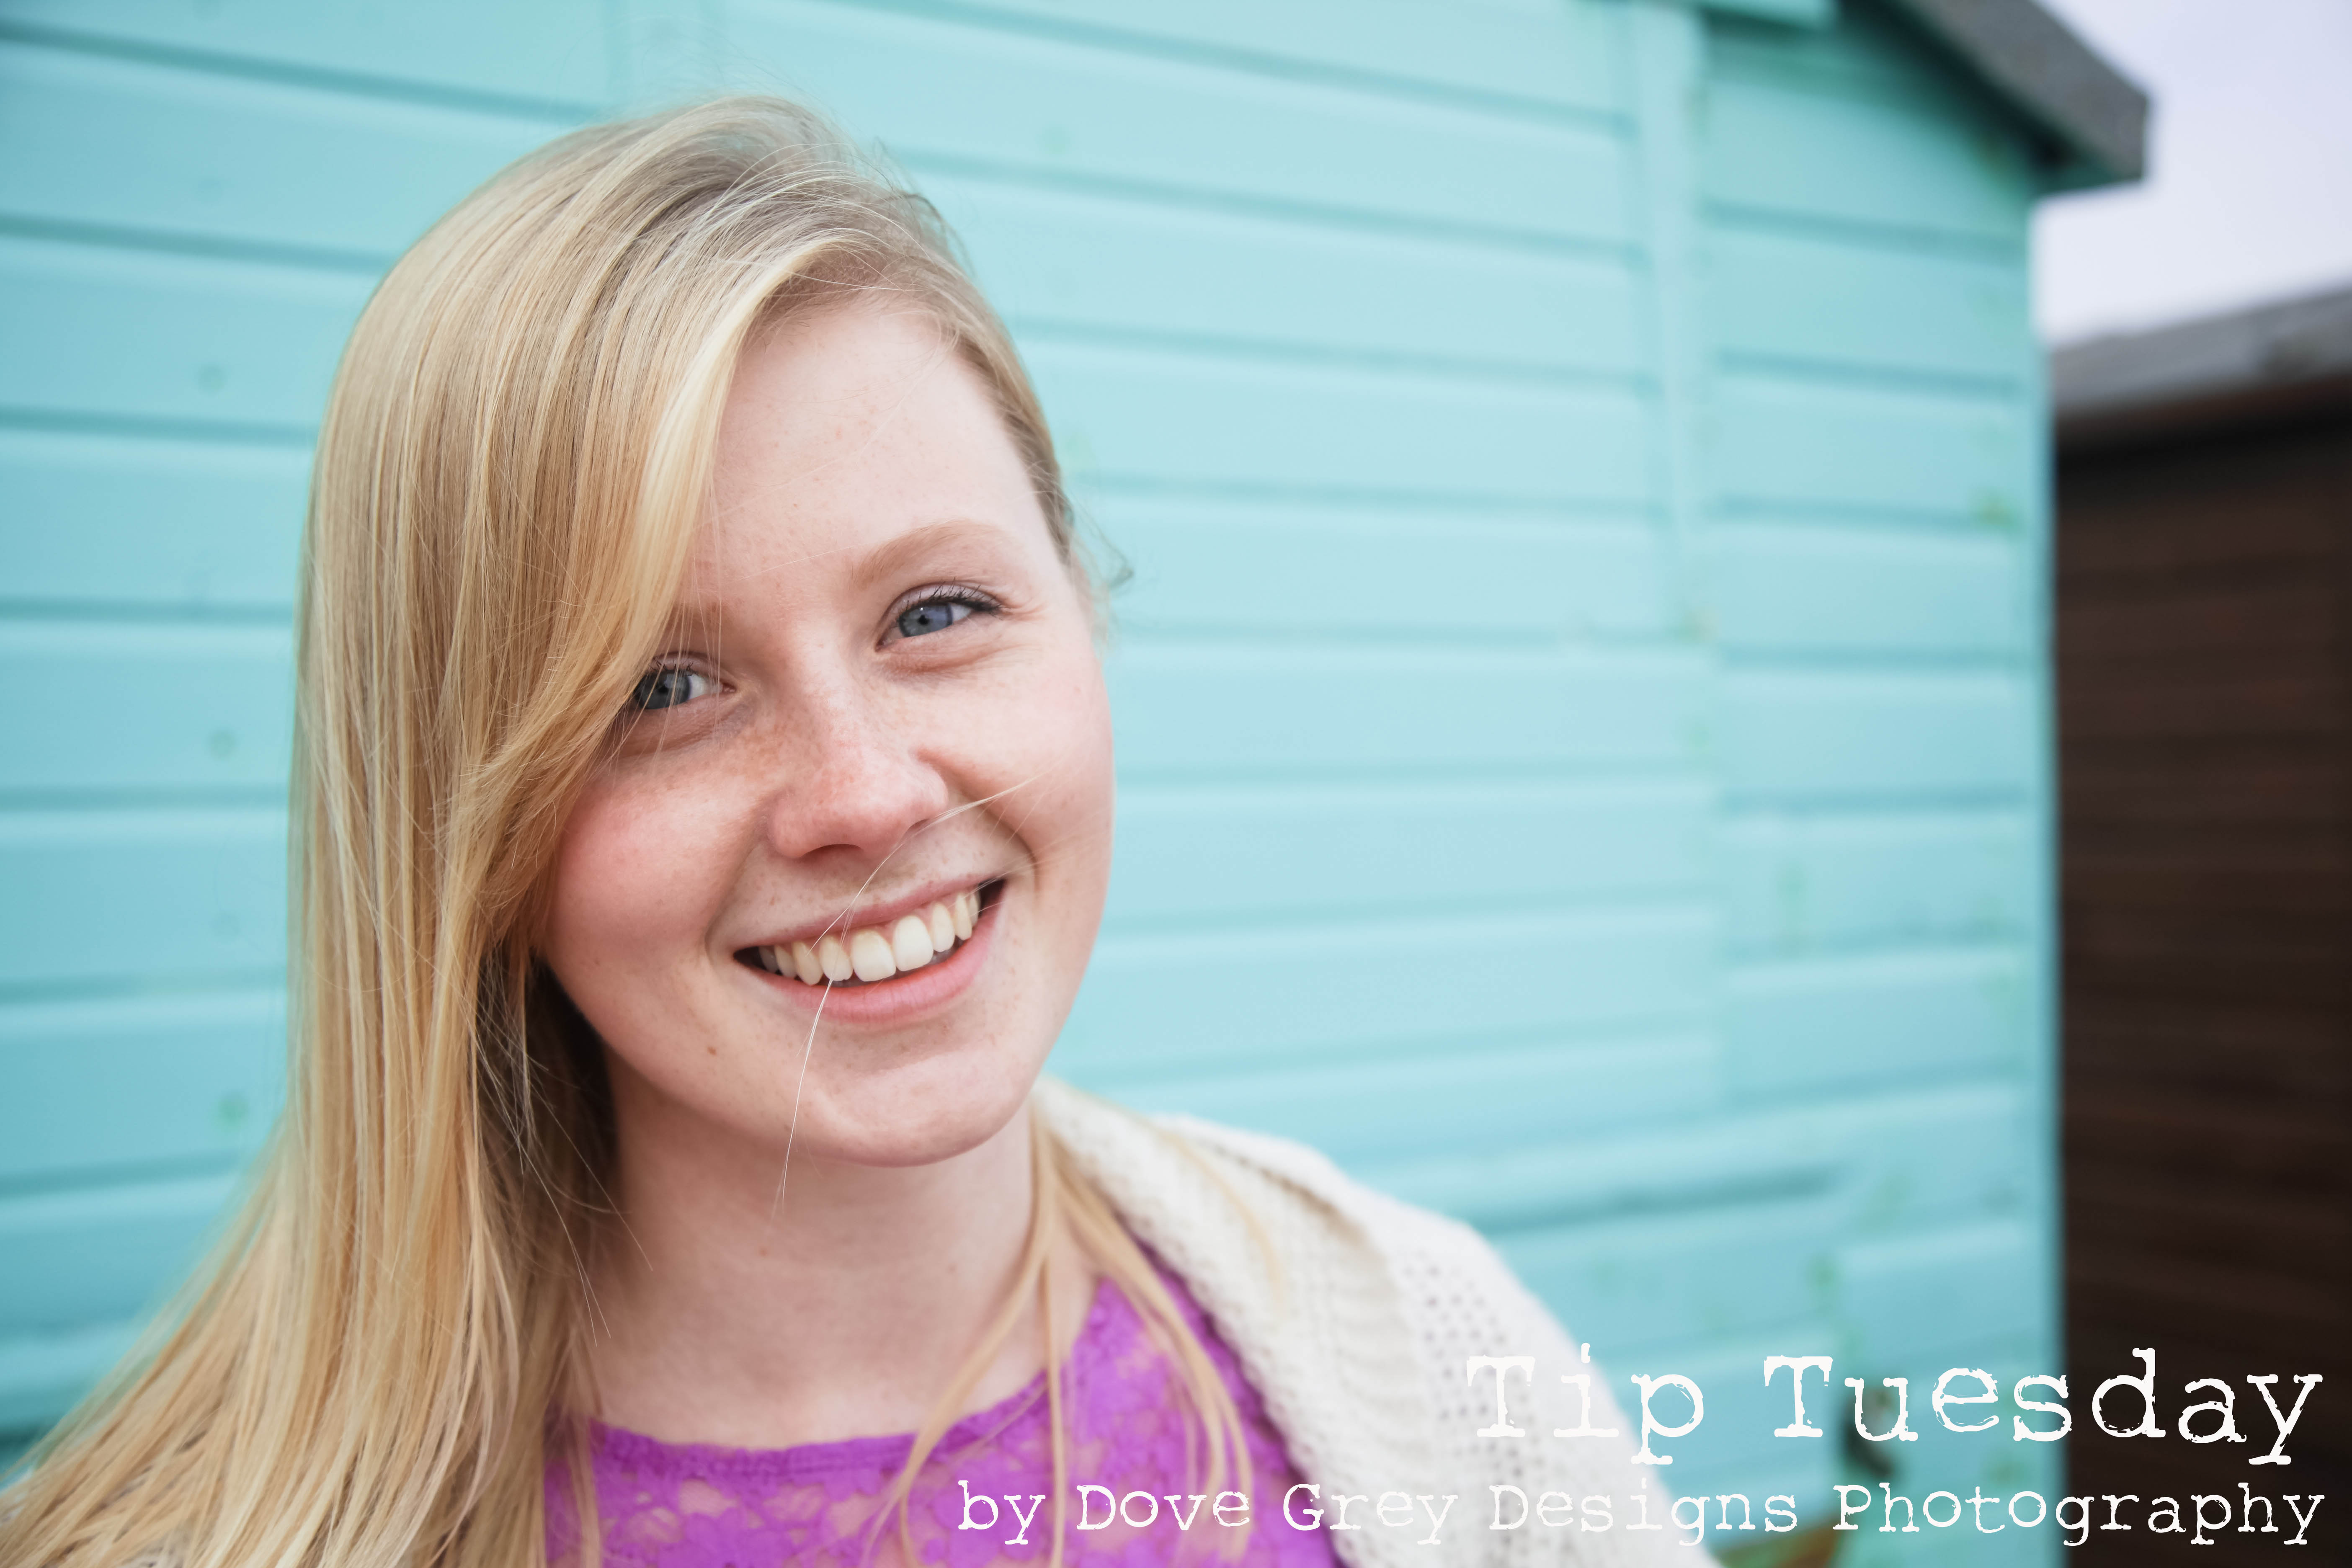
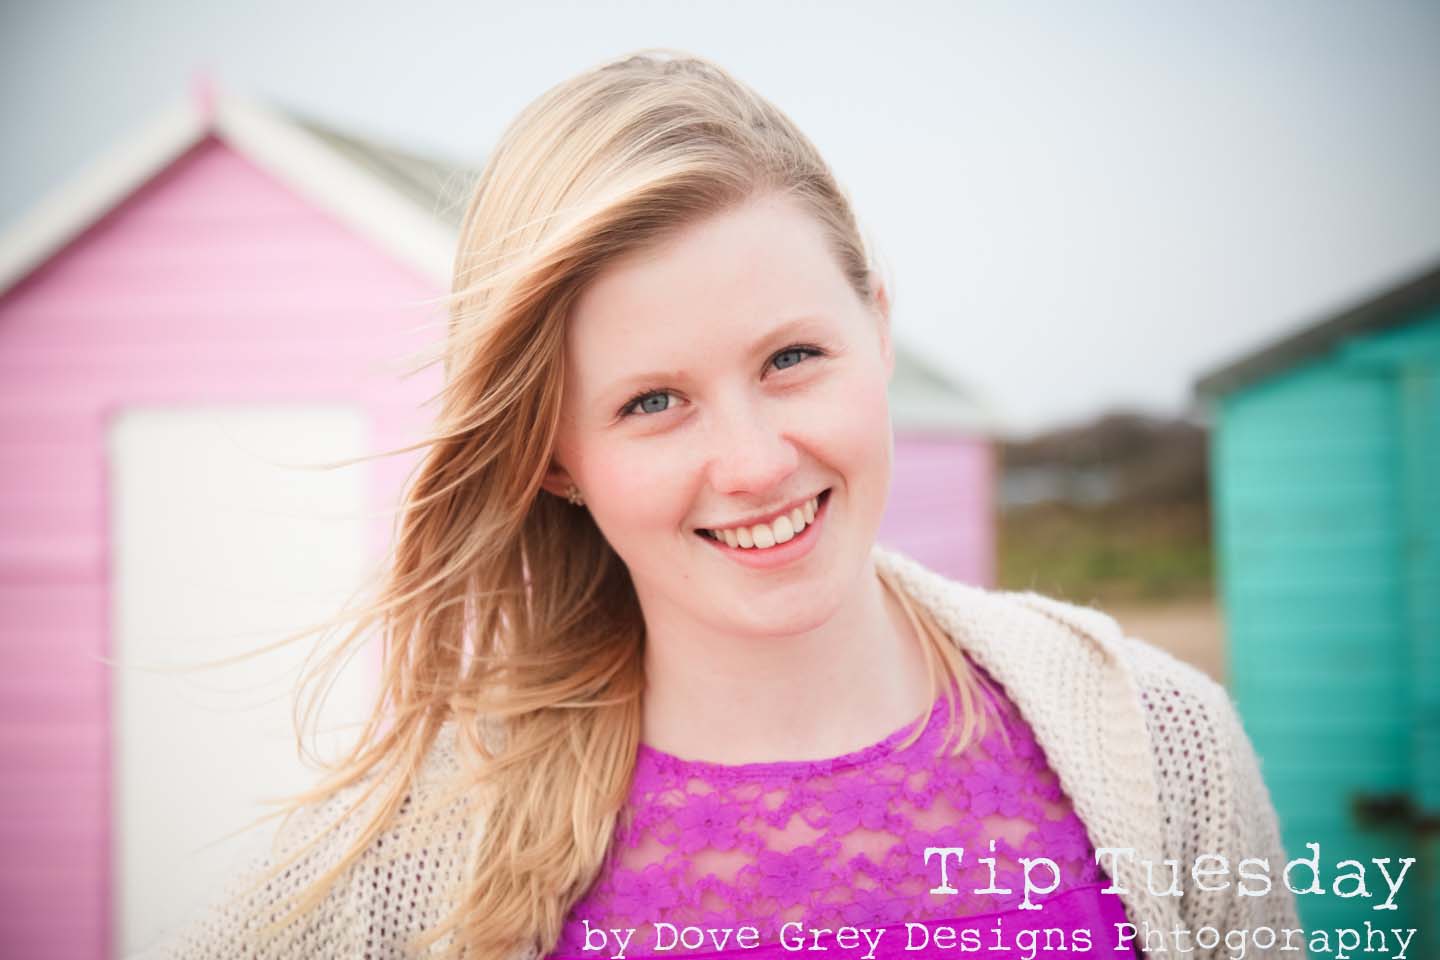
And finally, the perfect positioning, whether you have an compact camera, a phone camera or a DSLR, this is how you need to position yourself. At a distance from your background but fairly close to your subject. You will see how Beth has now become the focal point and the background looks beautiful and soft. The further away from the beach huts we went, the blurrier they became.

I love how this image came out. The beach huts we chose to use for out background were brightly coloured but with my slight over-exposing they appear more light and pastel and give this photo a lovely springtime feel.
For anyone who is interested, here is what this photo looks like with a little bit of editing in Adobe Lightroom
If you have a chance to try this tip out then share your photo under the tip on my Facebook page, this link will take you there – https://www.facebook.com/photo.php?fbid=633766916677746&set=a.299549380099503.75237.175878852466557&type=1&theater
And then after that…
Come and say Hi!
www.facebook.com/dovegreydesigns
Twitter: @DoveGreyDesigns
Instagram: @antoupfield
Pinterest: @antoupfield